What are the easiest hair extensions to apply yourself?
- Irene GilmanAre you thinking about trying hair extensions but worried about the complexity or cost? You're not alone. Many people are turning to DIY hair extension methods as a way to refresh their look without the hassle or high price tag of a salon visit. With the rise of easy-to-follow tutorials and accessible products, applying hair extensions yourself has never been more popular.
Let's explore how you can achieve salon-quality results on your own, step by step. Ready to get started with the first section on the benefits of how to do hair extensions yourself?
Choosing the Right Type of Hair Extensions
Before you decide on a type of hair extension or how to install hair extensions yourself, it's crucial to examine the current health and history of your own hair. If your natural strands are overprocessed or particularly fragile, some methods might not be the best choice. Choosing the right type of extension not only enhances your style but also ensures that your natural hair remains healthy and strong.
Clip-in Extensions

Clip-ins are perfect for those who want flexibility. These extensions come in strips of varying widths, which you can easily clip to the roots of your hair. They blend seamlessly with your natural hair, offering a natural and voluminous look, like Atelier Hair Extensions. This method is ideal for beginners or anyone looking for a non-committal option that can be applied and removed quickly.
Tape-in Extensions

Tape-in extensions consist of thin, pre-taped hair wefts that adhere to small sections of your natural hair. They lie flat against the head, providing a smooth and natural appearance. However, if your strands are weakened or brittle, the weight and adhesive might cause strain. They're great for those who want a semi-permanent solution that still looks natural and voluminous.
Bead Extensions

Bead or micro-link extensions involve small beads or loops that attach tiny wefts of hair to small sections of your natural hair. This method does not use heat or adhesive. The results are natural-looking, as the beads are small and color-matched to your natural strands, allowing for flexible movement and a comfortable feel.
By taking into account both the appearance and the application method, you can choose the type of extension that best suits your hair's needs and your lifestyle. Ready to learn how to prepare your natural mane for these extensions?
Preparing Your Natural Hair
Wash and Dry Your Natural Hair

Proper preparation is key when it comes to applying any type of extension. For semi-permanent options like tape-in or bead extensions, it's crucial to apply them to completely clean hair. Before installation, wash your hair with a gentle shampoo and skip the conditioner; residues from hair products can prevent the extensions from adhering correctly and reduce their longevity. Ensure your hair is completely dry and free of any styling products.
For clip-ins, you have a bit more flexibility. These can be applied to second or third-day hair, depending on your hair type and the natural oils in your scalp, which can actually help the clips hold a bit better. This makes clip-ins ideal for those who are looking for a quick and easy do it yourself hair extensions.
By tailoring your hair preparation to the type of extension you're using, you ensure the best possible outcome for both the look and health of your extensions.
Now, let's move forward with how to install these hair extensions diy step by step.
Applying Clip-in Hair Extensions
Clipping in the Wefts
Installing clip-ins is straightforward, making it a great option for those new to doing hair extensions yourself. Start by selecting the wefts that best match the thickness and length you’re aiming for.
-
Section Your Hair: Begin at the nape of your neck, using a comb to section off a straight line. Secure the rest of your hair on top of your head.
-
Attach the Wefts: Take your first weft and align it with the sectioned line. Carefully clip the weft onto your natural hair, starting from the middle clip and working your way outwards to ensure it lies flat and comfortable against your scalp.
-
Blend with Your Natural Hair: Let down a layer of your natural hair and repeat the process, moving up your head and spacing the wefts evenly. Make sure each weft is securely attached and hidden beneath your natural hair.
Blending Them in with Your Natural Hair
After all the wefts are in place, gently comb or brush your hair to blend the extensions with your natural hair seamlessly. For an even more natural look, you can use a curling iron or straightener to style your hair and the extensions together, ensuring that the textures and lengths integrate perfectly.
Clip-ins provide an excellent way to add volume and length without the commitment of permanent extensions. They can transform your look in minutes and are easy to remove at the end of the day.
Next, we’ll cover how to apply tape-in hair extensions, which require a bit more precision but offer a longer-lasting solution. Ready to continue?
Installing Tape-in Hair Extensions

Sectioning and Preparing Your Hair
Tape-in extensions require a bit more precision in their application but provide a semi-permanent solution that can seamlessly enhance your natural hair for weeks.
-
Start with Clean, Product-Free Hair: As mentioned earlier, make sure your hair is washed and completely dry with no products applied. This ensures the tape adheres properly.
-
Section Your Hair: Begin at the lowest part of your hair at the back, just above the nape of your neck. Use a comb to create a thin, straight section where the tape will be applied. Clip the rest of your hair away from this section to keep it out of the way.
-
Taping in the Wefts: Peel the cover off the tape section of the weft. Carefully place the tape about a quarter inch from the root to avoid any tension on your scalp. Press firmly to secure. Then, take a similar-sized section of your natural hair and sandwich it above the first weft, sticking the second tape piece to it. This helps create a natural, seamless flow of your hair over the extension.
Blending for a Natural Look
After all sections are securely taped, gently brush through your hair and the extensions to check for any loose pieces and to ensure a smooth blend with your natural hair. Styling with a flat iron or a curling iron at a low temperature can help blend the textures further, creating a beautifully blended look.
@alyssalauren WHAT DO YALL THINK?? #hairextensions #diy #hair #vlog #hairtutorial ♬ original sound - Alyssa Lauren
Tape-in extensions offer a durable wear and can last several weeks with proper care, making them a popular choice for those looking for a more long-term solution without daily hassle.
Bead Hair Extensions at Home

Sectioning and Prepping Your Hair
Bead or micro-link extensions provide a reliable method without the need for heat or glue, making them kind to your strands and scalp. The process involves small beads that clamp onto your hair with the extensions.
-
Clean and Dry Hair: Start with hair that is completely clean and dry. Since this method involves physical clamps, any residue might affect the grip of the beads.
-
Section Your Hair: Use a comb to part your hair horizontally, starting about an inch above the nape of your neck. Secure the top section out of the way with a clip.
- Applying the Extensions: Thread a small section of your natural hair through the loop tool provided with your bead extensions kit. Slide a bead onto the hair and then insert the tip of the hair extension into the bead. Clamp the bead closed with a special tool to secure the extension in place.
Using a Loop Tool to Apply Hair Extension
Hair extension loop tool diy, this is essential for threading your hair and the extension into the bead. It simplifies the process and ensures that the extensions are evenly distributed throughout your hair for a natural look.
@serenaneel I cant believe that worked 👀🫣🫠 #hair #haircare #extensions #cabelas @cabelas ♬ original sound - Serena Neel
Bead extensions can offer a more permanent solution compared to clips and tapes, providing a natural look that moves freely with your own hair. They are particularly suitable for those who prefer a low-maintenance daily routine but still enjoy versatility in styling.
Caring for Your Hair Extensions: Tips for Every Type

Proper maintenance not only extends the life of your easy diy hair extensions but also ensures they continue to look their best. Each type of extension—clip-in, tape-in, and bead—requires specific care practices, especially when it comes to washing, drying, and general upkeep.
Clip-In Hair Extensions
-
Washing: Clip-ins need less frequent washing than permanent extensions since they are not worn continuously. When they do need cleaning, gently wash them with a sulfate-free shampoo and condition lightly.
-
Drying: Pat them dry gently with a towel and lay them flat to air dry. Avoid using high heat when blow-drying to prevent damage.
- General Care: Store your clip-ins in a cool, dry place away from direct sunlight. Brush them gently with a soft-bristle brush before and after use to avoid tangling.
Tape-In Hair Extensions
@reecho_hair_extensions washing tape in extensions 🥰#hair #hairstyle #hairtok #hairtutorial #extensions #hairextensions #fyp ♬ original sound - ReeCho Hair
-
Washing: Tape-ins should be washed carefully on your head, using vertical strokes instead of circular motions to avoid tangling and loosening the adhesive.
-
Drying: It’s crucial to dry the roots where the tapes are applied thoroughly to prevent the adhesive from loosening. Use a low heat setting on your blow dryer to only, as high heat can loosen the weft.
- General Care: Avoid using oils or silicone-based products near the adhesive as these can cause the tape to slip. Regularly check the tapes every few weeks to ensure they are secure and have them moved up by a professional as your hair grows.
Bead Hair Extensions
@taylordidmyhair How to properly shampoo if you have hair extensions @Pallure #shampoo #hairextensions #washdayroutine #washday #haircareroutine #healthyscalp ♬ Suga Suga - Instrumental - Baby Bash
-
Washing: Like tape-ins, bead extensions should be washed gently. Focus on using a gentle touch to avoid sliding the beads.
- Drying: Carefully dry the sections where beads are attached, ensuring no moisture is trapped around the beads to prevent slipping.
- General Care: Bead extensions need regular tightening as they can loosen over time due to natural growth and washing. Avoid pulling or yanking the beads during styling to keep them secure.
By understanding these maintenance differences, you can better choose the type of extension that fits your lifestyle and care routine. For example, if you prefer a low-maintenance option, clip-ins might be the ideal choice, whereas if you're okay with regular upkeep for a more permanent look, tape-ins or beads could be more suitable.
Tips for Blending Hair Extensions

Matching Hair Texture and Color:
- Texture: Choose extensions that match the natural texture of your hair. If you have curly hair, look for curly extensions; if your hair is straight, select straight extensions. This helps the extensions blend naturally when styled together.
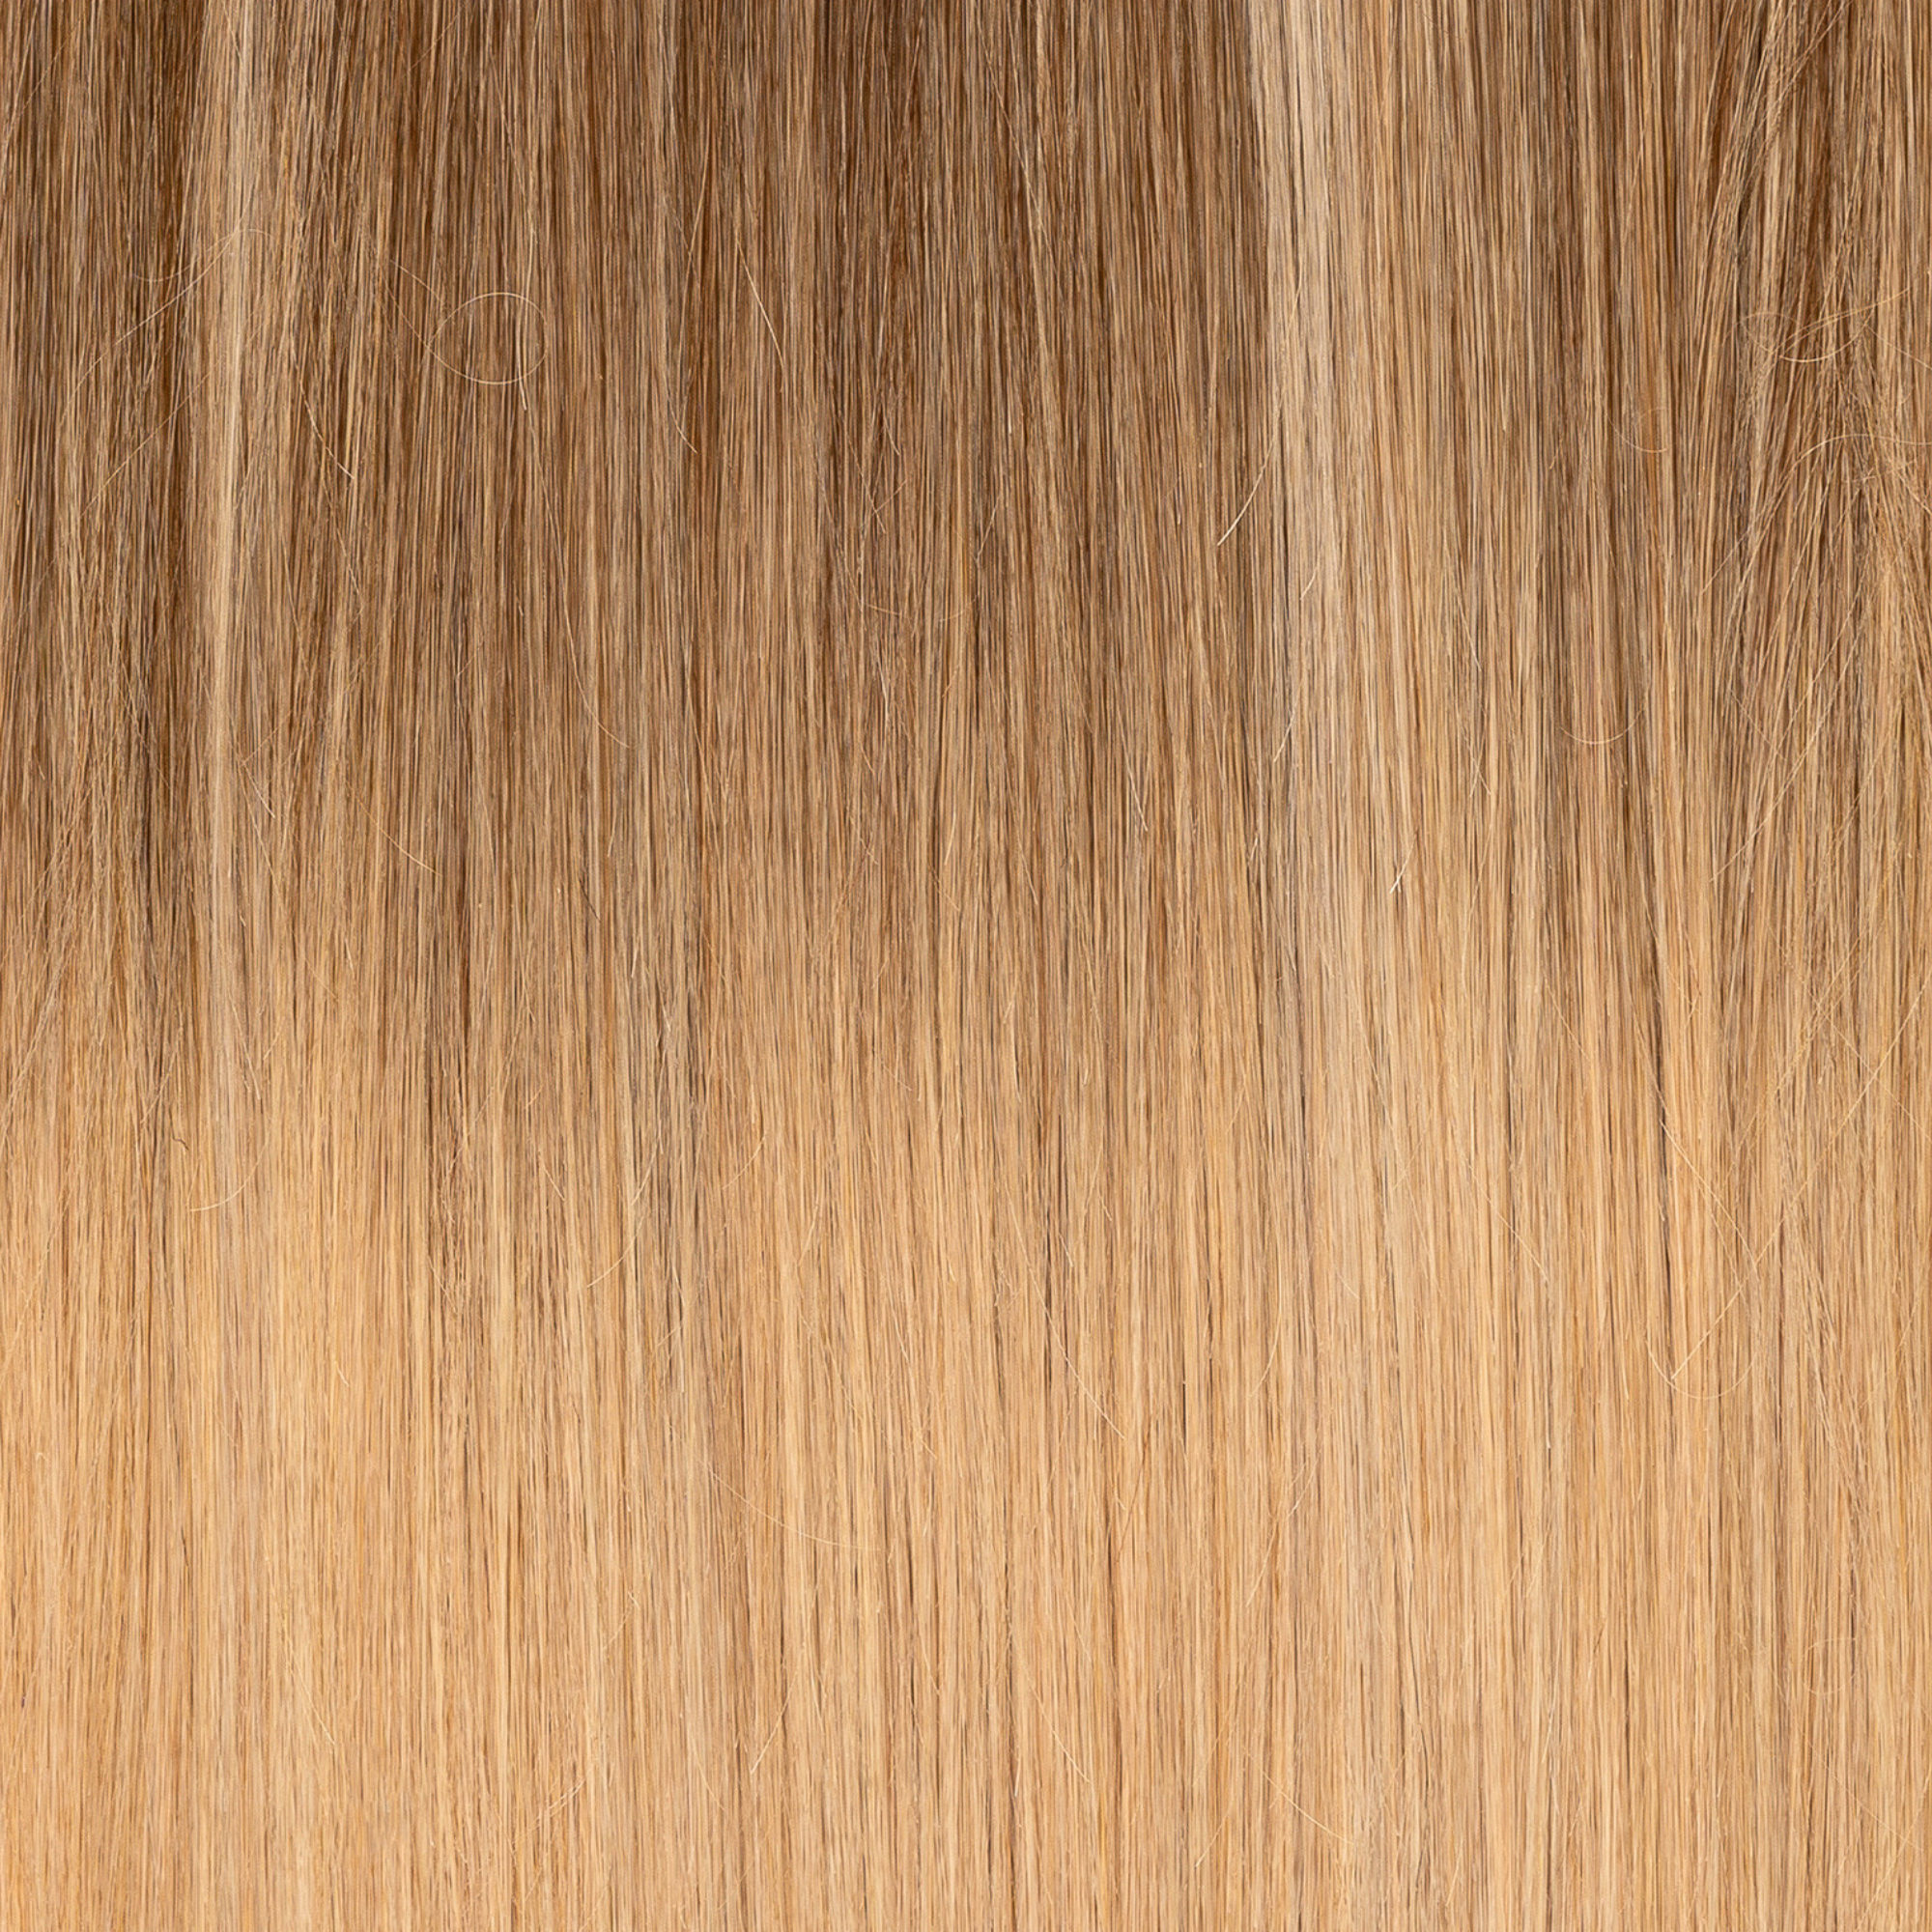
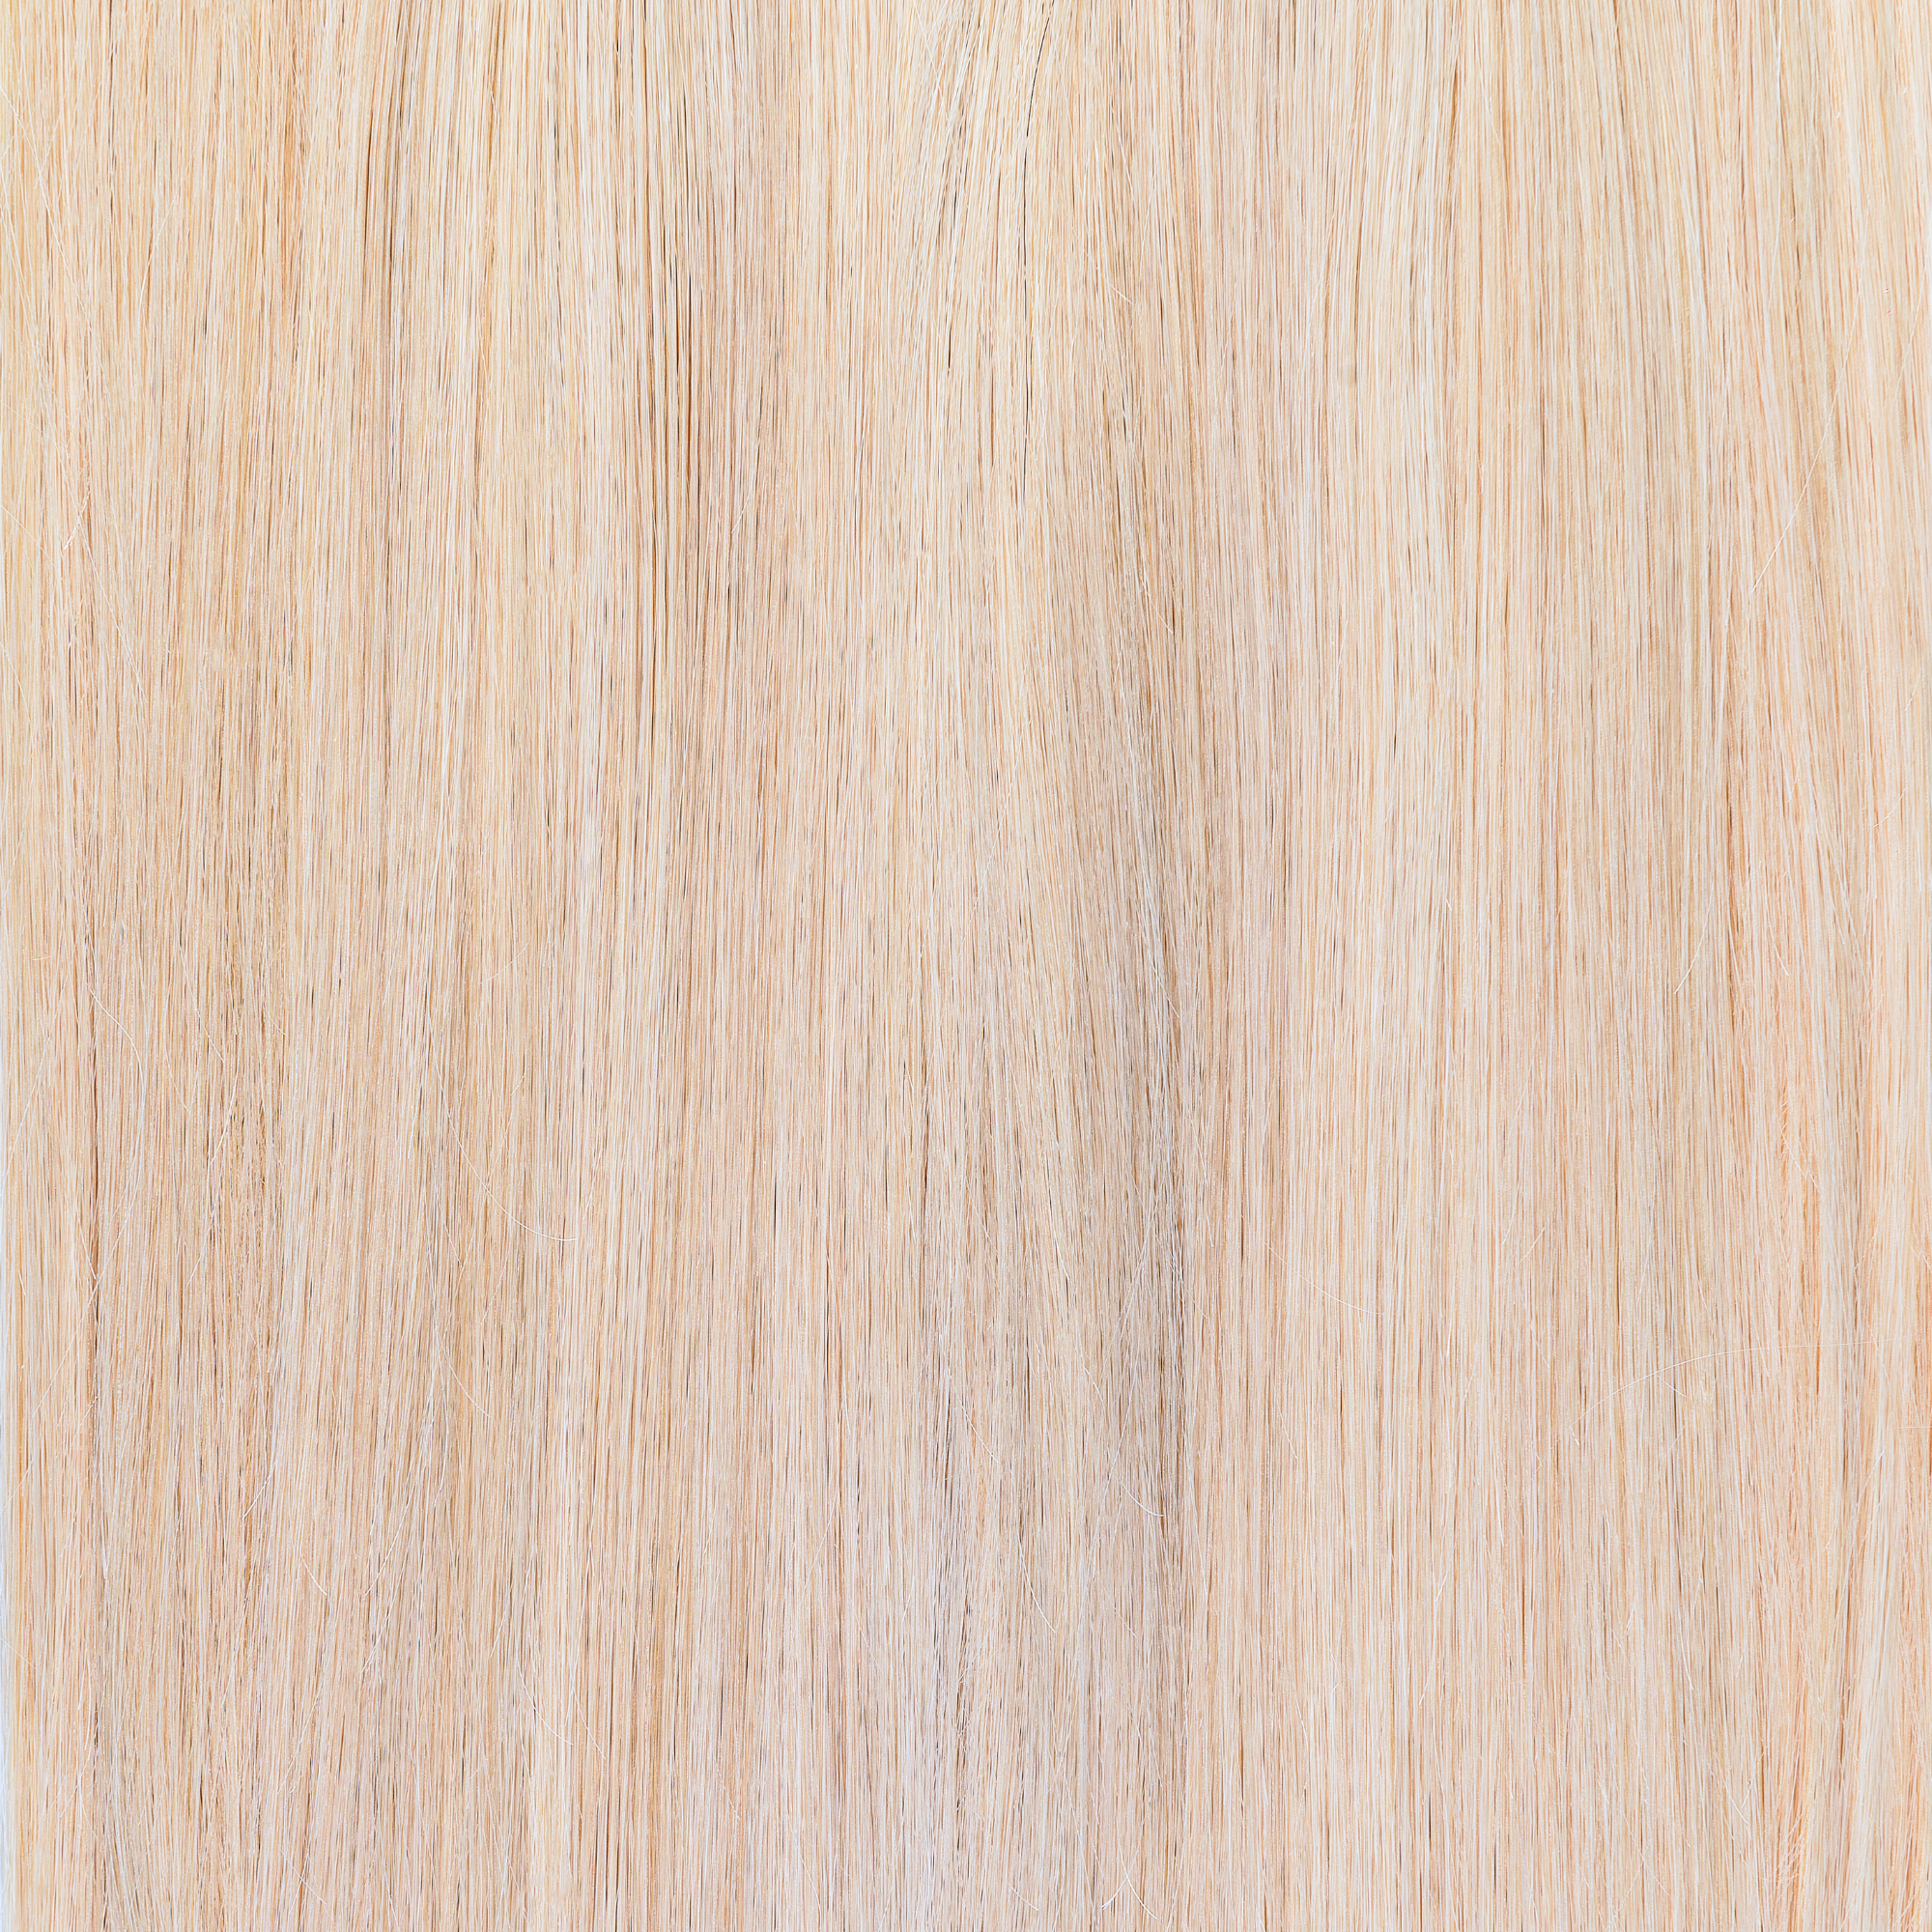
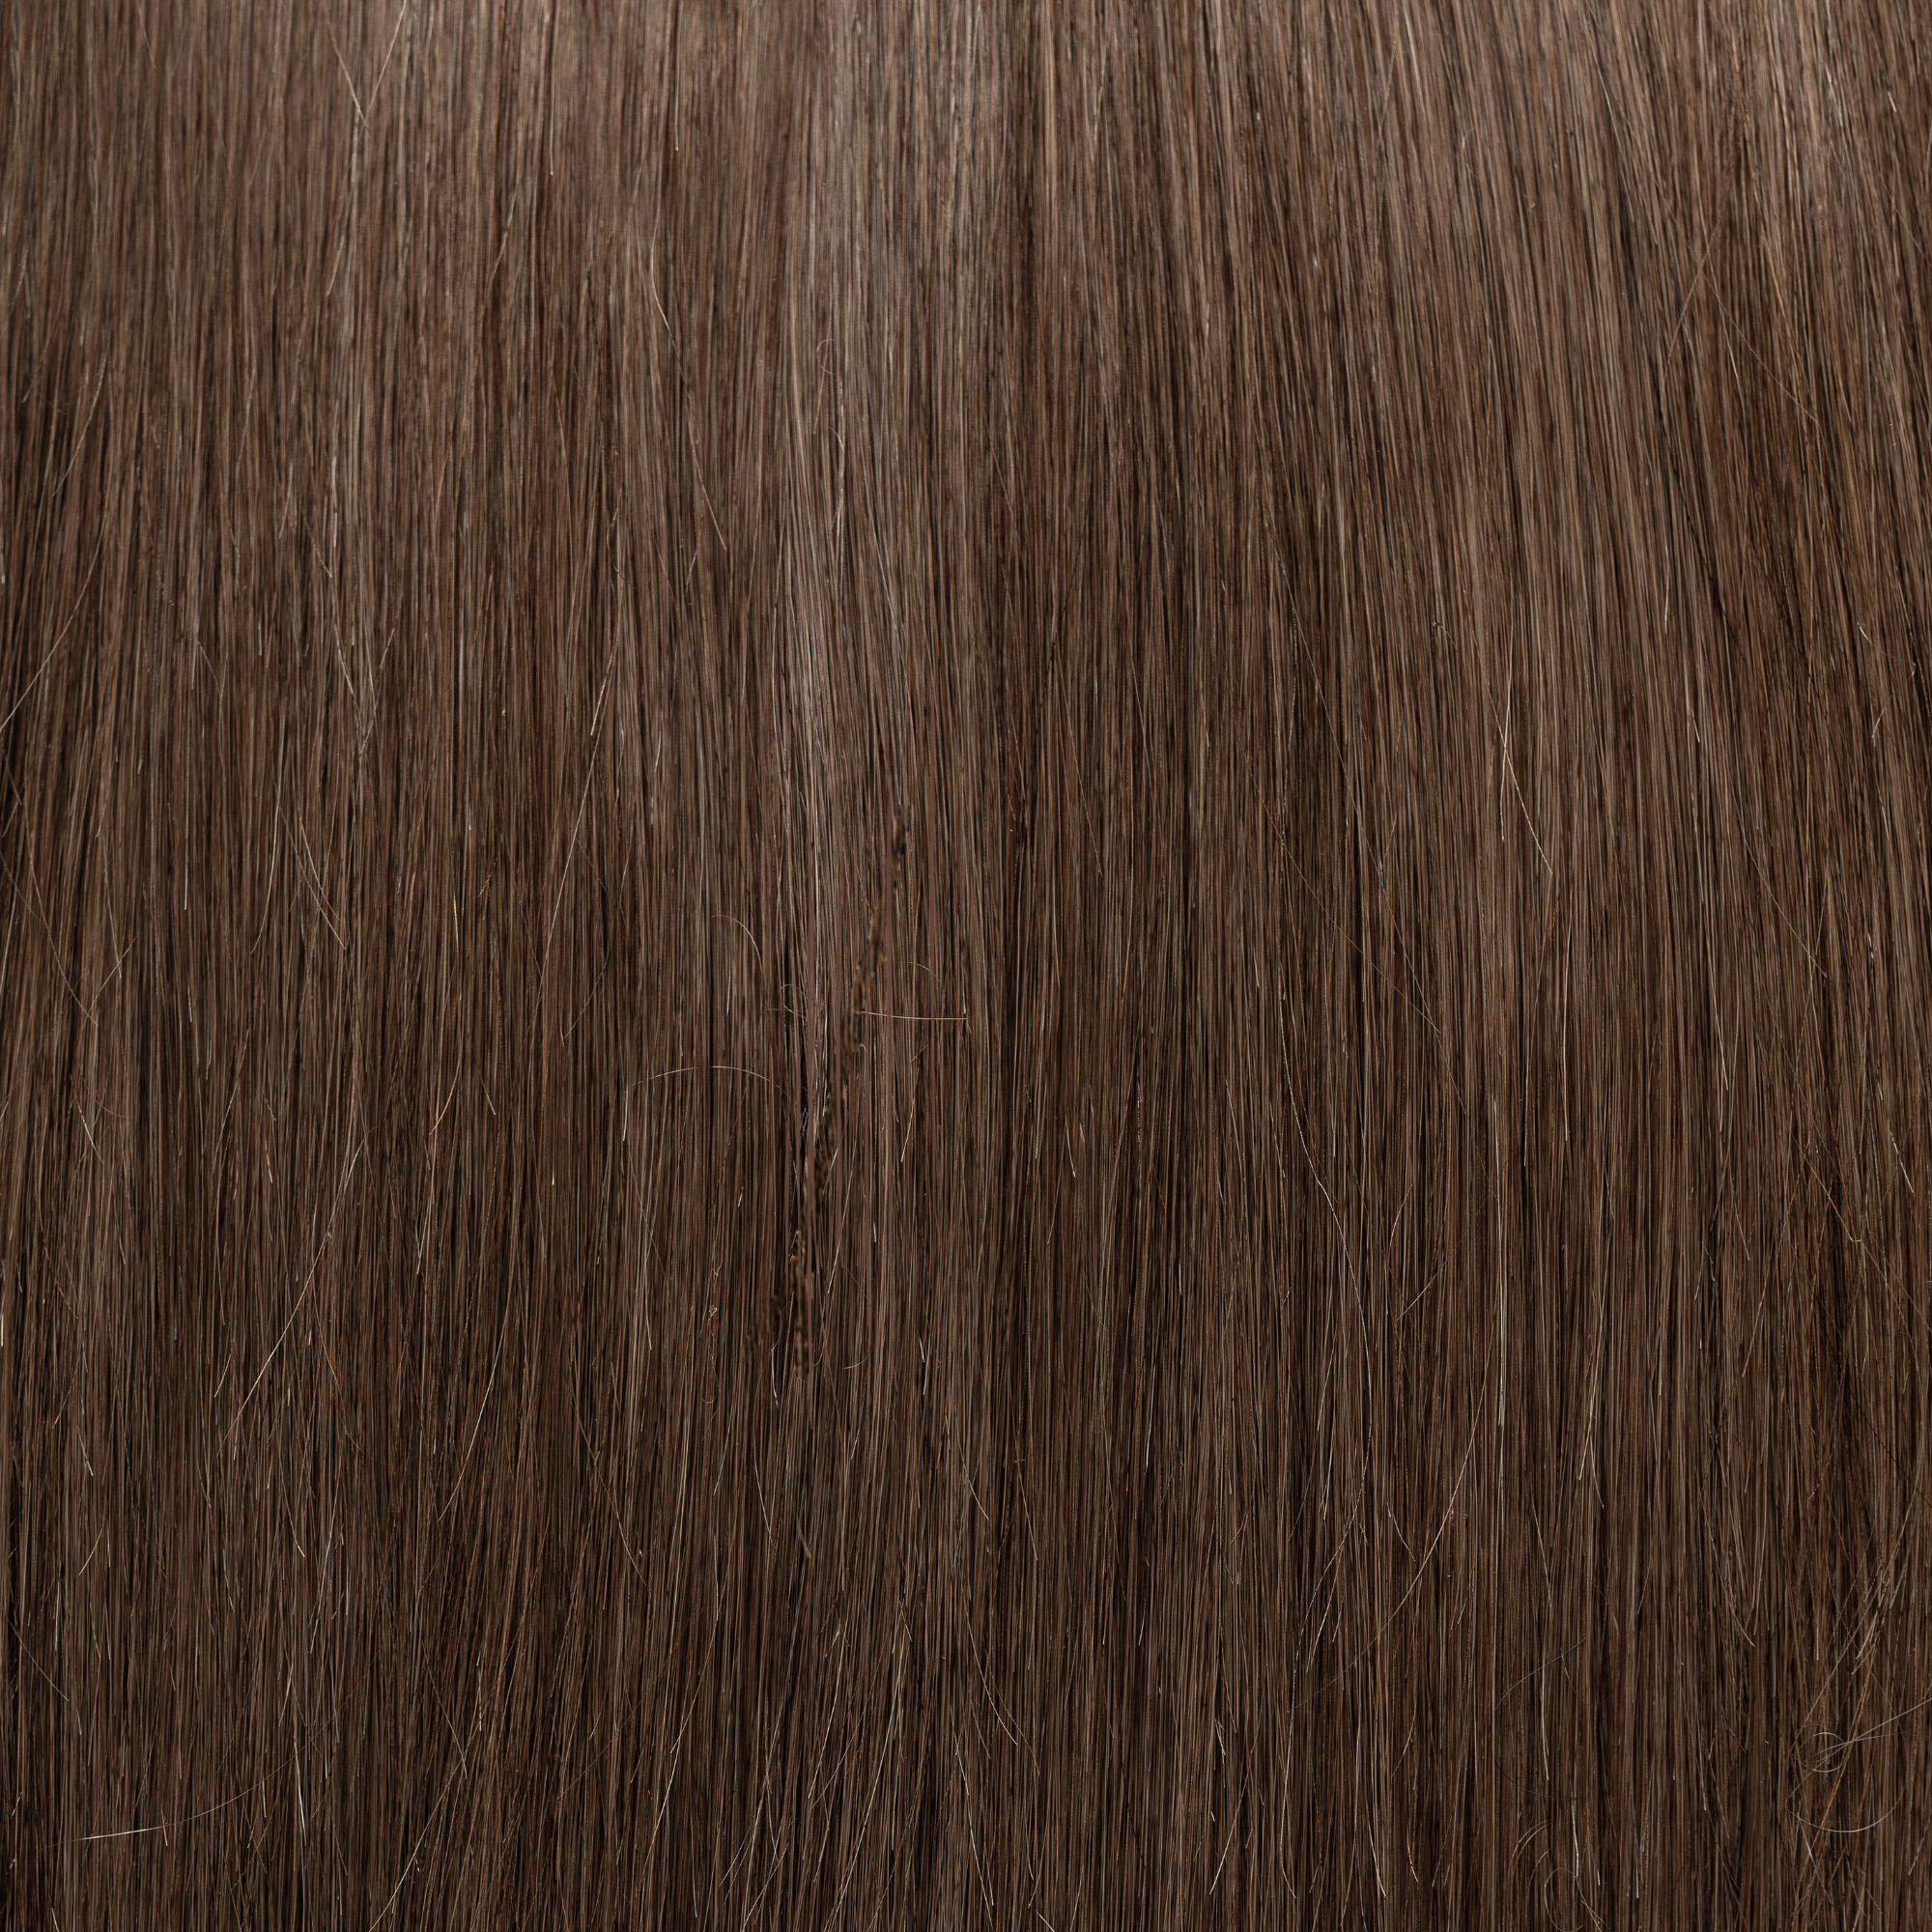
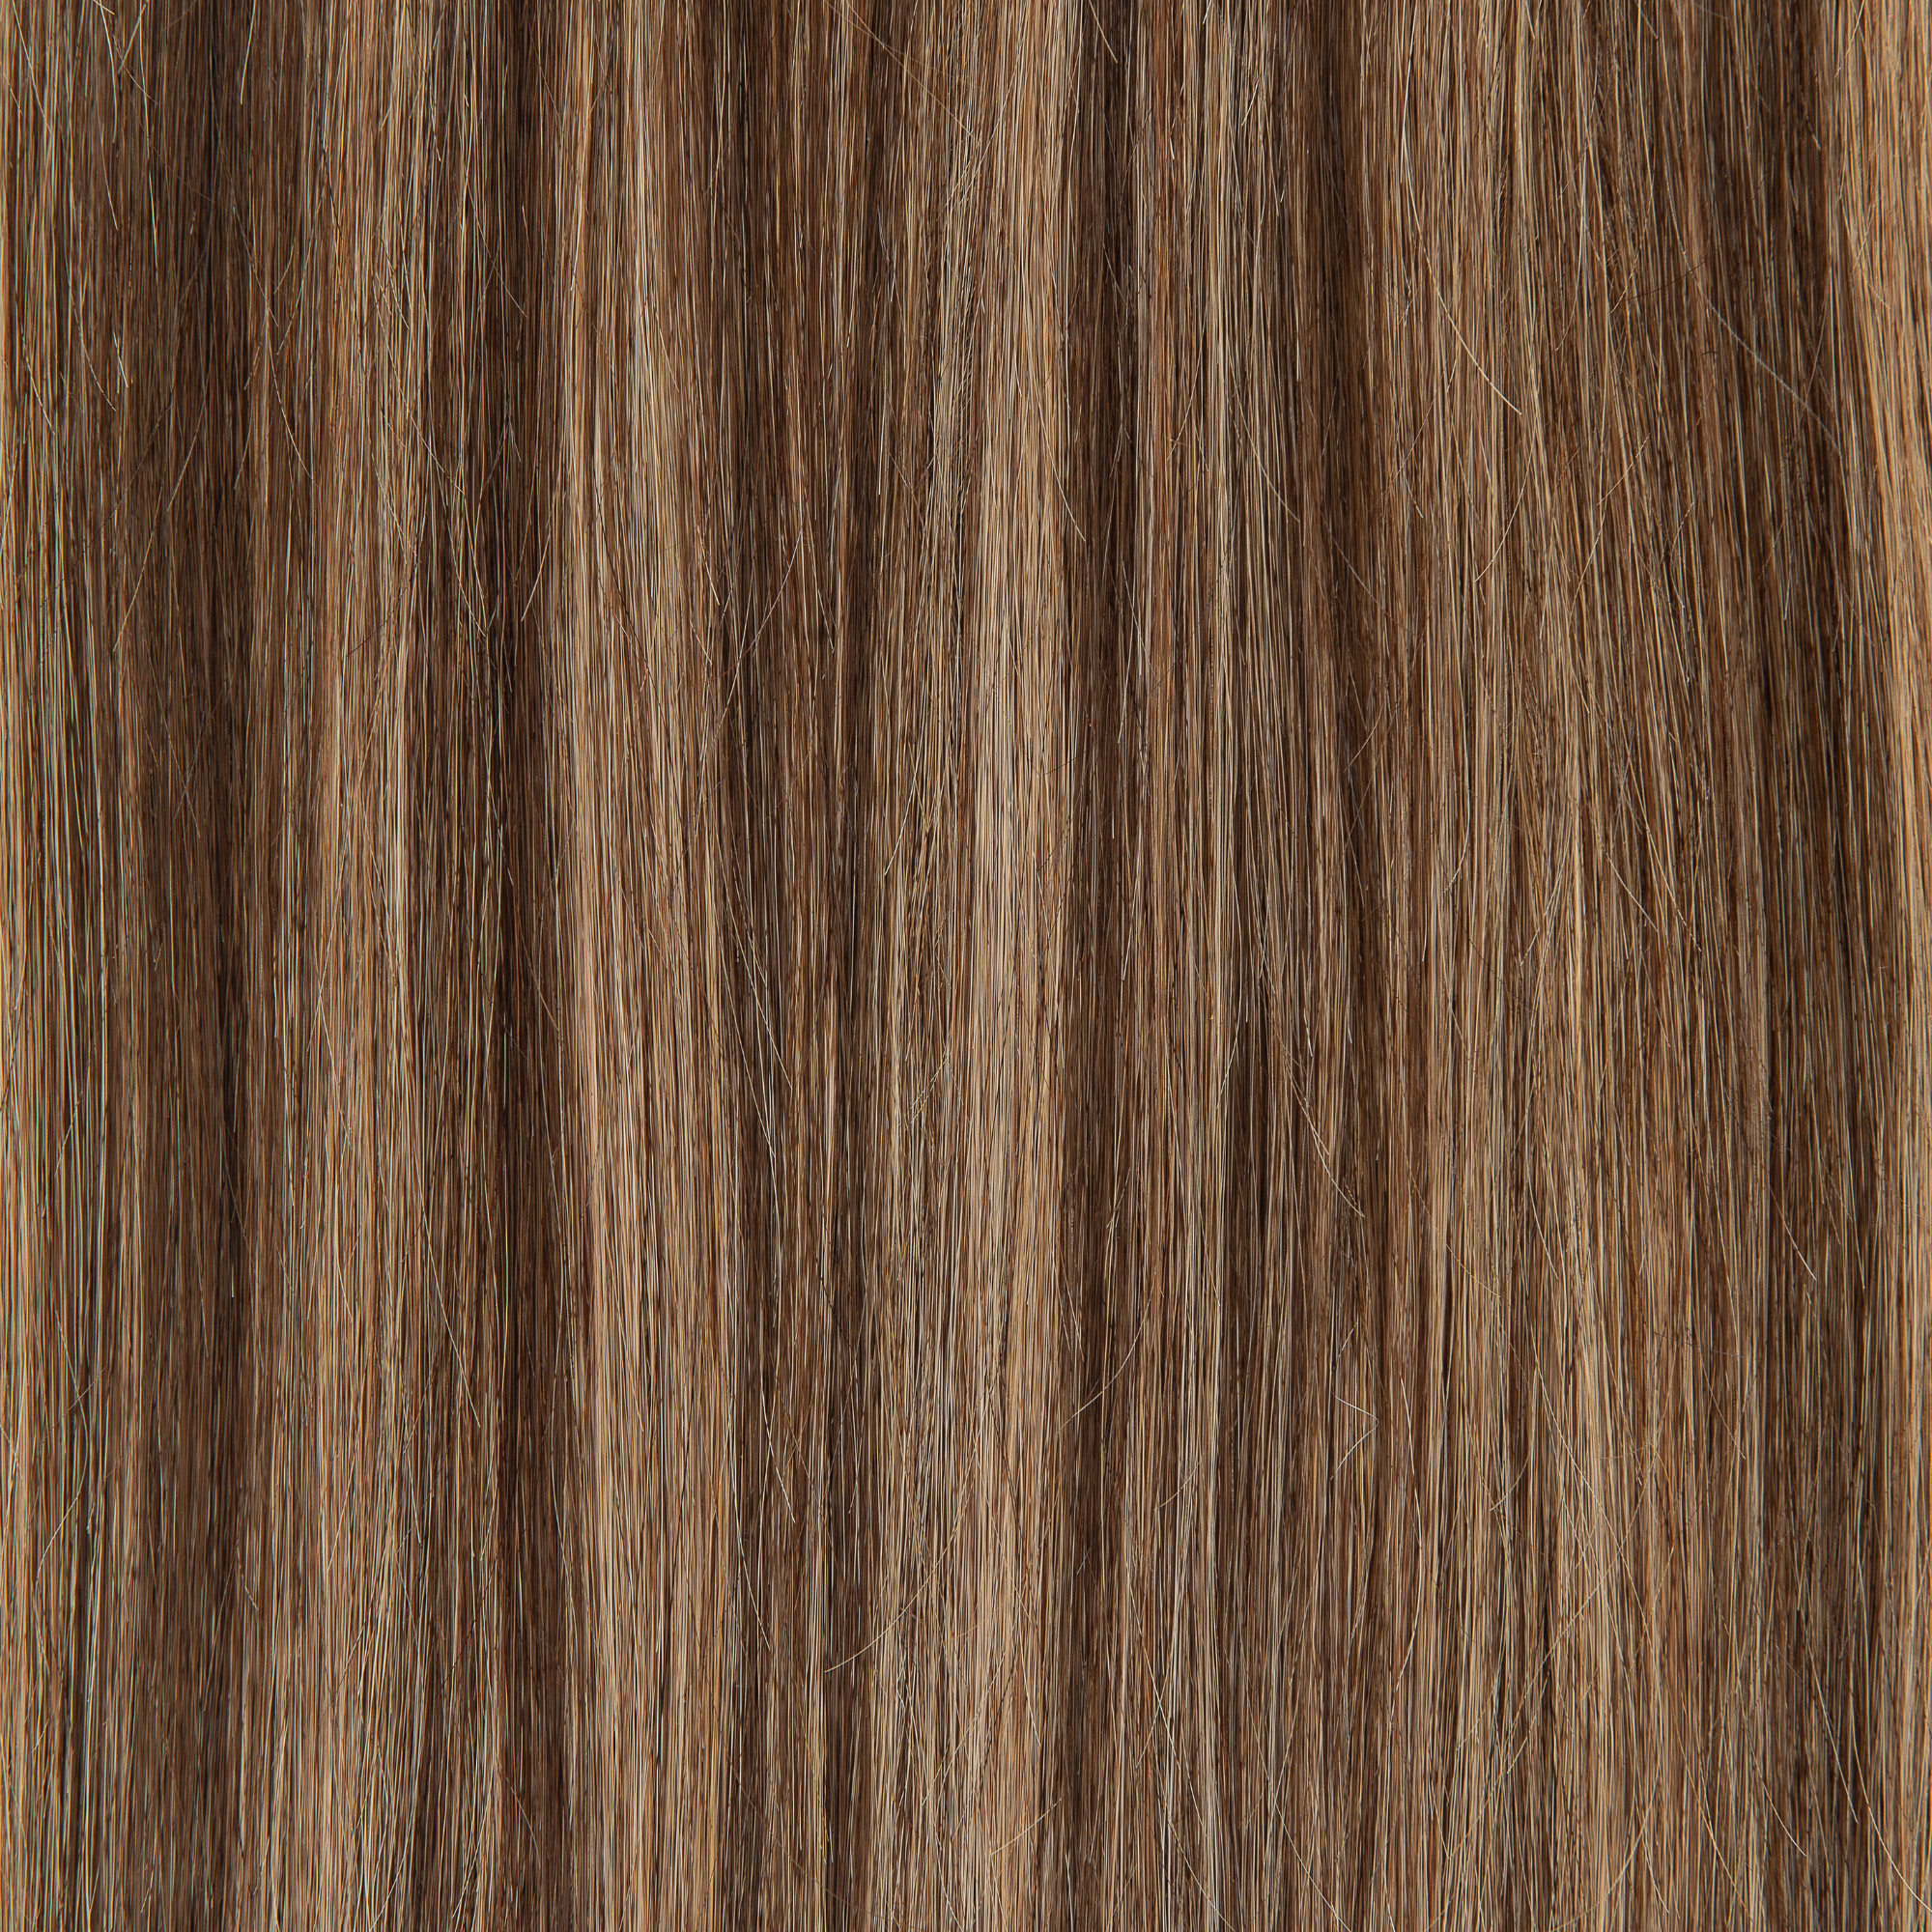
- Color Match Hair Extensions: Ensuring a perfect color match is crucial. Extensions that closely match your hair color will blend more seamlessly. Consider custom-dyeing your extensions if you can't find an exact match, but always do this with the guidance of a professional to avoid damaging the extensions.
Cutting and Styling for a Seamless Blend:
- Layering: Have your extensions cut and layered by a professional stylist while they are in your hair. This will help the extensions mimic the natural fall and layers of your hair, enhancing the blend.
- Styling: Use the same styling tools and products on both your natural hair and the extensions. Curling or straightening both your natural hair and the extensions together will help unify the look and disguise any differences in texture or length.
Cost Comparison and Pros & Cons of DIY Hair Extensions

When deciding whether to learn how to put in hair extensions yourself in order to do cheap do it yourself hair extensions or seek professional help, it's essential to weigh both the costs and the benefits and drawbacks of each approach.
Cost: DIY vs. Professional
DIY Hair Extensions-
Upfront Costs: Generally lower, as you only buy hair extensions/hair and possibly some tools. These are often one-time expenses.
- Ongoing Costs: Minimal, since you're performing maintenance and reapplications yourself. The potential to reuse extensions can lead to significant long-term savings.
- Total Cost Effectiveness: High, especially if you're comfortable following tutorials and have some basic hair handling skills.
Professional Extensions:
- Upfront Costs: Higher, as prices include both the materials and professional labor for application.
- Ongoing Costs: Considerable, due to necessary regular salon visits for maintenance, which can significantly add up over time.
- Total Cost Effectiveness: Lower, but the investment is offset by professional, potentially longer-lasting results.
Pros and Cons of DIY Extensions
Pros:
- Cost Savings: The most apparent advantage is cost-effectiveness. Avoiding salon markup on both labor and materials can keep expenses low.
- Flexibility and Convenience: Apply or remove extensions on your own schedule without needing salon appointments.
- Customization and Learning: Picking up a new skill can be fulfilling, and customizing the look to your exact preferences is a significant plus
Cons:
- Skill Level Required: There's a learning curve. Incorrect application can lead to discomfort, damage to your natural strands, or unsatisfactory aesthetic results.
- Time Commitment: Doing it yourself can be time-consuming, especially as you're learning the process.
- Potential for Mistakes: Without professional training, the risk of making mistakes—like uneven placement or mismatched color—increases.
Deciding on the best diy hair extensions for you depends on your budget, time availability, and confidence in your ability to apply them properly. While the financial benefits are significant, the practical challenges and need for a certain skill level can be deterrents.
So What Are The Easiest Hair Extensions to Apply Yourself?

When it comes to choosing the easiest hair extensions at home diy, the answer largely depends on your skill level and commitment to learning. For beginners, human hair clip-in hair extensions are hands down the easiest type to start with. They require minimal skill, can be applied and removed quickly, and offer a risk-free way to experiment with different styles without long-term commitment. Clip-ins provide an excellent introduction to hair extensions, allowing you to gain confidence and experience without the pressure of more permanent solutions.
For those who are more adventurous or willing to invest time in learning, applying more permanent extensions like tape-ins or bead extensions can also become manageable and rewarding. While these methods require more precision and care during application, mastering these techniques can lead to surprisingly professional-looking results and a more lasting transformation.
Whether you choose the best do it yourself hair extensions, clip-ins or decide to tackle the challenge of tape-ins or bead extensions, the key is to start slow, follow detailed guides, and not be afraid to make mistakes along the way. With patience and practice, applying hair extensions yourself can become an empowering and creative beauty skill.
F.A.Q's
To apply hair extensions at home, start by choosing the right type based on your comfort level and the desired permanency. For beginners, clip-in hair extensions are the easiest; simply section your hair, start at the nape of the neck, and clip the extensions in, working your way up. For more permanent solutions like tape-ins or bead extensions, follow detailed instructions specific to each type to ensure a secure and natural-looking fit.
DIY hair extensions can work for most hair types, but it's crucial to select the right type based on your hair's condition and texture. Clip-in extensions are generally suitable for all types, offering a non-committal way to enhance volume and length. Tape-in and bead extensions require more careful consideration; they're not recommended for extremely fine or damaged hair as they can potentially cause strain or further damage.
Clip-in hair extensions are perfect for daily wear as they can be easily put in and taken out without causing damage to your hair. However, for semi-permanent extensions like tape-ins and beads, it's essential to follow proper maintenance routines to keep both your natural hair and the extensions in good condition. Daily wear is possible but may require more frequent maintenance to avoid tangling and buildup.
Caring for hair extensions at home involves gentle washing with sulfate-free shampoo, careful drying, and proper storage. Wash them sparingly—only when necessary—to prevent drying out the hair. Always dry thoroughly before storing and use a soft-bristle brush to detangle. For semi-permanent extensions, avoid using heavy oils or silicone-based products near the bonds and schedule regular maintenance checks.
Yes, you can wash and style hair extensions just like your natural hair, but it's essential to do so gently and use heat protectant products when styling. Avoid high heat settings to prevent damage. When washing, especially for tape-in and bead extensions, make sure not to rub the bonds or beads vigorously as this can cause them to loosen.
