Styling Ideas for Blonde Clip-In Hair Extensions
- Irene GilmanAre you in a hair rut, looking for some inspo? Check out these stunning celebrity looks that we’ll help you achieve using your clip-ins. Imagine rocking Paris Jackson's dreamy beach waves from the Desigual fashion show, Sydney Sweeney's voluminous hair from the 2024 Met Gala, Beyoncé's jaw-dropping sleek straight hair from her Renaissance tour, or Anya Taylor-Joy's super slicked-back high ponytail. With our easy-to-use clip-in extensions, you can elevate your look to recreate these fabulous styles effortlessly. Throughout this article, we’ll guide you step-by-step on how to transform your everyday hair into these show-stopping looks with our blonde clip-in hair extension styling techniques.
Benefits of Using Blonde Clip-In Hair Extensions
Blonde clip-in hair extensions are more than just an accessory; they are a game-changer for your hair routine. Here are some of the top benefits:
-
Versatility: Clip-in extensions allow you to experiment with various styles without making a permanent change to your natural strand. From sleek and straight to big voluminous curls, the possibilities are literally endless.
-
Instant Volume and Length: Whether you have thin hair or just want to add some extra oomph, clip-in extensions provide immediate results. They are perfect for special occasions when you want to wow with a fuller, longer hairstyle.
- Damage-Free: Unlike permanent extensions, clip-ins cause no damage to your natural strands. You can wear them as often or as little as you like, without worrying about the long-term health of your locks.
Don’t Already Have Hair Extensions? Choosing the Right Shade of Blonde
Selecting the perfect shade of blonde is crucial to achieving a natural look. Here's how to make sure you get the right shade for your blonde clip-in hair extension hairstyles:
-
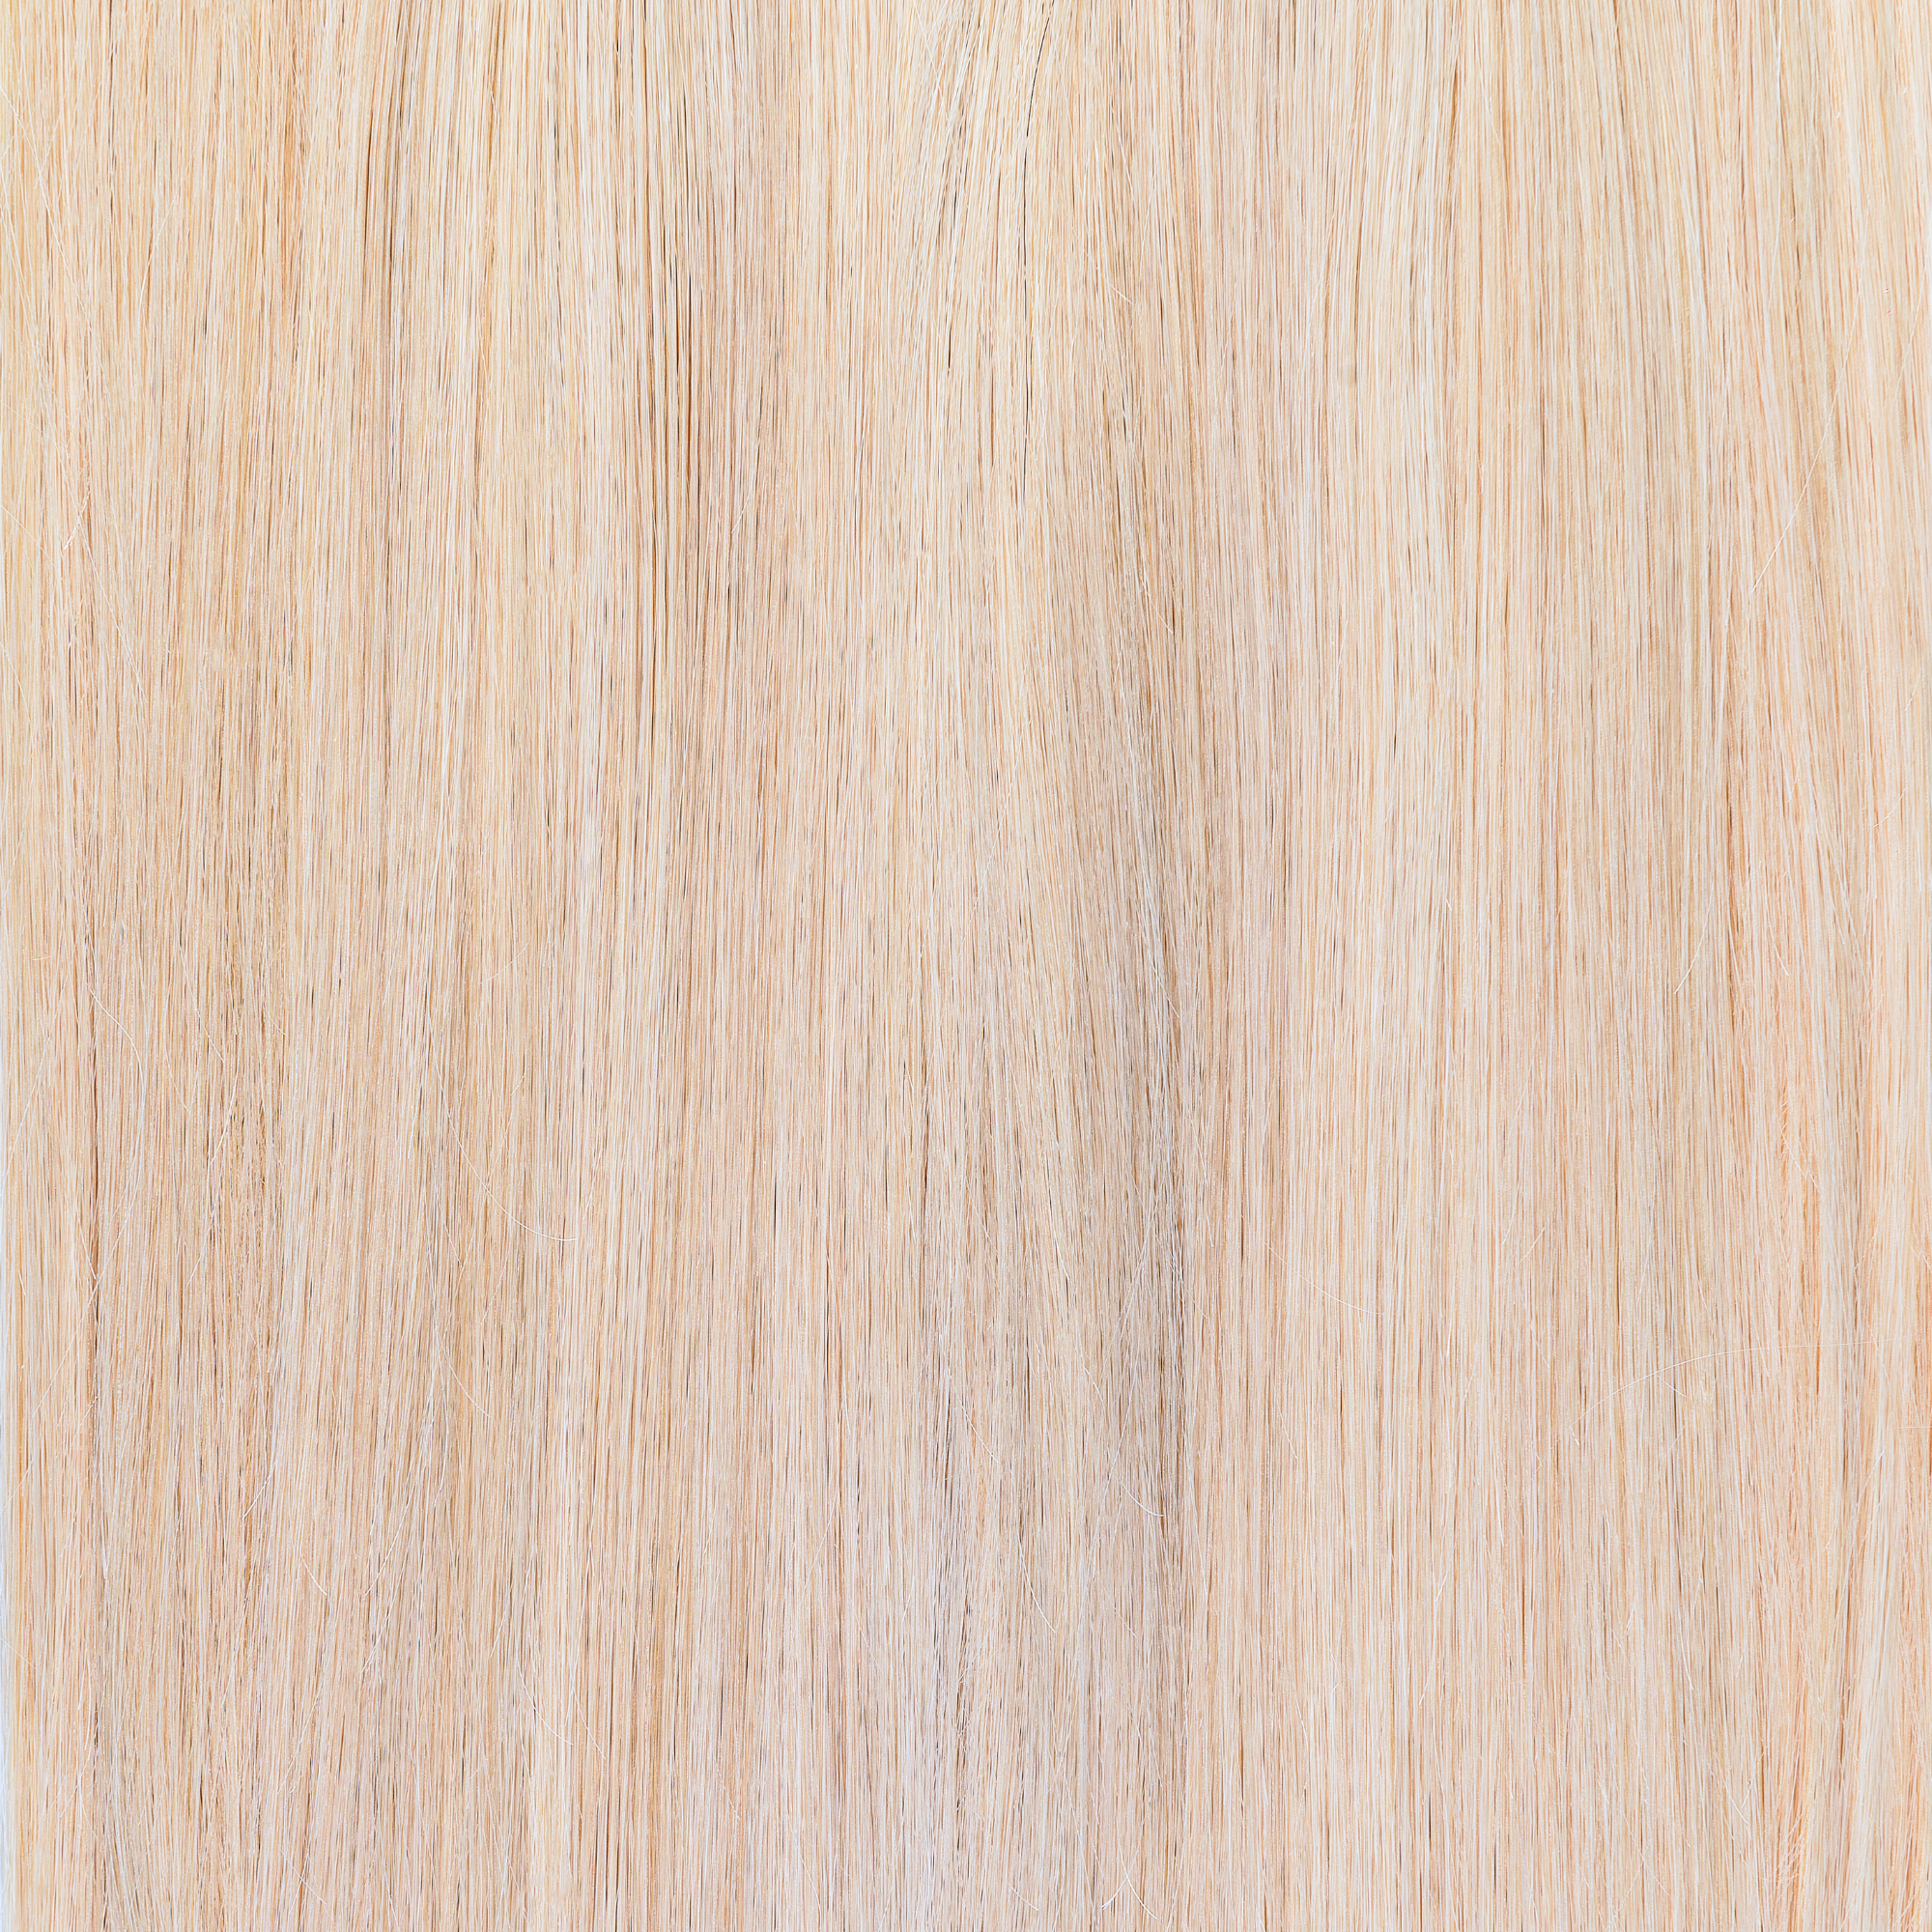
Match Your Base Color: Choose extensions that match the base color of your natural strands as closely as possible. This creates a seamless blend and avoids a stark contrast between your extensions and natural hair.
-
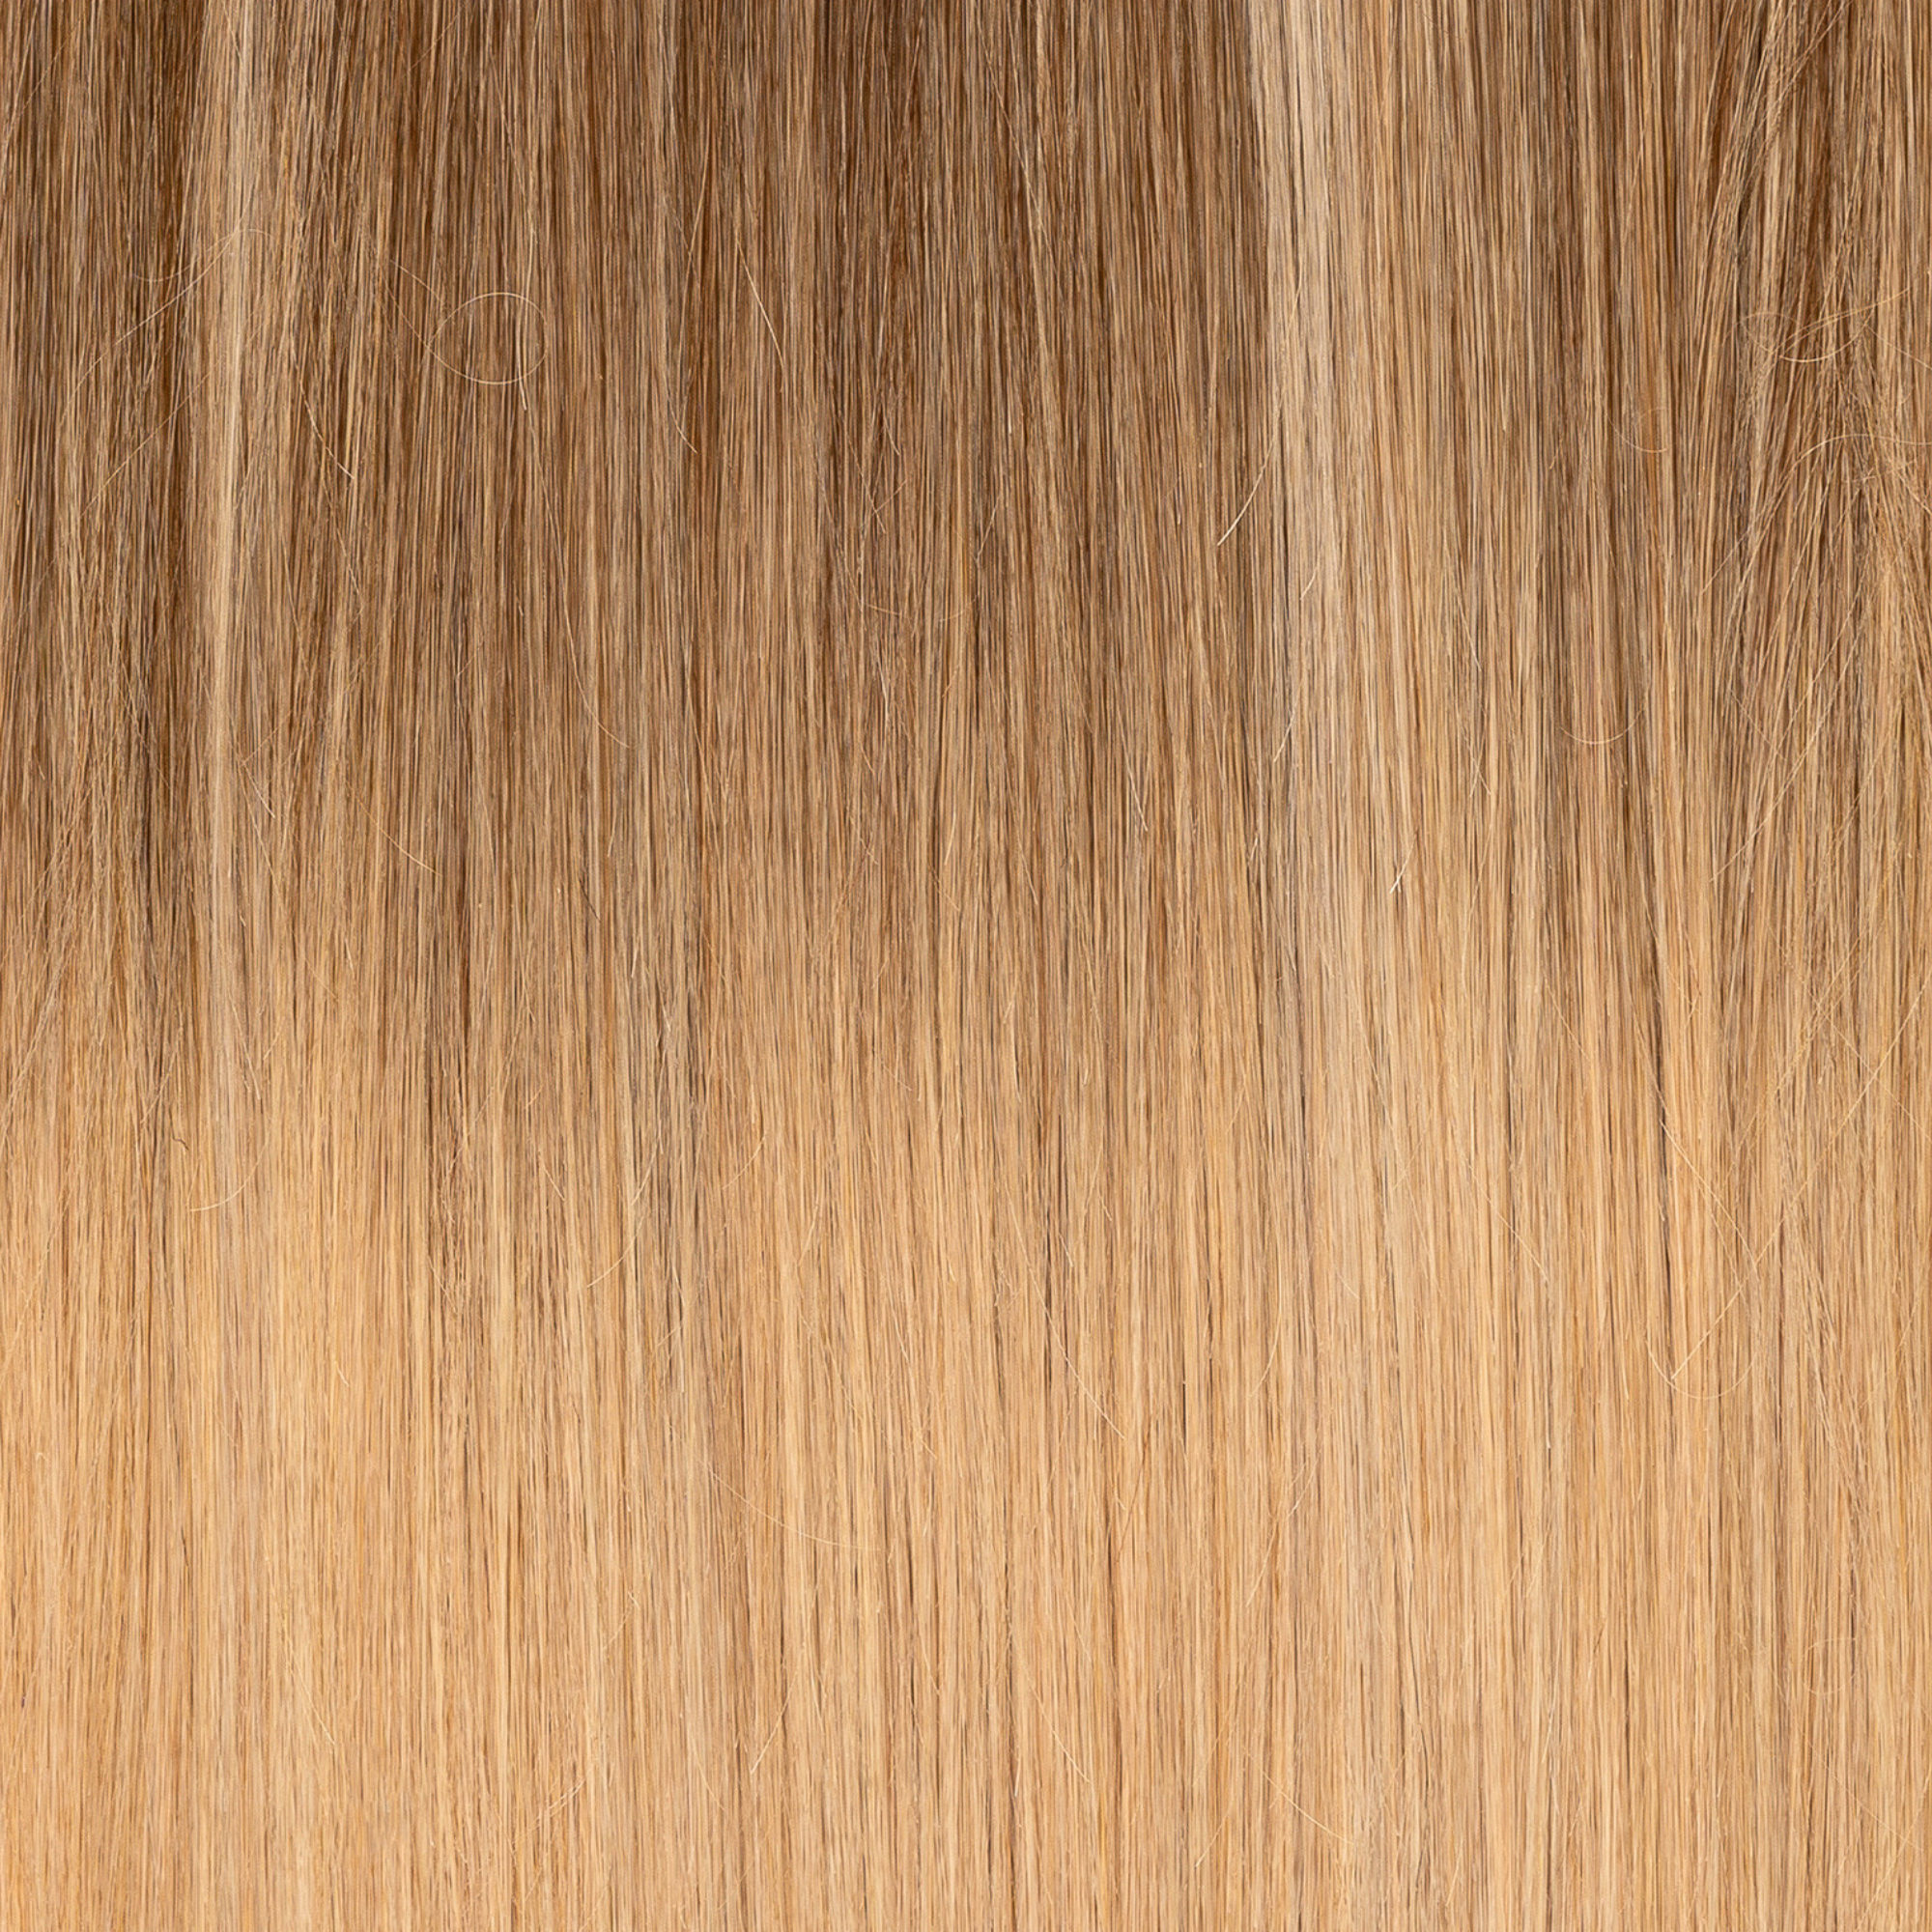
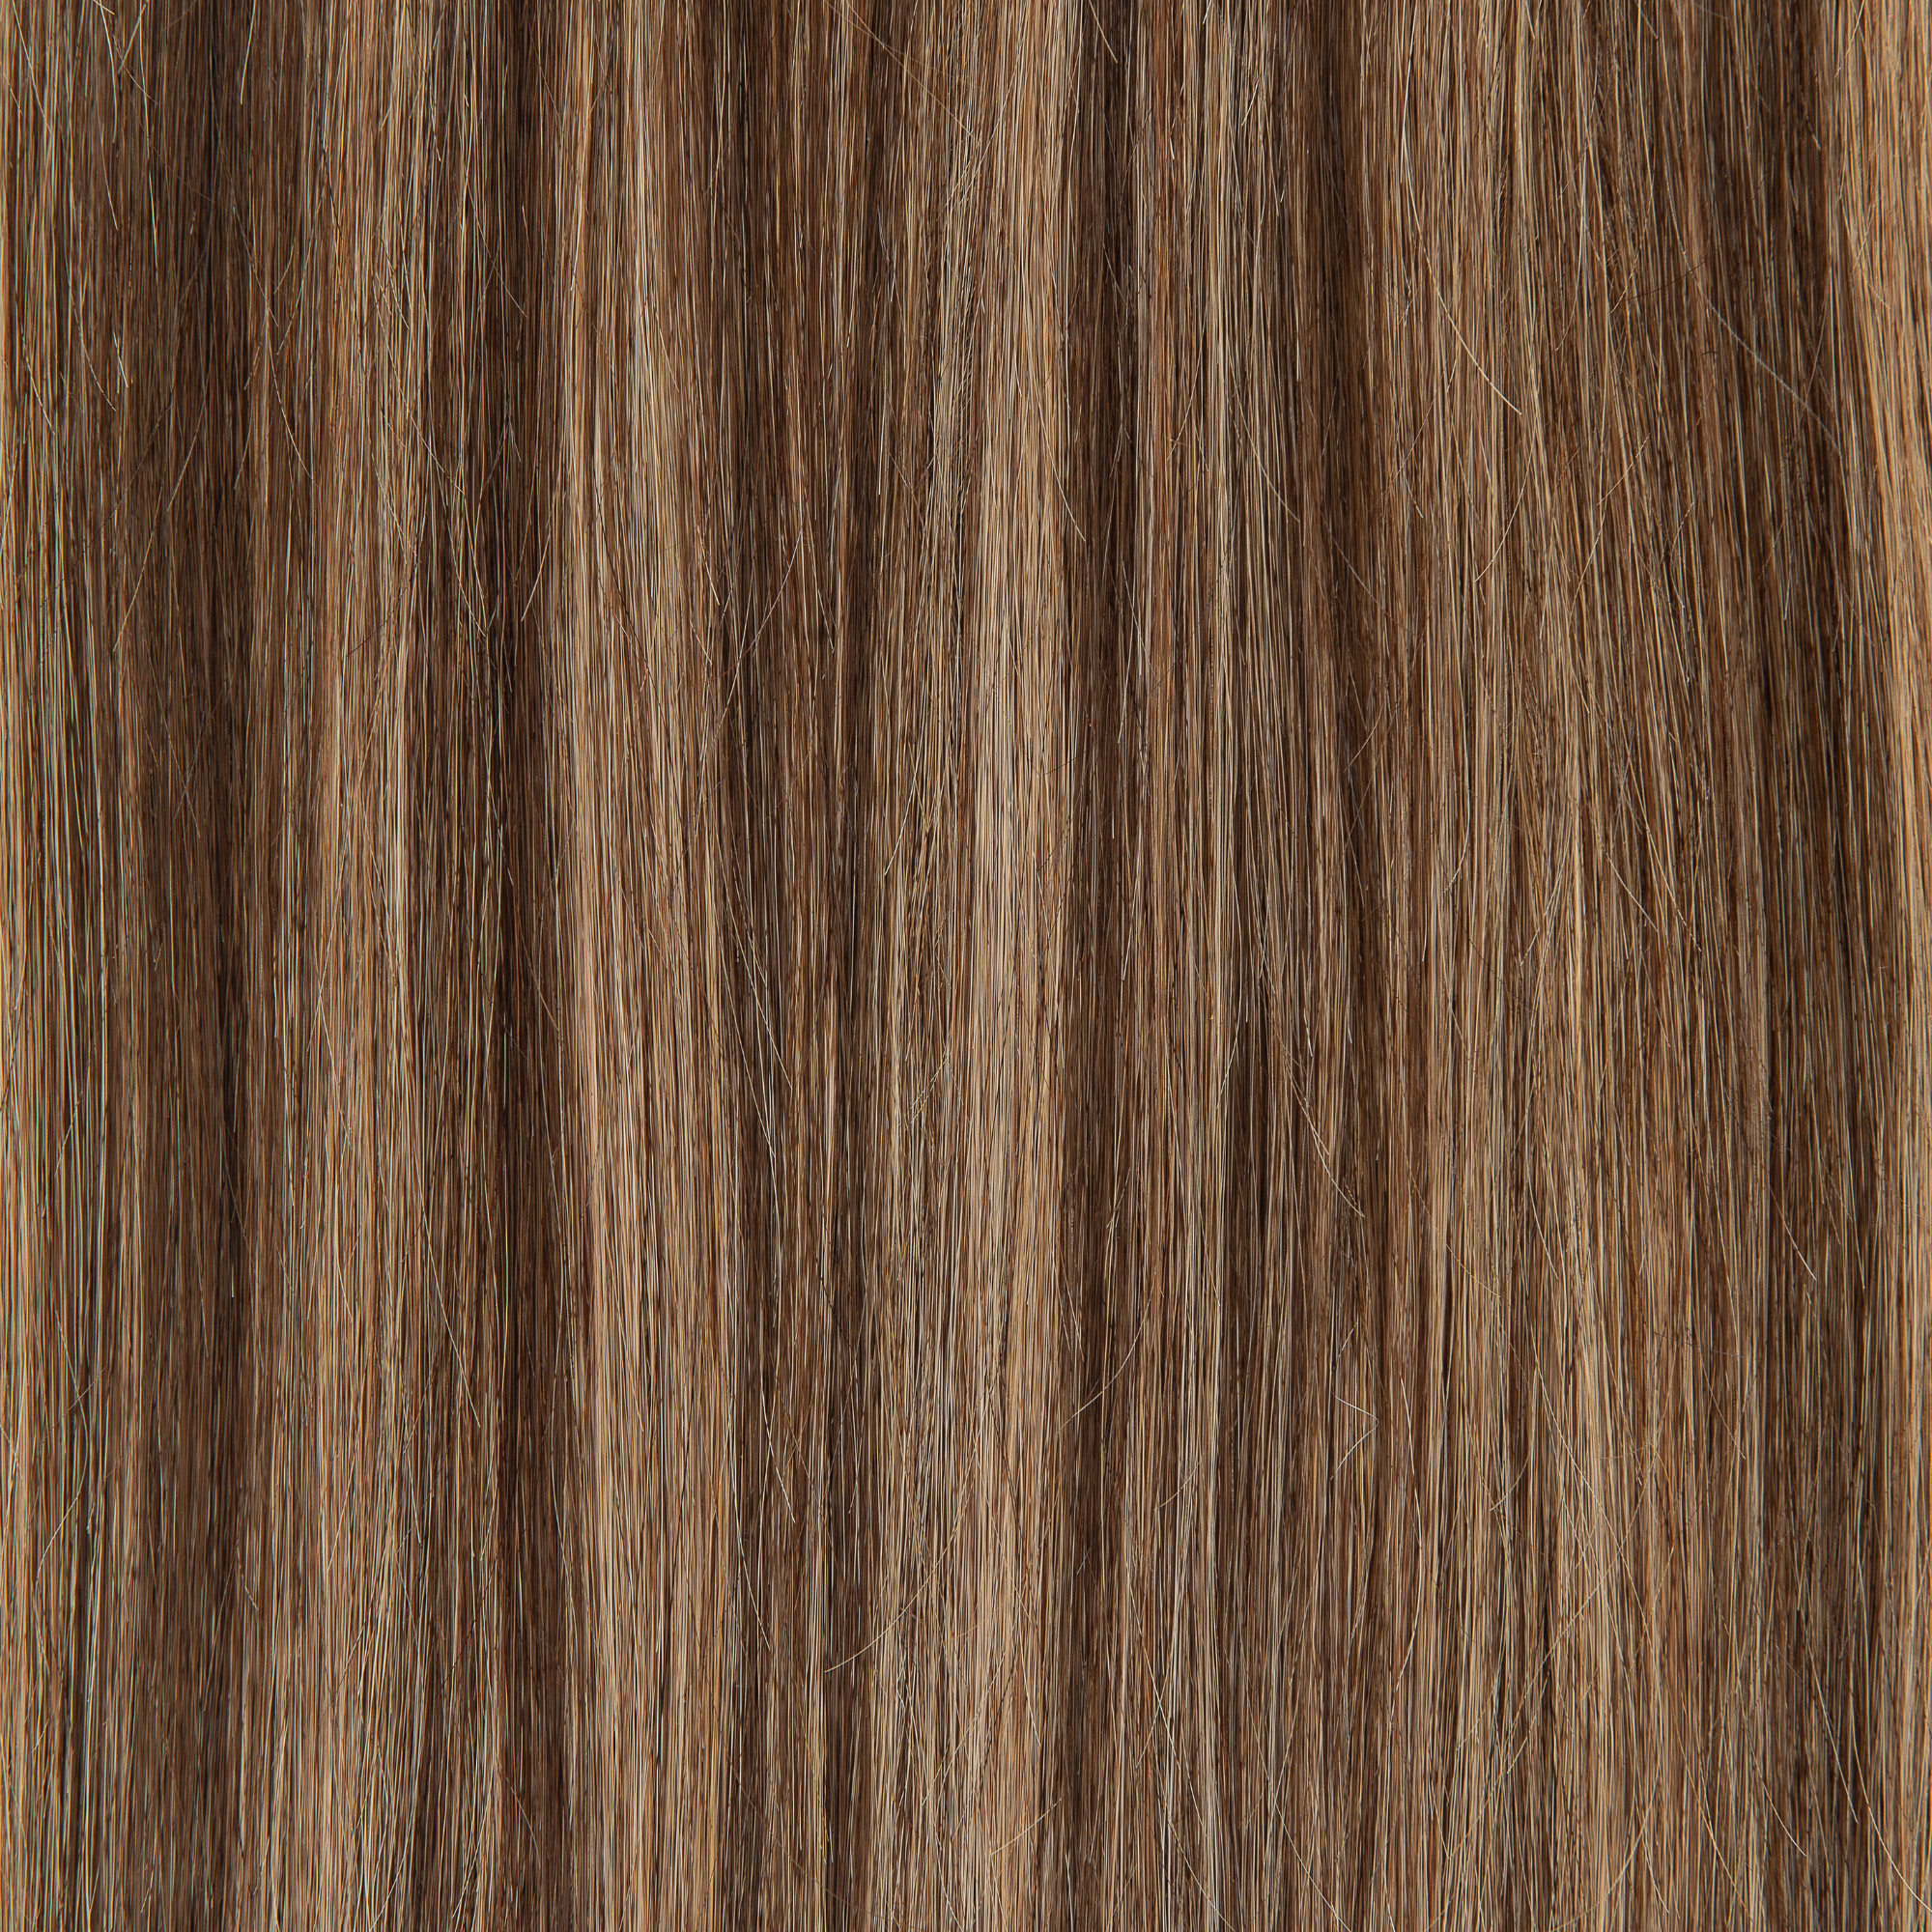
Consider Highlights and Lowlights: If your natural strands has highlights or lowlights, look for extensions that mimic these dimensions. Many blonde clip-ins come in multi-tonal shades to match highlighted hair perfectly.
- Consult a Professional: If you're unsure, don't hesitate to seek advice. Atelier Extensions offers a virtual color match service on their website to help you find the perfect shade and give tips on blending the extensions for a flawless look.
Refresher: How to Properly Install Your Blonde Clip-Ins
Installing clip-in extensions is a breeze once you get the hang of it. Follow these steps for a secure and natural look with these blonde hair extension ideas:
-
Prep Your Hair: Start with clean, dry hair. If your hair is very silky, you might want to add a bit of texturizing spray to help the clips grip better.
-
Section Your Hair: Divide your hair into sections, starting from the nape, use clips to keep the upper sections out of the way.
-
Clip In the Extensions: Begin with the smallest wefts at the nape of your neck. Open the clips, attach them close to the roots, and snap them shut. Continue adding wefts, working your way up your head.
- Blend and Style: Once all the extensions are in place, blend them with your natural hair using a brush or your fingers. Style as desired for a flawless finish.
Hairstyle Ideas for Blonde Clip-In Extensions
Paris Jackson's Dreamy Beach Waves

To achieve Paris Jackson's dreamy beach waves from the Desigual fashion show, follow these steps:
-
Install Your Extensions: Clip in your blonde extensions, focusing on creating a layered look. Start with the wefts at the nape of your neck and work your way up, ensuring each weft is securely attached and blends seamlessly with your natural strands.
-
Curl Your Hair: Use a large-barrel curling iron to create loose waves. Take sections of hair, including the extensions, and curl them away from your face. Hold each curl for about 10 seconds before releasing it.
-
Tousle the Waves: After curling all your hair, gently run your fingers through the curls to loosen them and create a more relaxed wave. This step is crucial for achieving that effortless, beachy vibe.
-
Finish with Texturizing Spray: Add a texturizing spray to give your hair that tousled, beachy texture. Spray lightly and scrunch your hair with your hands to enhance the waves and add volume.
By following these steps, you can recreate Paris Jackson's stunning beach waves and enjoy a relaxed yet glamorous look.
Sydney Sweeney's Voluminous Hair from the 2023 Met Gala

To replicate Sydney Sweeney's voluminous hair from the 2024 Met Gala, follow these steps:
-
Prep Your Hair: When your hair is still damp, apply volumizing mousse to your roots and hair. This will provide the necessary lift and hold for creating volume.
-
Blow-Dry for Volume: Use a round brush and blow dryer to add volume at the roots. Start by flipping your hair upside down while drying to lift the roots, then use the round brush to smooth and lift the hair at the crown and sides.
-
Section and Install Extensions: Start with the bottom section of your hair. Apply your first weft of blonde clip-in extensions, ensuring they are secure and blended with your natural hair, you can also use our volume hair extension as well.
-
Curl and Pin: Using a large-barrel curling iron (1 1/4" - 1 1/2"), start to curl your hair and the extension together. Take each curl you create and pin it with a roller to set the curl and add more volume. Continue this process, working one section at a time, and apply the hair extensions as you go for more control.
-
Continue Upwards: Keep working your way up, section by section, applying extensions and curling the hair. Pin each curl with a roller until you reach the top of your head.
-
Tease for Extra Volume: Once all the curls are set, gently tease the crown area with a fine-tooth comb to add even more volume.
-
Set with Hairspray: Finish by using a strong-hold hairspray to keep the volume and curls intact throughout the event. Lightly mist the hairspray over your entire head, holding the can about 10 inches away to avoid making your hair stiff.
By following these steps, you can achieve Sydney Sweeney's glamorous and voluminous hair look, perfect for any special occasion.
Beyoncé's Jaw-Dropping Sleek Straight Hair

To achieve Beyoncé's sleek straight hair from her Renaissance tour, follow these steps:
-
Prep Your Hair: Start with clean, dry hair. Apply a good heat protectant spray to shield your hair from heat damage.
-
Section and Install Extensions: Begin by sectioning your hair and clipping in your blonde extensions, ensuring they are flat and secure. Focus on placing the extensions at the crown and sides of your head for a smooth blend.
-
Straighten Your Hair: Use a flat iron to straighten your hair, section by section, including the extensions. Work slowly and carefully to ensure each section is perfectly straight. For best results, use a high-quality flat iron that allows you to adjust the temperature to your hair type.
-
Smooth with Serum: Apply a smoothing serum to eliminate any frizz and add shine. Take a small amount of serum and distribute it evenly through your hair, focusing on the ends and mid-lengths to avoid weighing down the roots.
-
Finish with Hairspray: Use a light-hold hairspray to keep your hair sleek and straight all day. Lightly mist the hairspray over your entire head.
By following these steps, you can achieve Beyoncé's stunningly sleek and straight hair, perfect for any high-glamour event.
Anya Taylor-Joy's Super Slicked-Back High Ponytail

To recreate Anya Taylor-Joy's super slicked-back high ponytail, follow these steps:
-
Prep Your Hair: Start with clean, dry hair. Apply a smoothing cream to help manage any frizz and give your hair a sleek finish.
-
Section and Install Extensions: Begin by sectioning your hair and clipping in your blonde extensions, placing the clips side up. This will make lifting the ponytail easier and more comfortable with clip-in extensions. Ensure the extensions are secure and blend seamlessly with your natural hair.
-
Straighten Your Hair: Use a high-quality flat iron to straighten your hair, section by section, including the extensions. This will ensure a super sleek look.
-
Smooth Your Hair: Brush your hair back into a high ponytail, ensuring it is smooth and free of bumps. Use a boar hair brush to achieve an extra sleek finish.
-
Secure the Ponytail: Tie your hair with a strong elastic band. For extra hold, you can use a bungee cord hair tie. Wrap a small section of hair around the base of the ponytail to conceal the band and secure it with a bobby pin.
-
Set with Gel and Hairspray: Apply a strong-hold gel to smooth any flyaways and keep the hair sleek. Finish with a light mist of hairspray to set the style and maintain the sleek look all day.
By following these steps, you can achieve Anya Taylor-Joy's sophisticated and polished high ponytail, perfect for making a statement at any event.
Final Thoughts
Styling clip-in hair extensions for blondes is an easy way to elevate your style. Whether you're aiming for a casual look with bohemian waves, a sleek and sophisticated style, or a high-glamour updo, these extensions offer endless possibilities. By following the step-by-step instructions we've provided, you can effortlessly recreate iconic celebrity looks like Paris Jackson's beach waves, Sydney Sweeney's voluminous curls, Beyoncé's sleek straight hair, and Anya Taylor-Joy's polished high ponytail.
Ready to transform your look? Explore our collection of blonde clip-in extensions and discover the perfect shade and style for you. Happy styling!
