How to use clip-in hair extensions
- Irene GilmanEager to enhance your hair's volume and length but not sure where to start? Clip-in real hair extensions are a fantastic solution for anyone looking to elevate their hairstyle with minimal effort. Renowned for their simplicity and versatility, clip-ins are perfect for beginners and style enthusiasts alike. In this guide, we're focusing on the basics: how to apply clip-in hair extensions and answering the question, 'Are clip-in extensions easy to use?' By the end of this, you'll be equipped with all the knowledge to seamlessly blend these extensions into your hair, promising a natural and stunning transformation.
What are Clip-In Extensions and How Do They Work?
Clip-ins are exactly what they sound like: strands of hair that are attached to small clip attachments. These clips allow the them to be easily and securely fastened to your natural hair. The beauty of clip-ins lies in their simplicity and flexibility. They come in various lengths, colors, and styles, making them a versatile option for anyone looking to enhance their hair's appearance.
How do they work? It's quite straightforward. You section off your hair, typically starting from the bottom, and then clip the weft close to the scalp. They blend seamlessly with your natural hair, giving the illusion of longer, fuller locks. This method is particularly appealing because it allows for applying clip in hair extensions yourself at home, without the need for professional help.
Do Clip-In Extensions Really Make a Difference?

Absolutely! Clip-ins can make a significant difference in the way your hair looks and feels. Whether you're seeking to add length, volume, or both, these wefts can instantly provide that. They're especially beneficial for those with fine or thinning hair, as they add the desired fullness without the need for chemical treatments or permanent alterations.
Moreover, clip-ins offer a safe and non-damaging method to experiment with your hairstyle. They don't require the use of glue, tape, or heat for application, making them a healthier option for your hair. The clip in hair extensions application methods are varied, allowing for versatility in styling. You can choose to wear them daily for a consistent boost in hair volume and length or reserve them for special occasions for an extra glamorous touch.
Clip-In Extensions: A User-Friendly Choice for Everyone
For those new to extensions, clip-ins are an ideal starting point. The question often arises: Are clip-in hair extensions easy to use? The answer is a resounding yes! Clip-in extensions are designed with simplicity in mind, making them accessible for users of all skill levels. The beauty of these wefts lies in their straightforward application process. Initially, it might take a bit of practice to get the placement just right, but the more you use them, the easier it becomes. In fact, the process of applying clip in hair extensions can be mastered quite quickly, making them a favored choice for those who value ease and efficiency in their beauty routines.
Types of Clip-In Extensions: Seamless vs. Traditional Wefts

When it comes to types of clip-ins, there are primarily two varieties to consider: seamless and traditional weft extensions.
- Seamless Extensions: These are a more modern innovation in the world of extensions. Seamless clip-ins are known for their ultra-thin and flat design, which allows them to sit snugly against the scalp. This makes them virtually undetectable and provides a very natural look. They are particularly suited for those with fine or thin hair as they blend seamlessly without adding bulk.
- Traditional Weft Extensions: These are the more conventional form of clip-ins. Traditional wefts have a thicker base where the hair is sewn into a fabric or silicone strip. While they can offer a more cost efficient option to seamless extensions, they might not be the best option for individuals with thin hair, as the base can be slightly bulkier and more noticeable.
Understanding these differences is key in selecting the right type of clip-in extensions for your hair needs and desired style
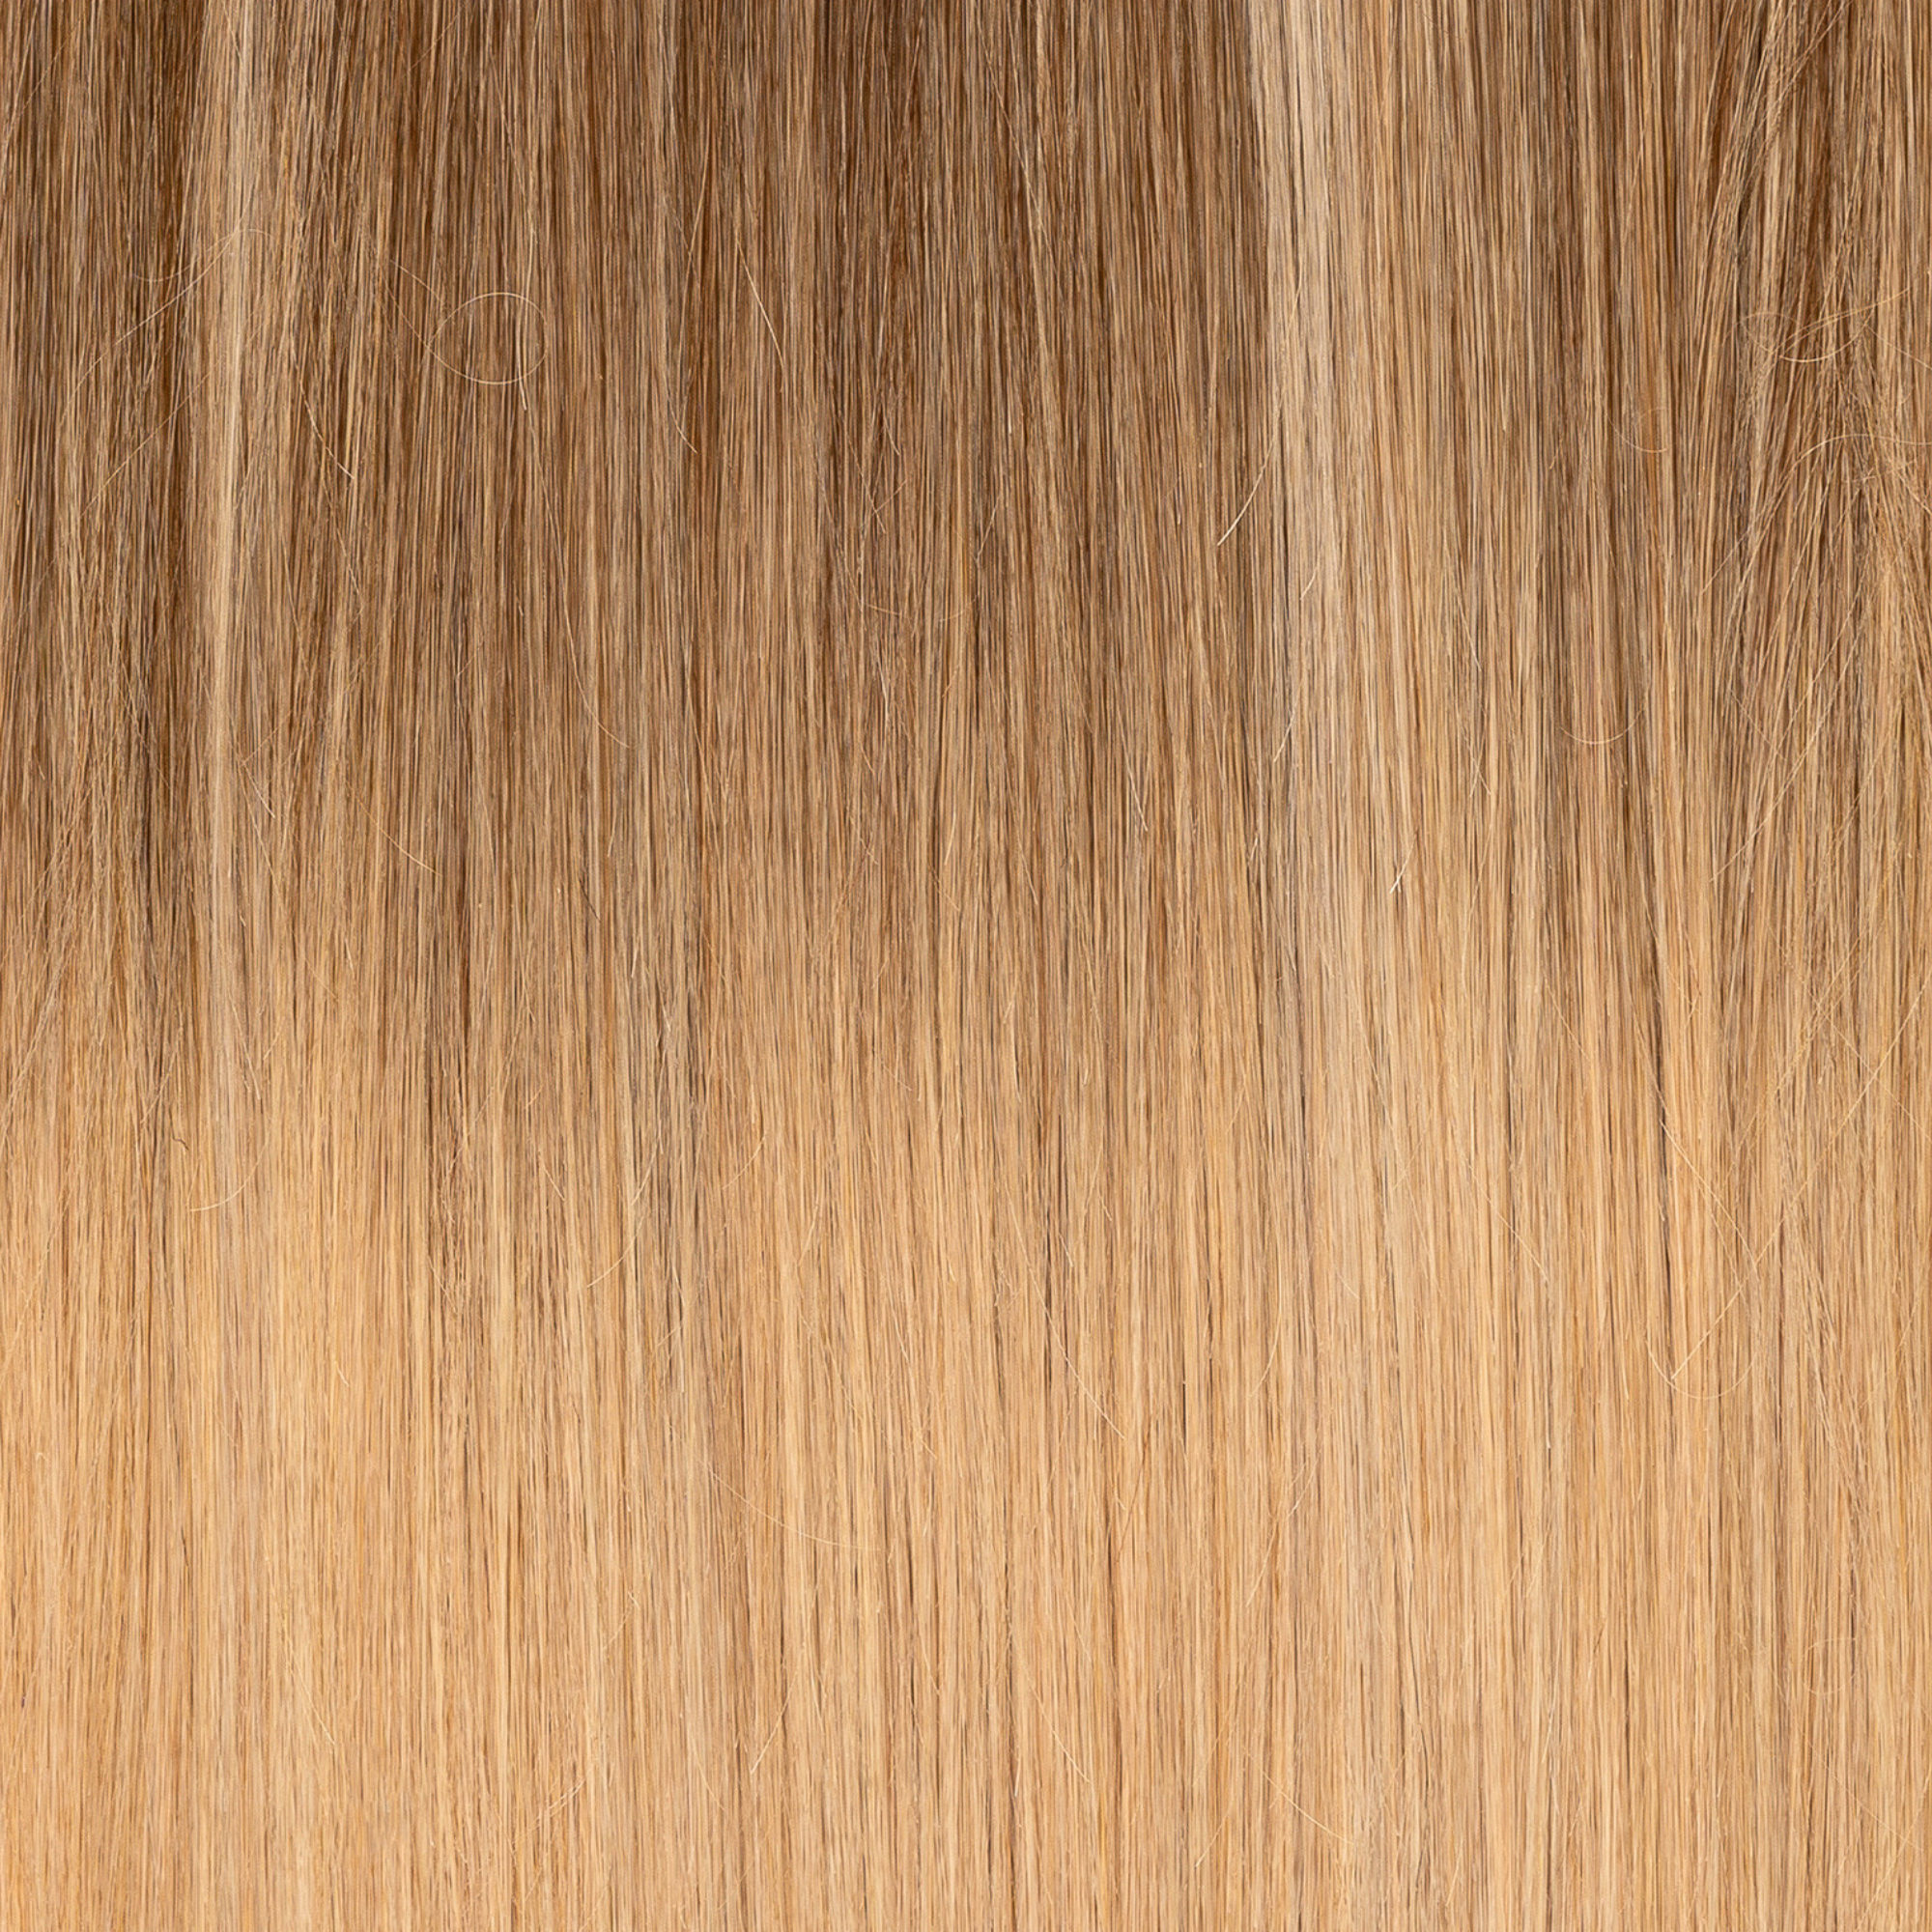
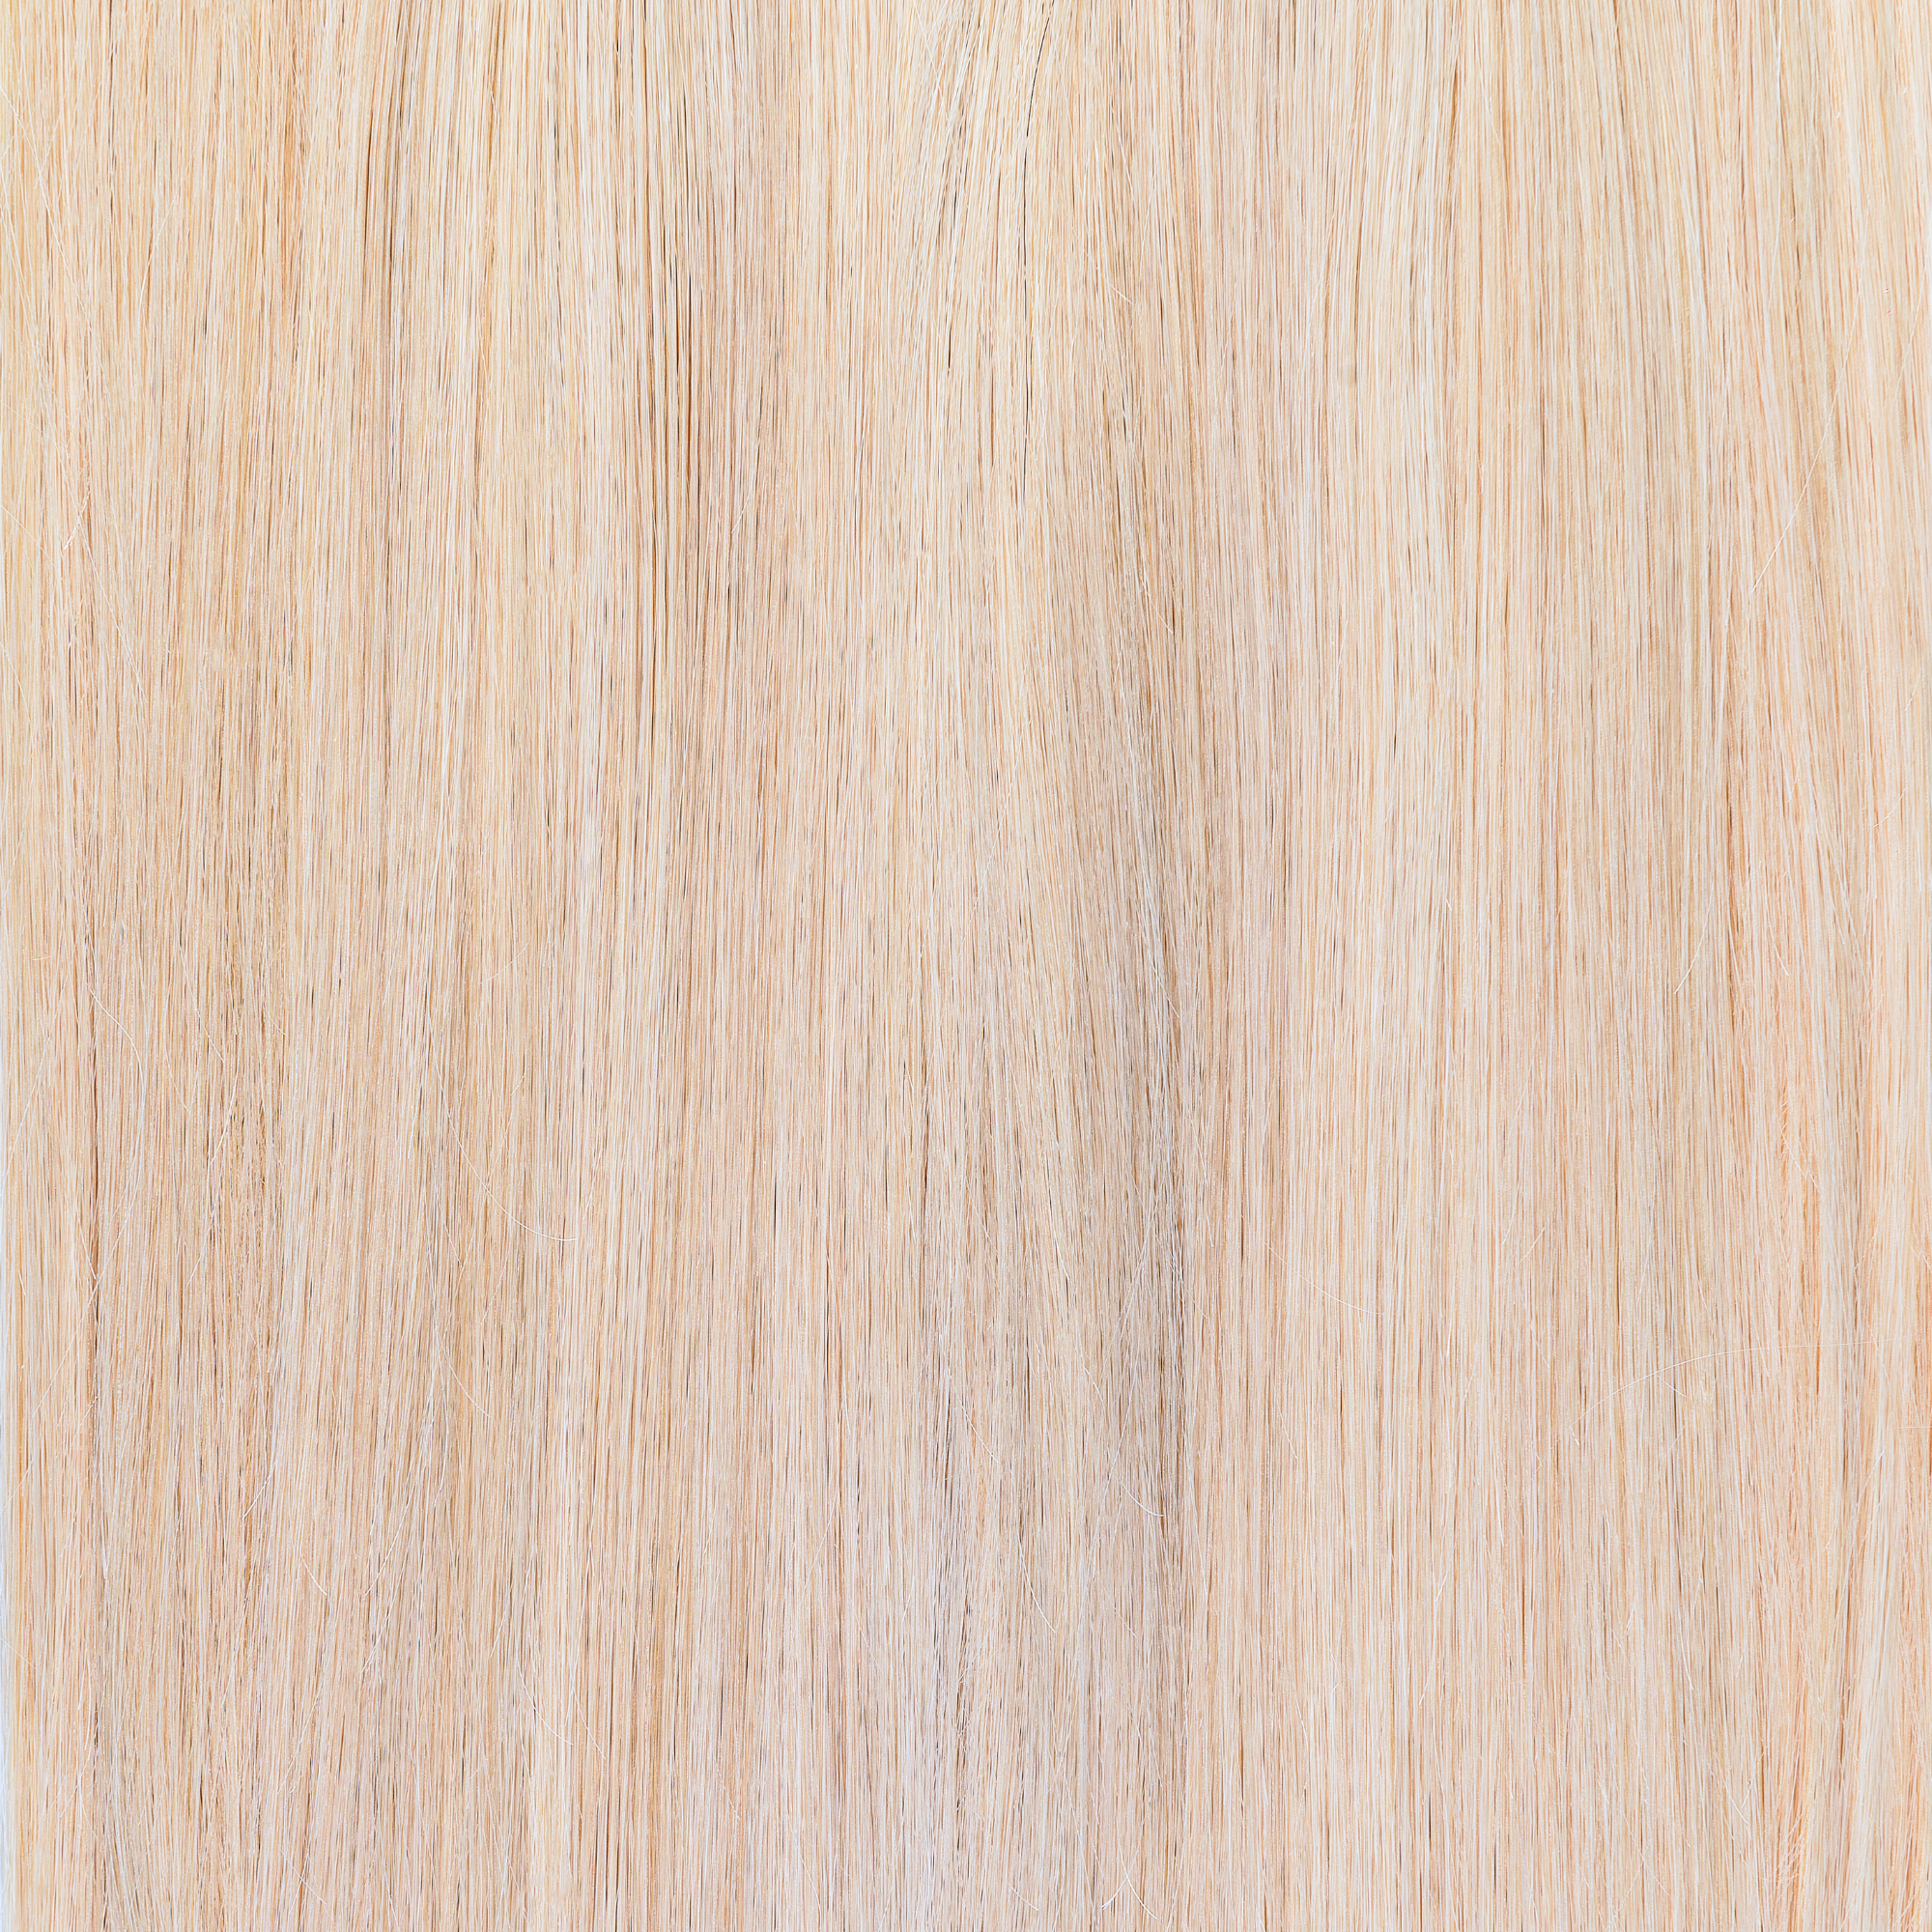
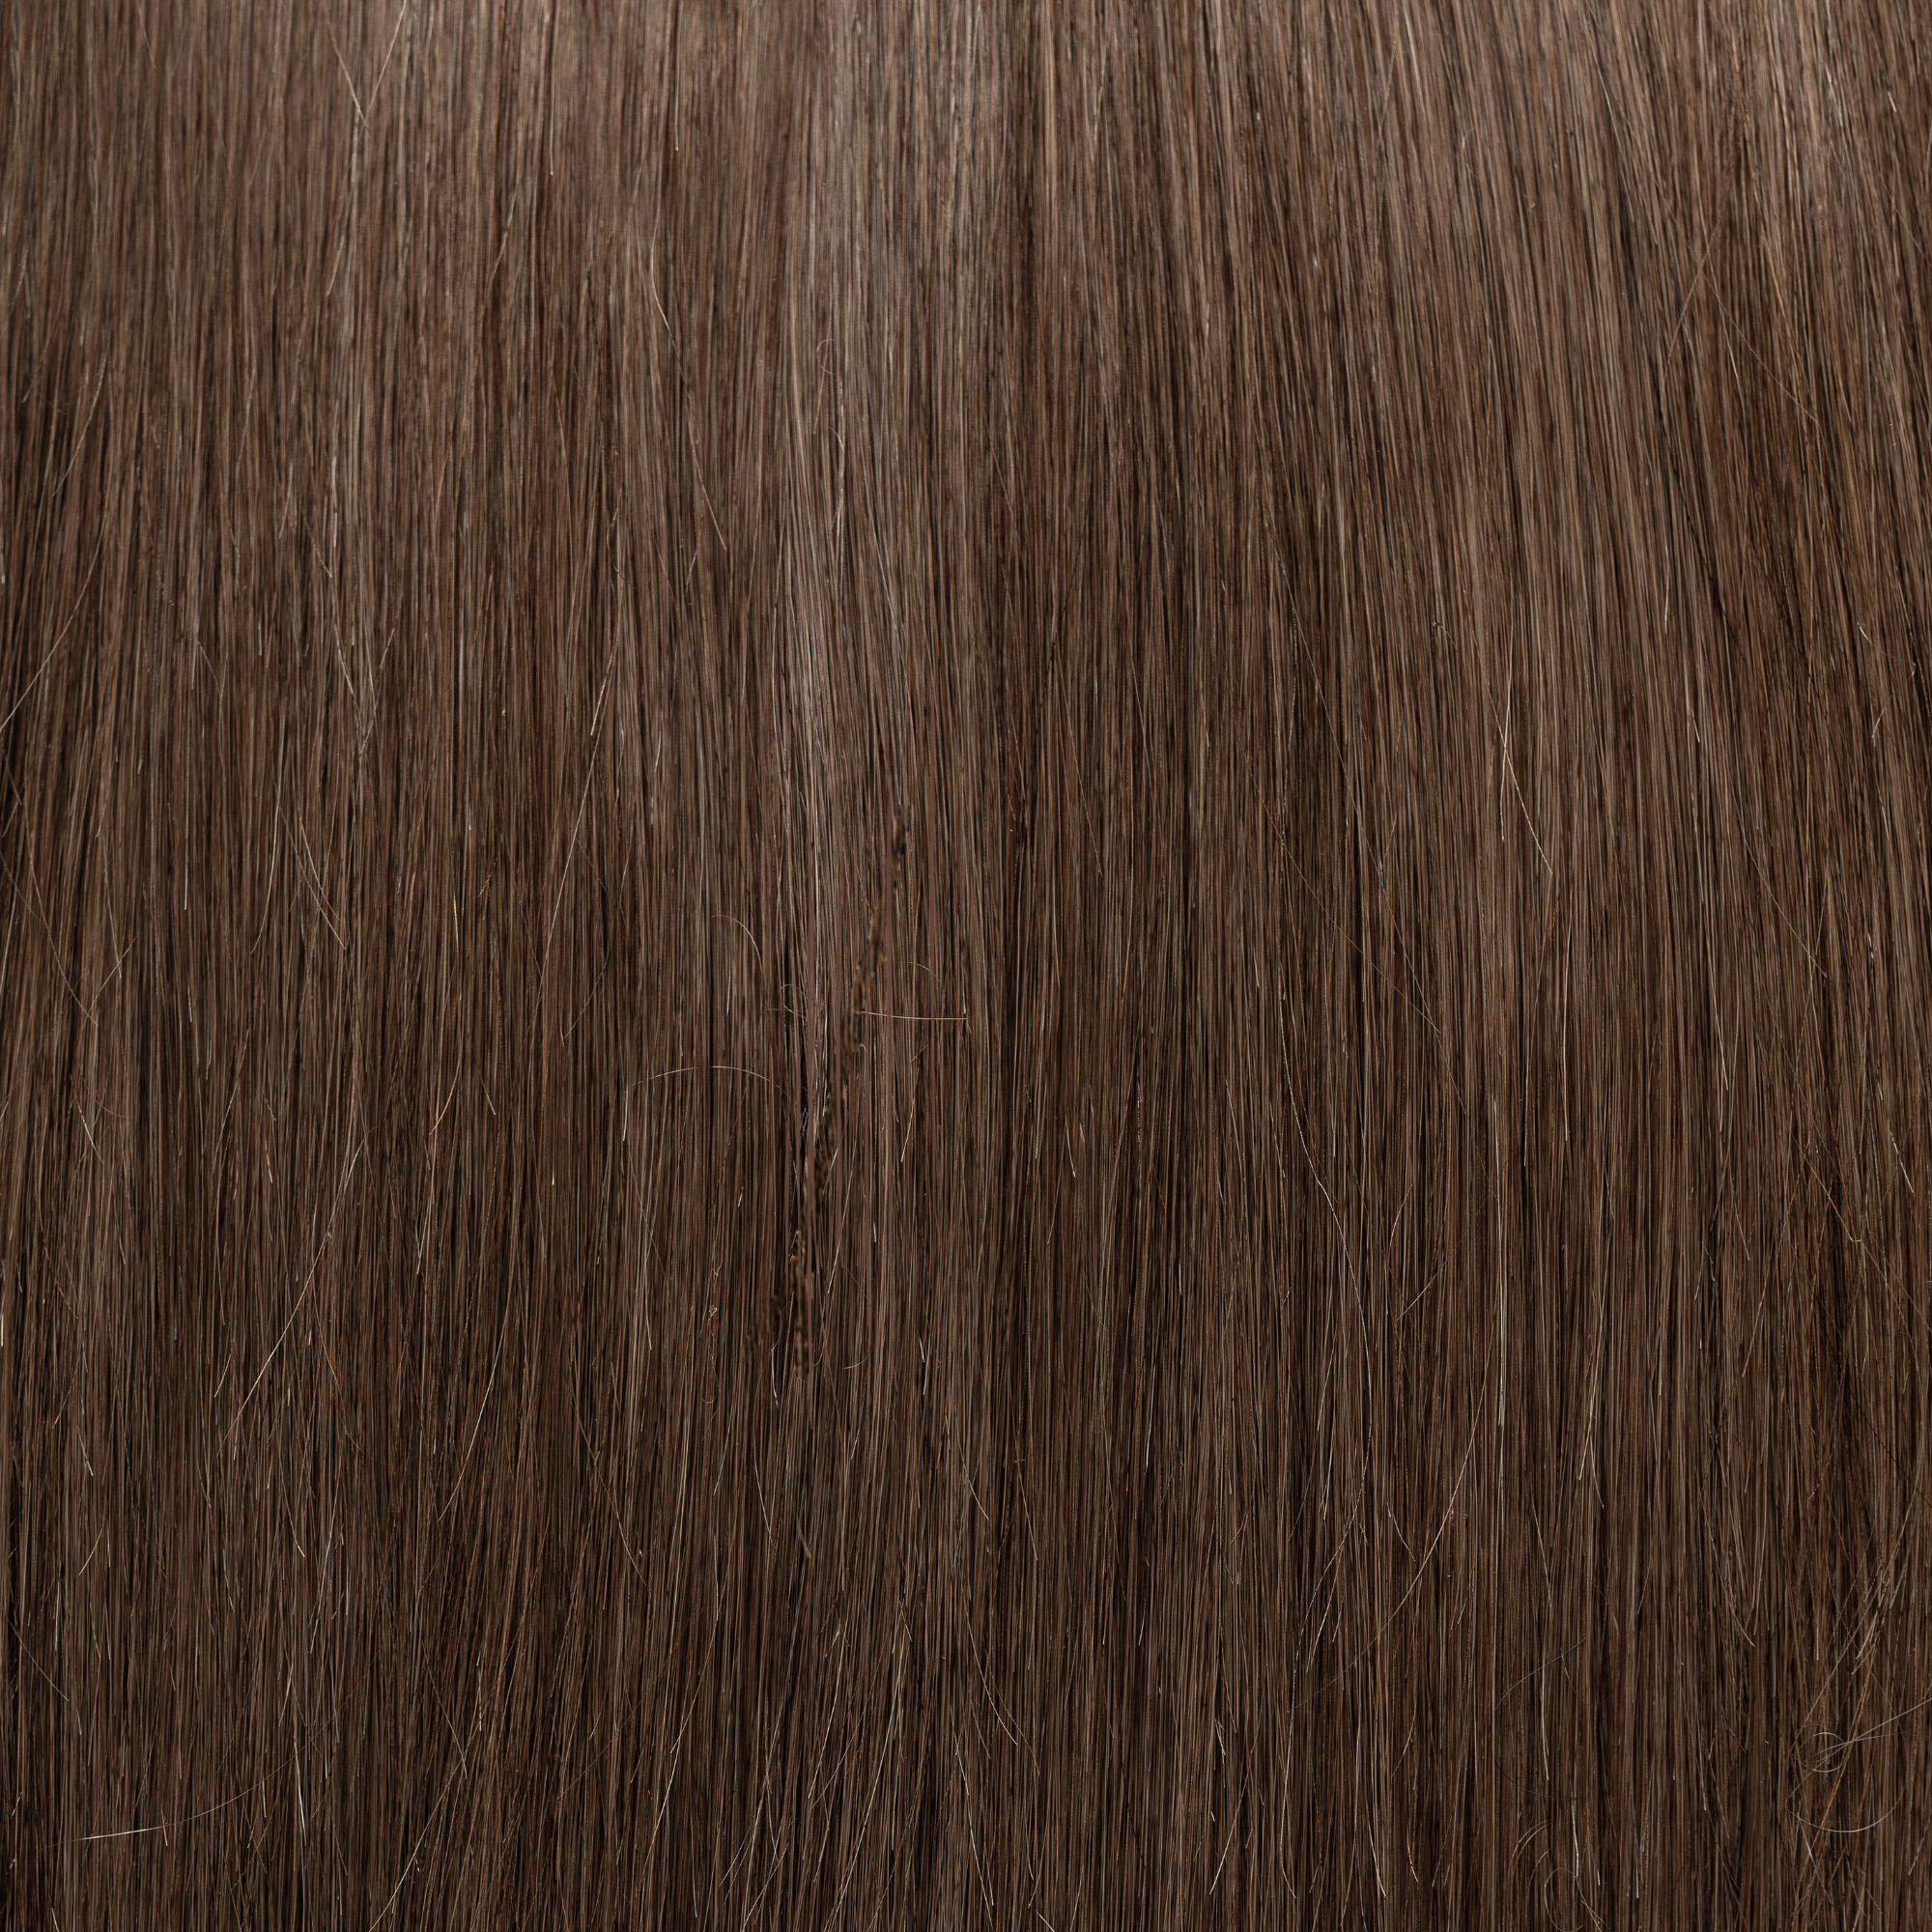
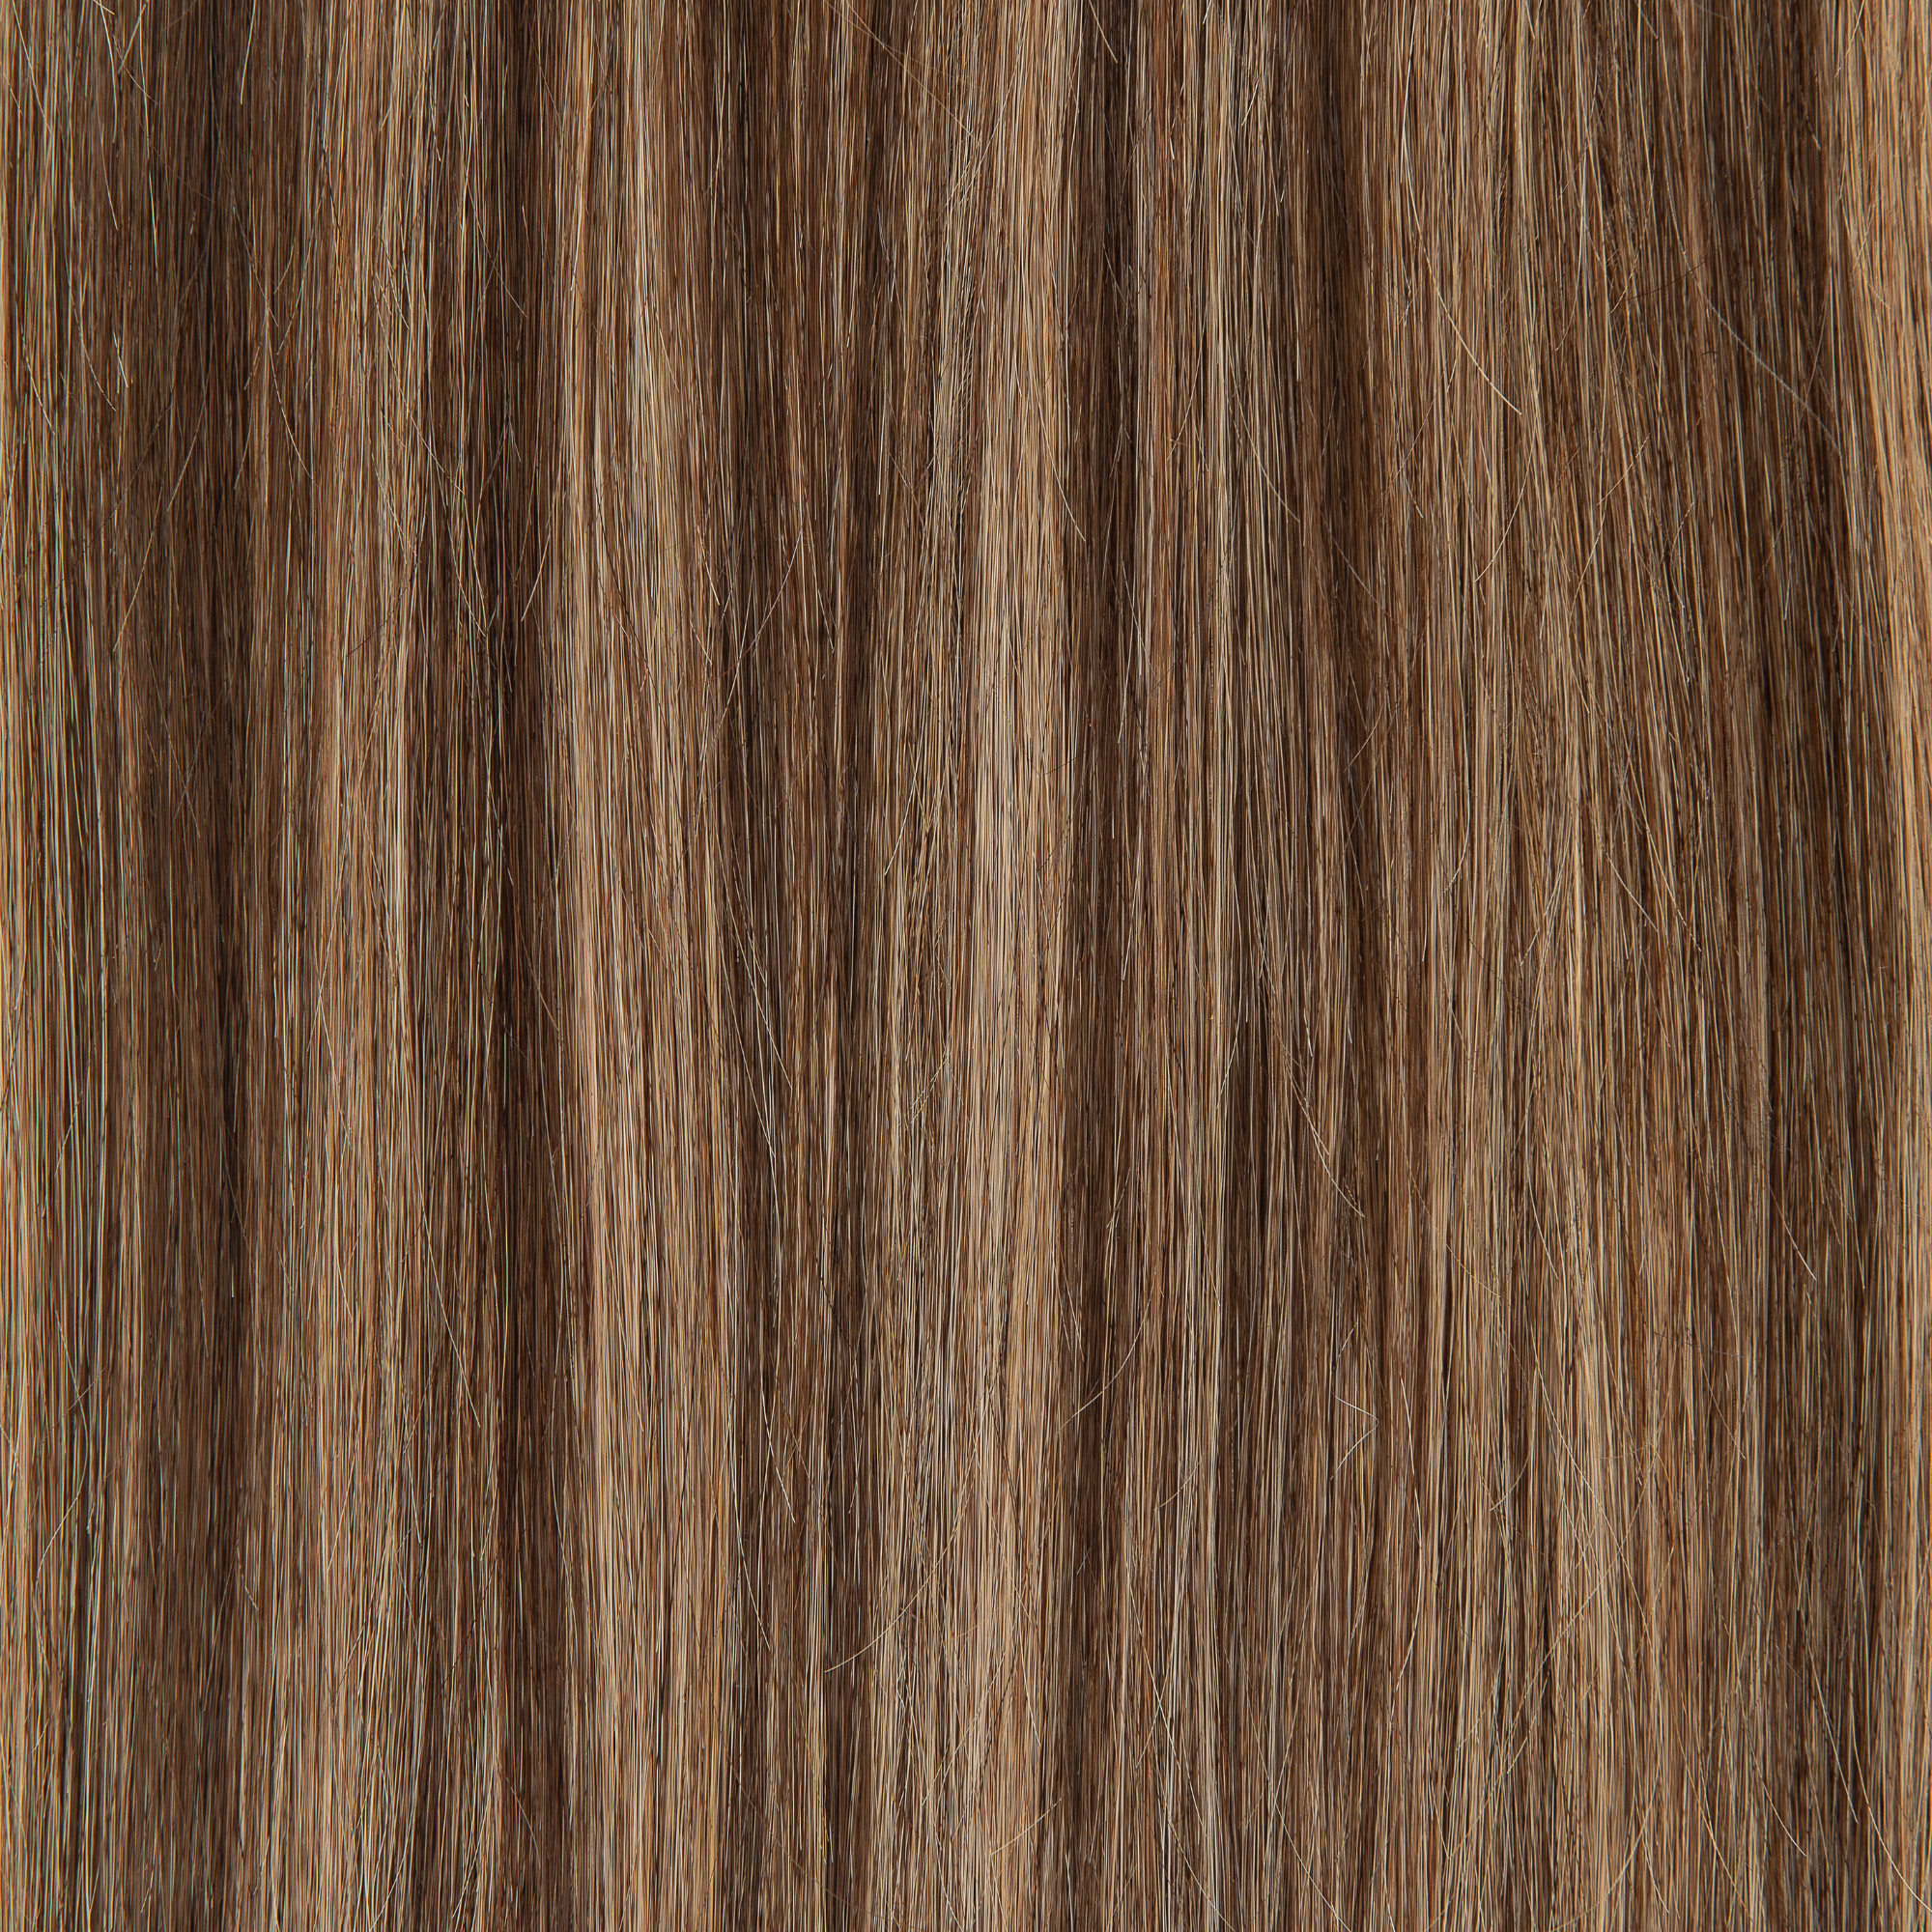
Finding Your Perfect Match: Tips for Color Selection
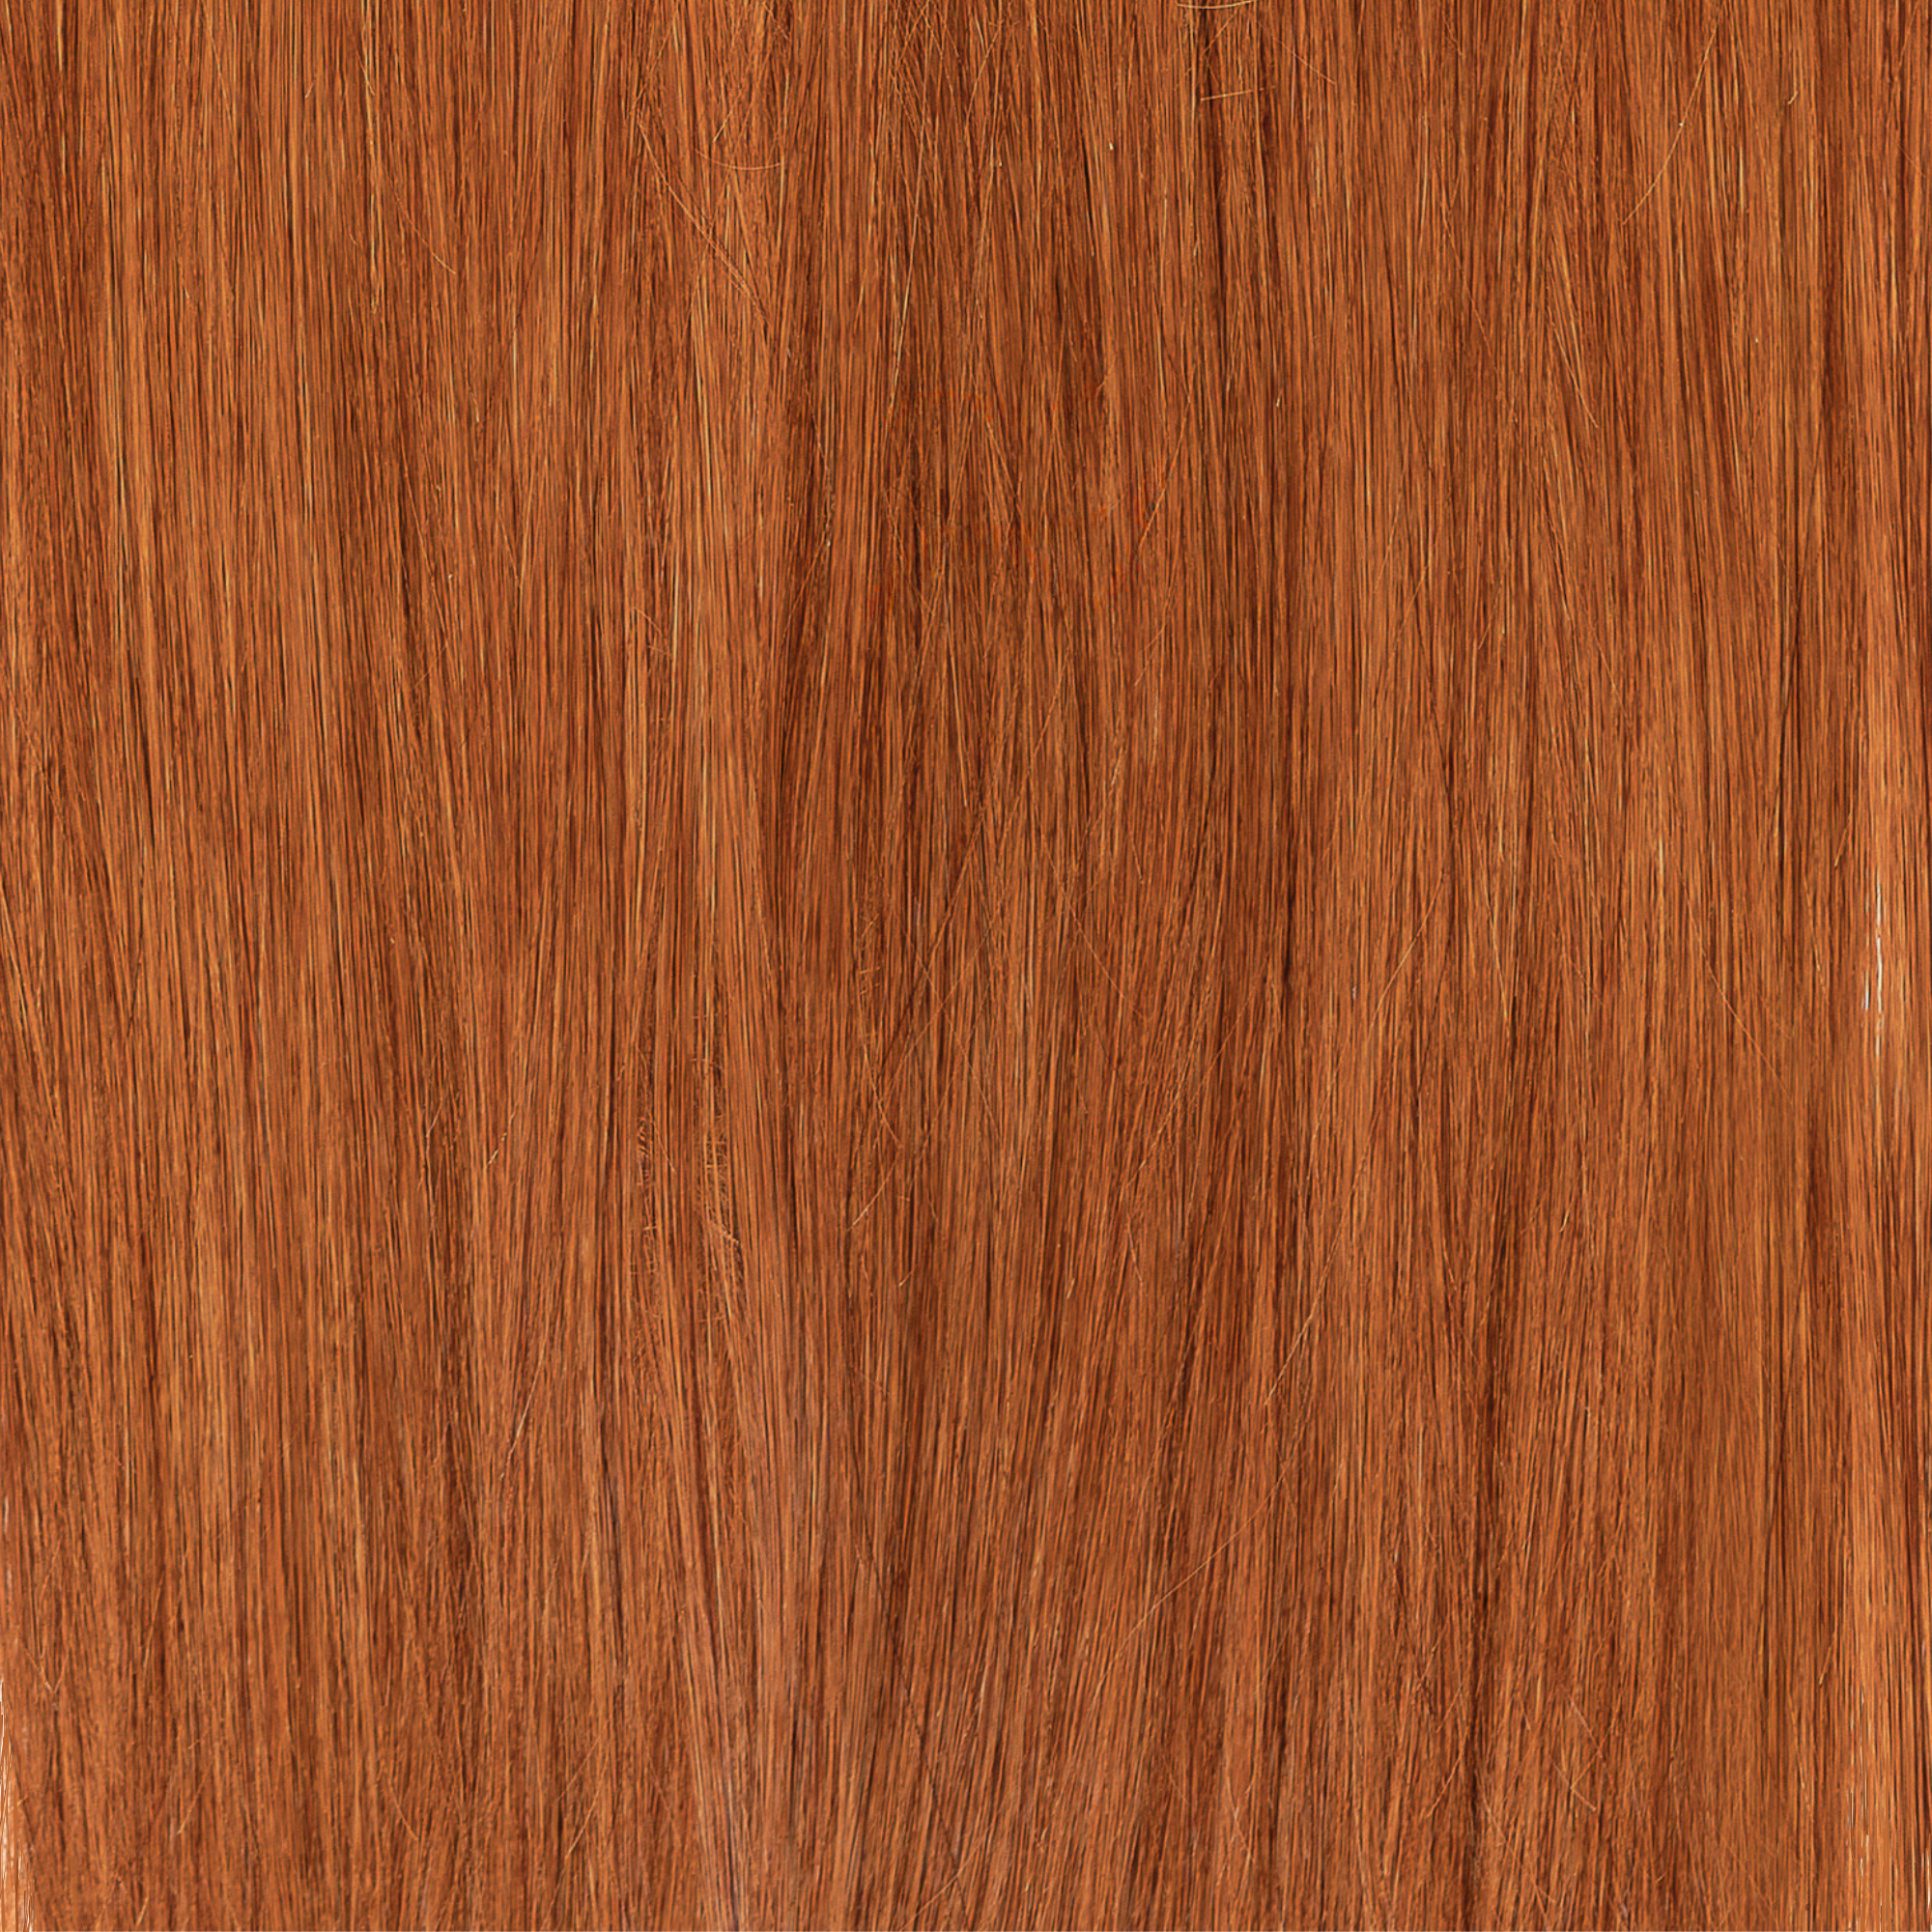
Selecting the correct shade of clip-ins is crucial to achieving a natural and seamless look. The best approach to color matching at home is to focus on the midshaft to ends of your hair, as this is typically where the extensions will blend with your natural hair.
It's essential to examine your hair color in natural lighting rather than indoor lighting, as artificial lights can significantly alter the appearance of your hair color. Natural light provides the most accurate representation of your hair color, ensuring that you select the most suitable shade of extensions.
If you find yourself uncertain about selecting the right shade, services like Atelier Extensions' virtual color match can be incredibly helpful. They offer professional stylist assistance to ensure that you get the perfect match for your hair. This service takes the guesswork out of the equation, providing you with expert guidance and peace of mind that your extensions will blend flawlessly with your natural hair.
Remember, the right color match is key to ensuring that your clip-ins look as natural as possible. Taking the time to choose the correct shade will make a significant difference in the overall appearance of your hair extensions
Mastering the Art of Clip-In Extensions
Applying clip-in hair extensions doesn't have to be complicated. With the right technique, you can achieve a professional-looking result from the comfort of your home. Here’s a simple, step-by-step guide on the best way to put in clip-in hair extensions, ensuring they look natural and stay secure:
-
Preparation: Brush your hair thoroughly to remove any tangles. Do the same for the extensions. This ensures a smooth application process.
-
Sectioning Your Hair: Start at the nape of your neck and create a horizontal part. Clip the rest of your hair up and out your way.
-
Aligning the Extensions: Take the first weft of your clip-ins and align it with the part you've created.
- Clipping In: Open the clips on the weft and, starting from the middle clip, secure them to your hair close to the roots. Ensure they're snug.
-
Releasing and Repeating: Let down another section of hair, leaving about an inch above the first set of extensions. Repeat the process until all wefts are clipped in.
-
Blending: Once all wefts are in place, let down all your hair and gently brush through to blend your natural hair with the extensions.
-
Final Touches: Check for any visible wefts or uneven areas, and adjust as needed. Style as desired.
Tips for Short Hair: Seamless Extension Blending
If you have short hair and are wondering how to put clip in hair extensions yourself, a great tip is to braid the hair at your nape and pin it flat against your head. This approach provides a solid base for the extensions. When applying clip in extensions to short hair, attach the weft you'd normally place at the nape onto this braid instead. This technique ensures that your short hair doesn't spike out, allowing the extensions to blend more naturally. Additionally, mastering how to put clip on extensions in short hair involves selecting the right wefts and carefully placing them so that they integrate seamlessly with your natural hair, enhancing the overall look and feel of the extensions
Hairstyles That Shine with Clip-In Extensions
Clip-ins open up a world of hairstyling possibilities. Understanding how to use clip in extensions can transform your everyday look into something more glamorous.

- Updos with Volume: Wondering can you use clip in extensions for updos? Definitely! They add the necessary volume for sophisticated buns and elegant chignons.
- Braids and Ponytails: Achieve thicker, fuller braids and dramatic ponytails with ease. Hairstyles using clip in extensions allow for these fuller, more intricate styles.
- Cascading Styles: Whether it’s long waves or sleek, straight hair, clip-ins add length for stunning, flowing hairstyles.
In essence, clip-ins offer the versatility and volume to experiment with various hairstyles, enhancing your look effortlessly.
Summing It Up
As we conclude this blog, let's highlight the essential steps and tips for beginners to ensure a successful and stylish experience.
- Ease of Use: Embrace the simplicity of clip-ins. The process of how to put clip in hair extensions is straightforward, making it ideal for those new to hair extensions.
- Applying Like a Pro: Learning clip in hair extensions how to apply is a game-changer. Start by sectioning your hair, attach the wefts from the bottom up, and ensure they're secure for a flawless finish.
- Seamless Integration: For those with short hair, braiding and pinning the nape area before application helps achieve a seamless blend, preventing any shorter hairs from sticking out.
- Perfect Color Match: Choose your extension shade based on the color of your hair's midshaft to ends, and always check the color match in natural light.
- Style Versatility: Discover the versatility of clip-ins, from elegant updos to lush, flowing styles. Clip-ins provide the extra length and volume needed for various creative hairstyles.
- Caring for Your Extensions: Proper maintenance is key. Gently brush and store your extensions to keep them looking their best.
Clip-in hair extensions are not just about adding length or volume; they're about unlocking new potentials in hairstyling. Whether it's for daily wear or special occasions, clip-ins offer a quick, easy way to elevate your look. So go ahead, experiment with confidence and enjoy the transformative power of clip-in hair extensions! And if you're looking to learn about clip in colored hair extensions, check out our blog: "DISCOVER YOUR VIBRANT SIDE: YOUR GUIDE TO DYEING HAIR EXTENSIONS."
Other Related Posts

Does your hair care routine feel like it’s missing something? While we spend so much time caring for our strands, we often forget the foundation of it all: the scalp. From seasonal dryness and pesky flakes to itchiness or even early signs of thinning, scalp health can feel like a...

Hair extensions are an investment in your beauty routine, and when they begin to lose their soft, silky texture, it can feel disheartening. Whether it’s a lack of luster, frizz, or tangling, you might be left wondering how to restore them to their original beauty. We understand the frustrations—especially when...

We’ve all been there—dreaming of longer, fuller hair, but not quite sure where to start. With so many hair extension options available, it’s easy to feel lost in the choices. The last thing you want is to pick the wrong type of extensions and risk damaging your natural hair. The...

Your hair extensions deserve the same level of care and attention as your natural hair—after all, they give you the long, luscious style you love. To keep them looking fresh, shiny, and tangle-free for as long as possible, regular deep-cleaning is essential. Here’s everything you need to know about how...

Let’s be real—hair extensions can transform your look, but picking the right set for your lifestyle can be a little overwhelming. Should you go for long, voluminous clip-ins for a night out, or are you after something more permanent and low-maintenance? Whether you’re a busy professional, an active gym-goer, or...
F.A.Q's
To begin applying clip-in hair extensions yourself, start with dry, tangle-free hair. Section your hair horizontally starting from the bottom near the nape of your neck. Secure the rest of your hair on top of your head. Attach the extensions by aligning the clips with the roots of your sectioned hair, snapping them securely into place. Continue with additional sections as needed, working your way up the head.
For a natural look, choose application methods that blend the extensions seamlessly with your natural hair. Layer the extensions by placing them in thin sections of your natural hair. Ensure the clips are not visible by placing them about an inch from the hairline and under enough of your hair to cover the tracks. Blend by gently styling your hair and the extensions together.
Yes, clip-in extensions are quite easy to use and offer great styling versatility. They can be quickly clipped in and styled in various ways—whether you're aiming for added length, volume, or even experimenting with highlights without chemically treating your natural hair. They can be curled, straightened, and braided, just like your natural hair.
When applying clip-in hair extensions, avoid placing the clips too close to the scalp as this can cause discomfort and potential damage to your natural hair. Ensure not to tug or pull the hair when clipping in or styling the extensions. It's also important to avoid sleeping with the extensions on, as this can lead to tangling and stress on your hair.
To ensure your clip-in hair extensions stay secure, backcomb the section of your natural hair where the clips will be placed before applying the extensions. This creates a firmer base for the clips to grip. Additionally, using a small amount of hairspray on the backcombed areas can provide extra hold. Check throughout the day and gently press down on the clips to re-secure them if necessary.