
How To Install balayage Clip-In Hair Extensions
- Irene GilmanEver get the itch to change up your hair color without committing to anything permanent or risking damage? You’re not alone! Enter balayage clip-in hair extensions, the ultimate game-changer for those of us who love to play with our look. Imagine transforming your locks from basic to breathtaking in minutes, all from the comfort of your own home. These extensions make it easy to achieve that coveted balayage look without the salon price tag or long-term commitment.
Join me as we explore and show you how to install balayage clip-in hair extensions like a pro!
Everything You Need to Know About Balayage Clip-Ins
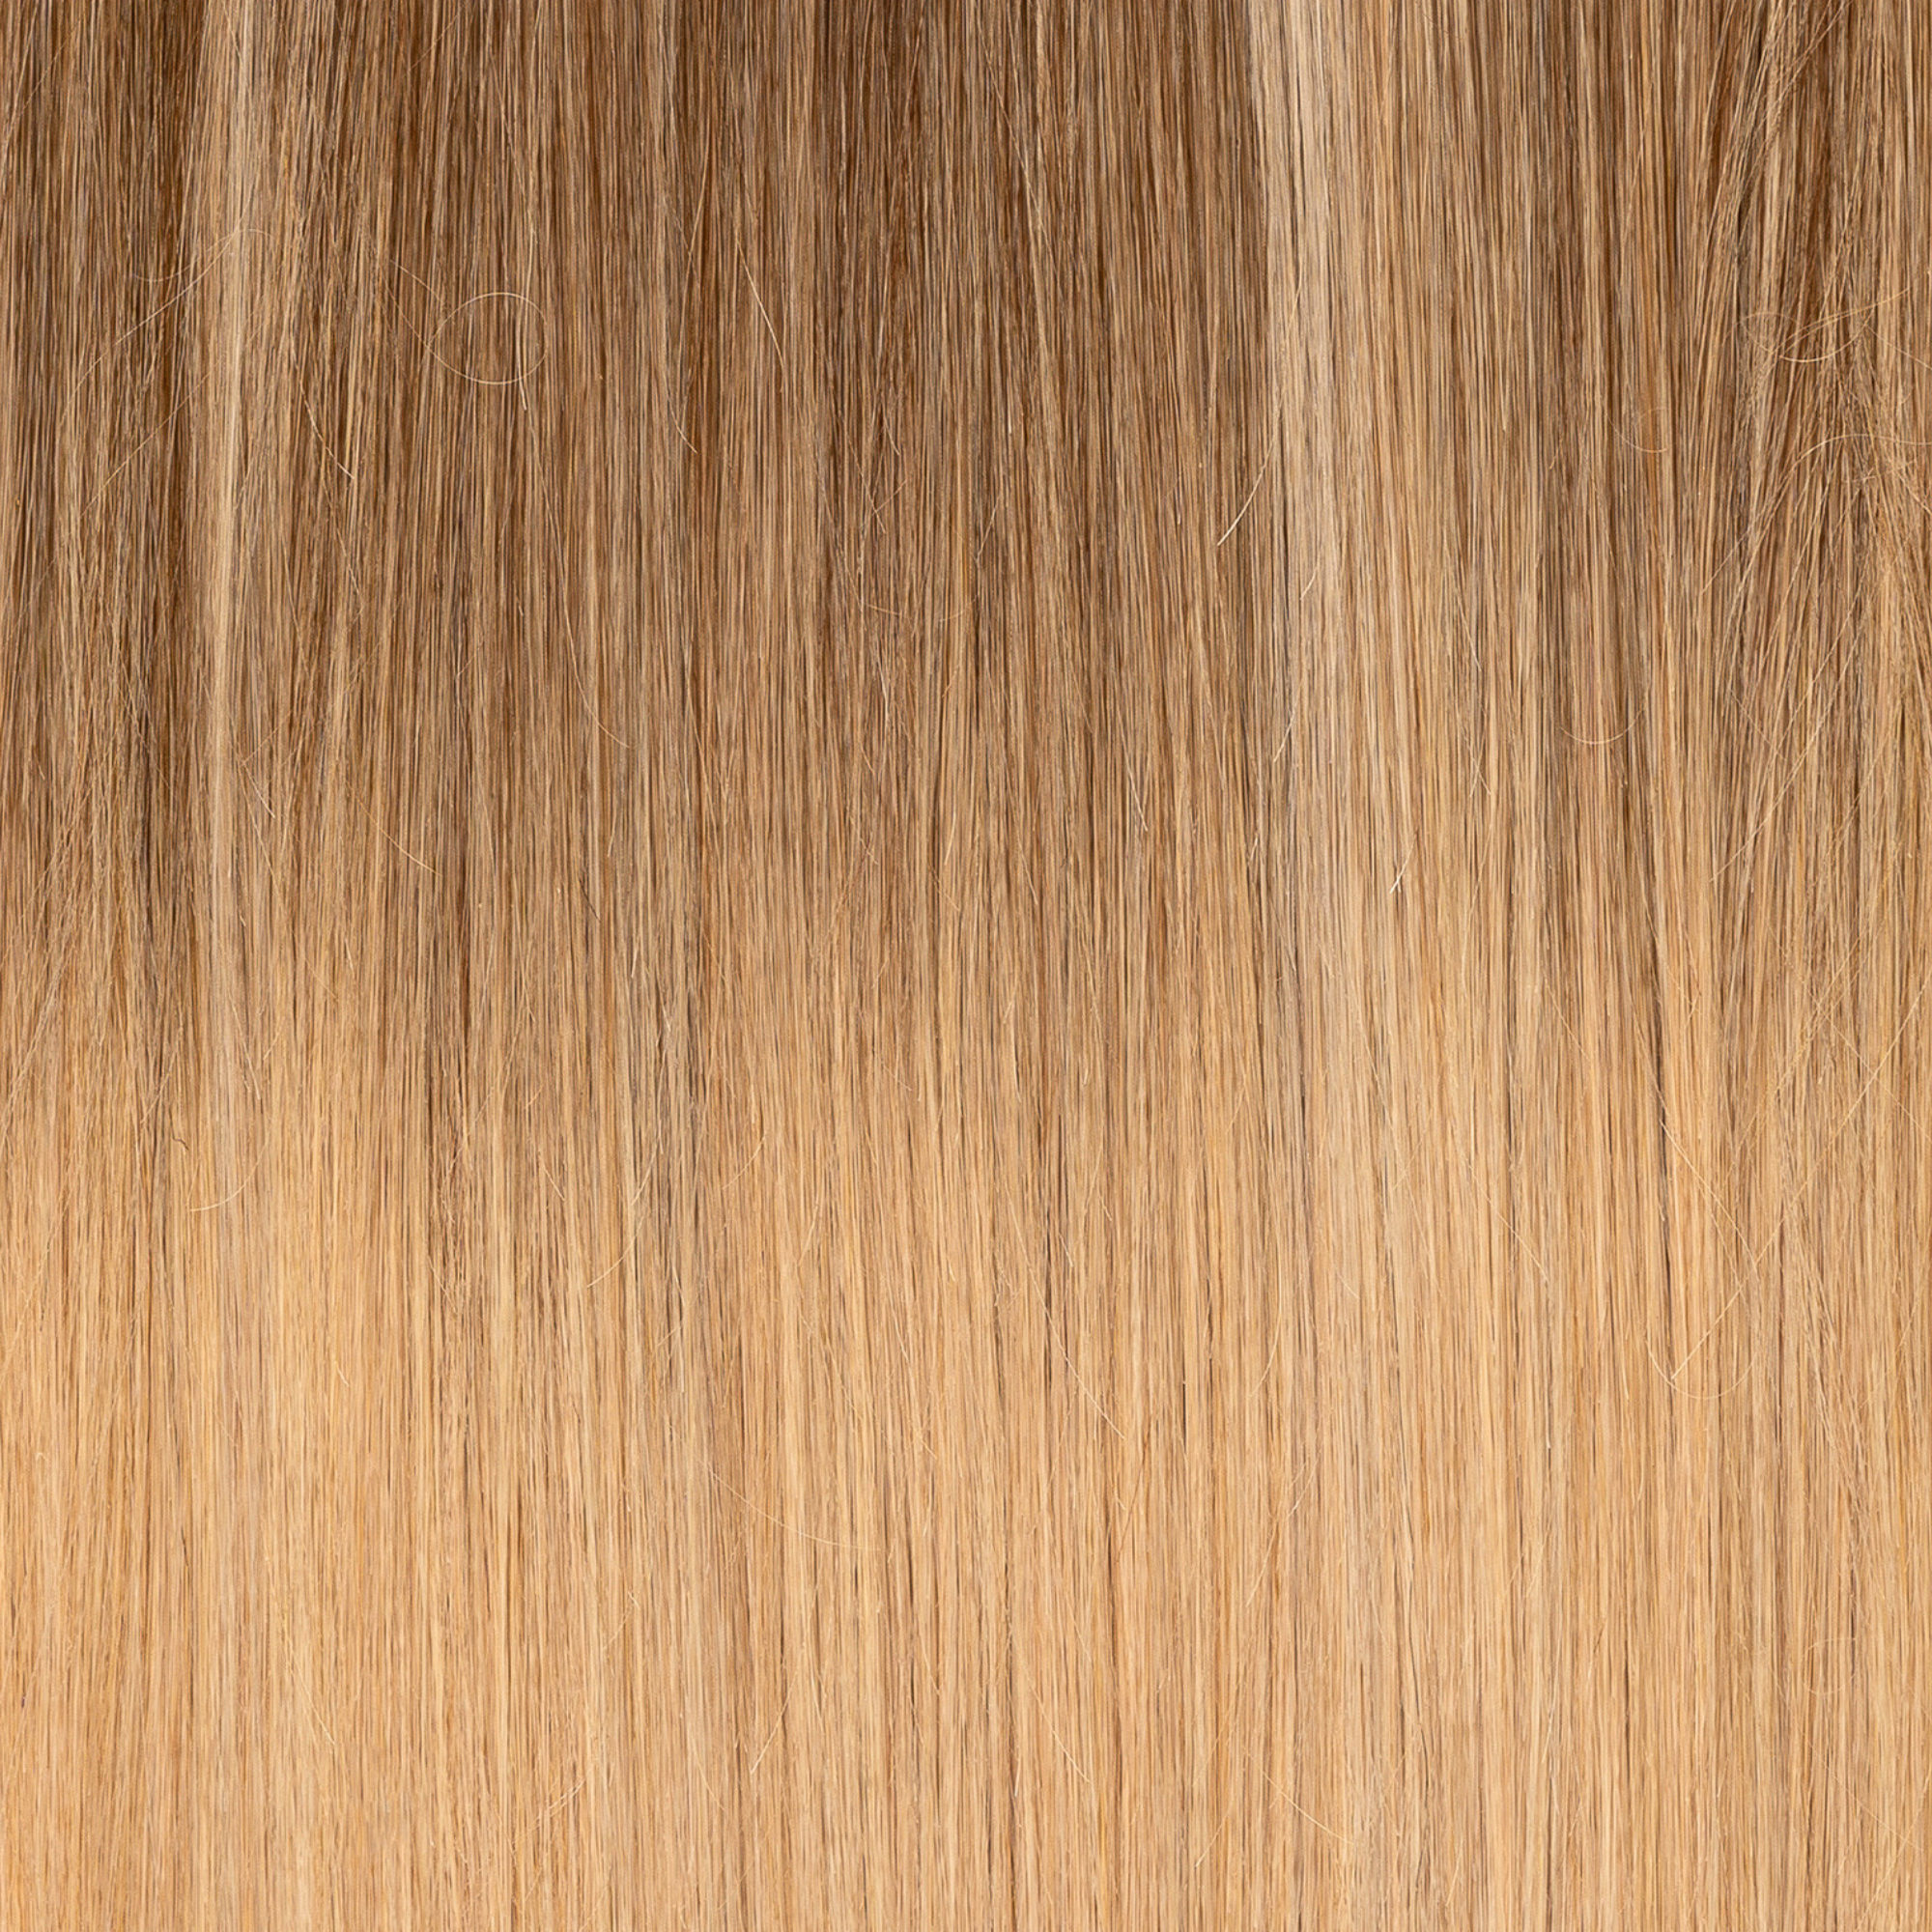
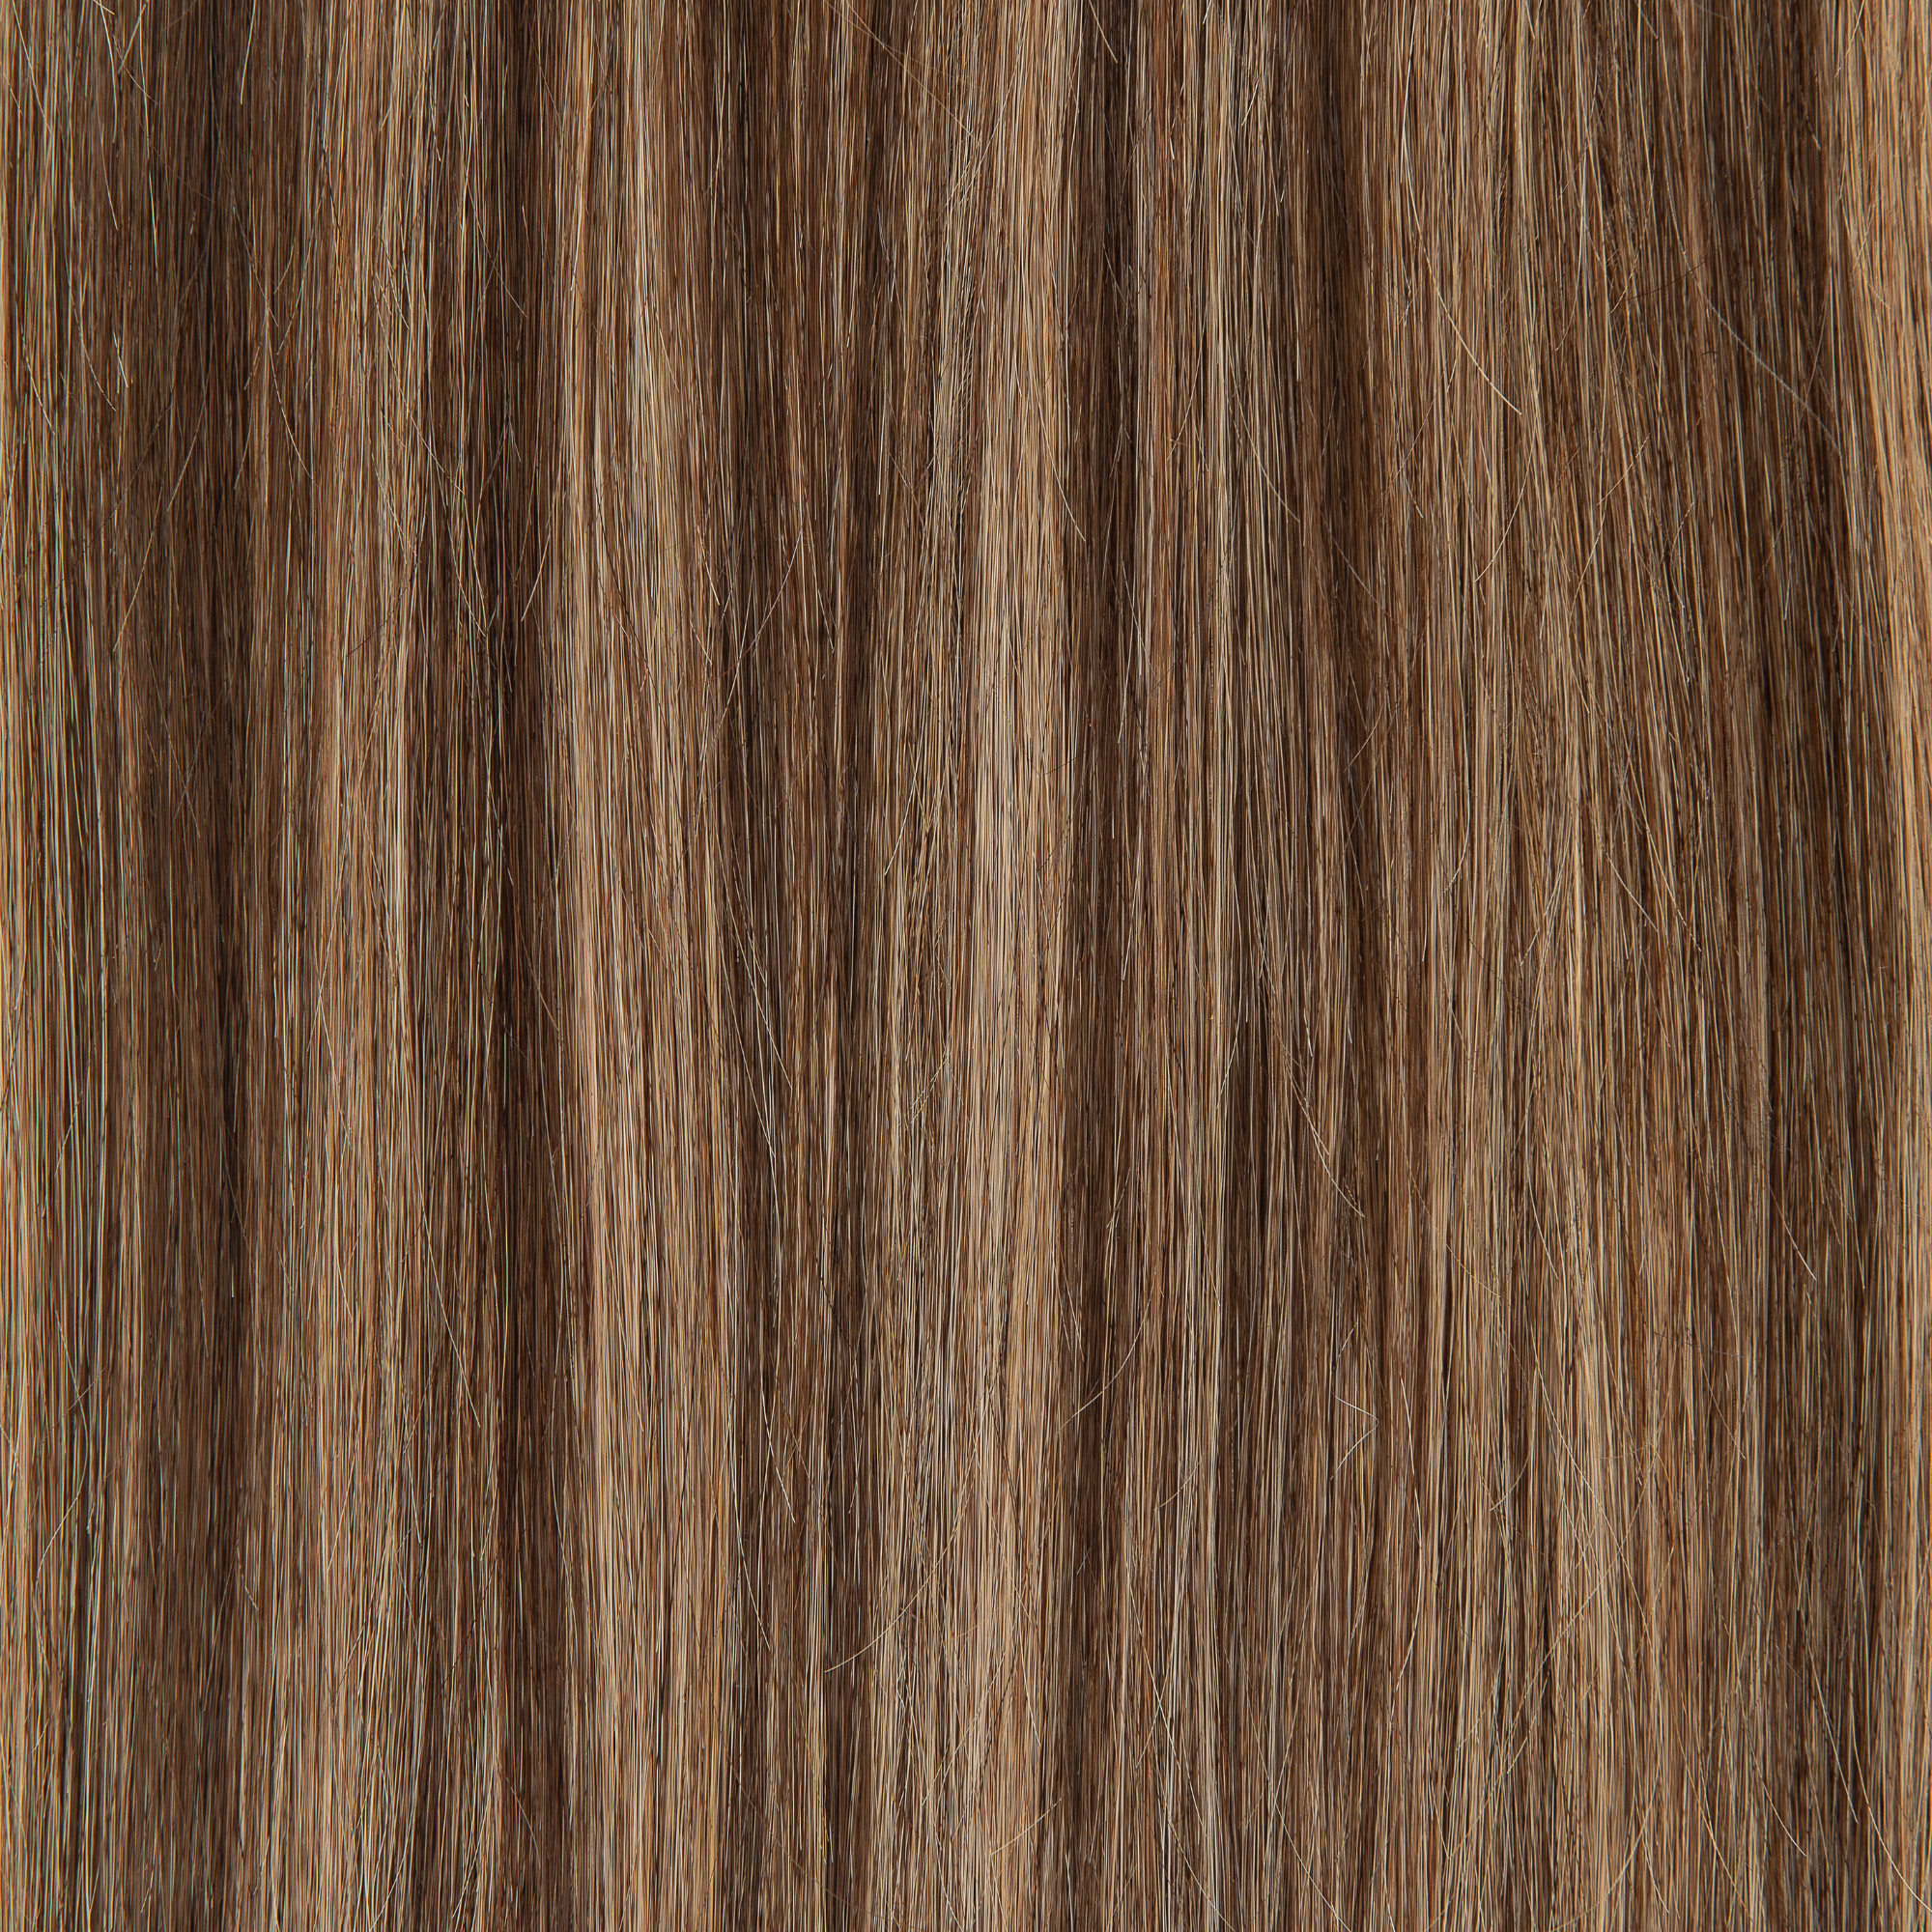
So, what is balayage clip in hair extensions? It's that gorgeous hair color you've seen everywhere, especially on Pinterest. Balayage is a hair coloring technique where the color is hand-painted onto the hair for a natural, blended effect with a smooth transition between shades. This method creates a low-maintenance style that grows out subtly and suits various hair types and lengths.

Traditionally, getting balayage means hours in a salon chair and a hefty price tag. But now, you can achieve that dreamy look with balayage clip-in hair extensions! These pre-colored extensions blend seamlessly with your natural hair, giving you that beautiful, graduated color without the commitment or cost. They’re super easy to use, letting you switch up your style whenever you feel like it—no salon needed!
Why Balayage Clip-Ins Are a Game Changer
Balayage clip-in hair extensions are the ultimate hair hack for those who crave versatility and style without the commitment or need for a hair extension service. We’ve all been there—finding a skilled colorist is tough, and even then, the color might not turn out as expected. Worse, you might regret the decision or end up with damaged hair from the coloring process. Enter balayage clip-ins: achieve rich, multi-tonal color without spending hours at the salon or risking your hair’s health. Perfect for adding volume, length, and highlights in minutes, these extensions let you experiment and change your style effortlessly.
Your Foolproof Guide to Installing Balayage Clip-Ins
Ready to transform your hair with balayage clip-ins? Here’s your step-by-step guide to how to properly install balayage clip in hair extensions
Supplies You’ll Need:

Before you start, gather your balayage clip-in hair extensions, a rat-tail comb for precise sectioning, hair clips to hold sections in place, and a mirror to check your progress. Optional but helpful items include a teasing brush for extra grip and hairspray for added hold. Having these supplies on hand will make how to put in balayage clip in hair extensions smoother and efficient.
How to Prepare Your Hair for Clip-Ins
Start with clean, dry hair. Brush through to remove any tangles and create a smooth base for the extensions. If your hair is particularly silky, lightly tease the roots where you’ll be placing the clips to give them something to grip onto. This helps ensure that the extensions stay securely in place throughout the day.
Sectioning Your Hair for Clip-In Placement
Divide your hair into horizontal sections, starting from the bottom and working your way up. Use the rat-tail comb to create clean partings and secure each section with hair clips. This ensures that each weft is placed correctly and blends seamlessly with your natural hair. Proper sectioning is key to achieving a natural, layered look that mimics a professional balayage.
How to Properly Install Each Weft
Begin with the widest wefts at the back of your head, clipping them close to the roots. Work your way up, placing smaller wefts around the sides and top of your head. Make sure each clip is securely fastened and that the wefts are evenly distributed. This ensures that the extensions blend naturally with your hair and provides a balanced, full look.
Blending Techniques for a Natural Look
After positioning all the wefts, use a brush to blend your own hair with the extensions This helps to eliminate any visible lines and creates a blended, natural look. You can also use a flat iron or curling wand to style the extensions and your natural hair together for a seamless finish. This final step is essential for getting a polished look that makes your extensions indistinguishable from your natural hair.
Following these steps, you'll master how to put in balayage clip-in hair extensions effortlessly. With practice, installing these extensions will become a quick and enjoyable part of your beauty routine, giving you stunning results every time.
Watch Here:
Hairstyles That Shine with Balayage Clip-Ins
Balayage clip-in extensions are incredibly versatile, allowing you to experiment with a variety of hairstyles. Whether you’re looking for an everyday look or something more glamorous, these extensions can help you achieve it all.
Effortless Waves

Loose, beachy waves are a perfect match for balayage clip-ins. The natural gradient of the extensions enhances this textured look, making the color blend seamlessly with your natural hair. Use a curling wand to create soft waves, then run your fingers through to break them up for that effortless vibe.
Sleek and Straight

For a polished look, straighten both your natural hair and the extensions. The balayage effect adds dimension, preventing your style from looking flat. This style is perfect for any setting or a night out when you want a sleek, chic look.
Half-Up, Half-Down

A half-up, half-down hairstyle showcases the beautiful color variations of balayage clip-ins. Take the hair at the top and clip or tie it up, leaving the rest of your hair down. This style is both playful and chic, making it suitable for any occasion.
Voluminous Ponytail

Transform a simple ponytail into a stunning statement with balayage clip-ins. Gather your hair into a high or mid-level ponytail and secure it with a hair tie. Attach a few wefts around the base to add volume and length, then wrap a small section of hair around the hair tie for a polished finish.
Braided Beauty

Turn your balayage clip-ins into braids for a striking effect. Whether you choose a simple side braid, a fishtail, or a more intricate style, the extensions will add thickness and highlight the braid’s texture and color. This look is great for festivals, casual outings, or whenever you want to add a bohemian touch to your look.
These hairstyles not only enhance the balayage effect but also provide endless opportunities to play with your look. With balayage clip-in hair extensions, your styling options are limitless, allowing you to switch up your hair to match your mood and the occasion.
Keep Your Balayage Clip-Ins Looking Fresh
To keep your balayage clip-in extensions looking their best, follow these simple care tips. Avoid washing them too often; when you do, use a gentle, sulfate-free shampoo and conditioner. Let them air dry by laying them flat on a clean towel, and store them properly in a cool, dry place to maintain their shape and prevent tangling. Regularly brush the extensions with a wide-tooth comb to keep them tangle-free, and minimize the use of heat styling tools. If you’re using heat, apply a heat protectant spray and use the lowest heat setting possible. Avoid using too many styling products to prevent build-up, keeping your extensions looking fresh and vibrant.
By following these tips, you can ensure your balayage clip-in extensions remain beautiful and long-lasting. Proper care will extend their lifespan and keep them looking fabulous every time you wear them.
Our Final Thoughts
Balayage clip-in hair extensions are a fantastic way to switch up your look without the commitment or damage of traditional coloring methods. Whether you're aiming for a dramatic transformation or just a subtle change, these extensions offer a versatile and easy solution. Unlike traditional dye jobs, there’s no need for frequent touch-ups, and you won’t have to worry about excessive dryness, brittleness, or the color not turning out as expected. By following our guide on how do you install balayage clip-in hair extensions and taking proper care of them, you can enjoy beautiful, salon-quality hair at home.
Other Related Posts

Does your hair care routine feel like it’s missing something? While we spend so much time caring for our strands, we often forget the foundation of it all: the scalp. From seasonal dryness and pesky flakes to itchiness or even early signs of thinning, scalp health can feel like a...

Hair extensions are an investment in your beauty routine, and when they begin to lose their soft, silky texture, it can feel disheartening. Whether it’s a lack of luster, frizz, or tangling, you might be left wondering how to restore them to their original beauty. We understand the frustrations—especially when...

We’ve all been there—dreaming of longer, fuller hair, but not quite sure where to start. With so many hair extension options available, it’s easy to feel lost in the choices. The last thing you want is to pick the wrong type of extensions and risk damaging your natural hair. The...

Your hair extensions deserve the same level of care and attention as your natural hair—after all, they give you the long, luscious style you love. To keep them looking fresh, shiny, and tangle-free for as long as possible, regular deep-cleaning is essential. Here’s everything you need to know about how...

Let’s be real—hair extensions can transform your look, but picking the right set for your lifestyle can be a little overwhelming. Should you go for long, voluminous clip-ins for a night out, or are you after something more permanent and low-maintenance? Whether you’re a busy professional, an active gym-goer, or...