
How To Clip In Hair Extensions
- Irene GilmanHave you ever wondered at how stars like Kim Kardashian and J.Lo can flaunt short, trendy haircuts one day and then flaunt long, luxurious locks the next? This fast, stunning hair transformation isn't just for celebrities. It's achievable with natural clip-in hair extensions – a technique that’s both chic and straightforward.

We'll address your key questions like how do hair extensions attach and how to fix extension hair, ensuring your style remains as secure and sophisticated as those seen on celebrities. From blending them with different hair types to tips on how to keep extensions secure, this article covers all the essential techniques and advice
Let's get started on how to install clip in hair extensions!
Getting Started: Choosing the Right Hair Extensions
Selecting the right clip-ins is essential for effective hair extension attachment. This choice is as crucial as picking the right outfit for a special occasion. It's all about the right match, and here's how you can make that choice:
-
Texture and Color:
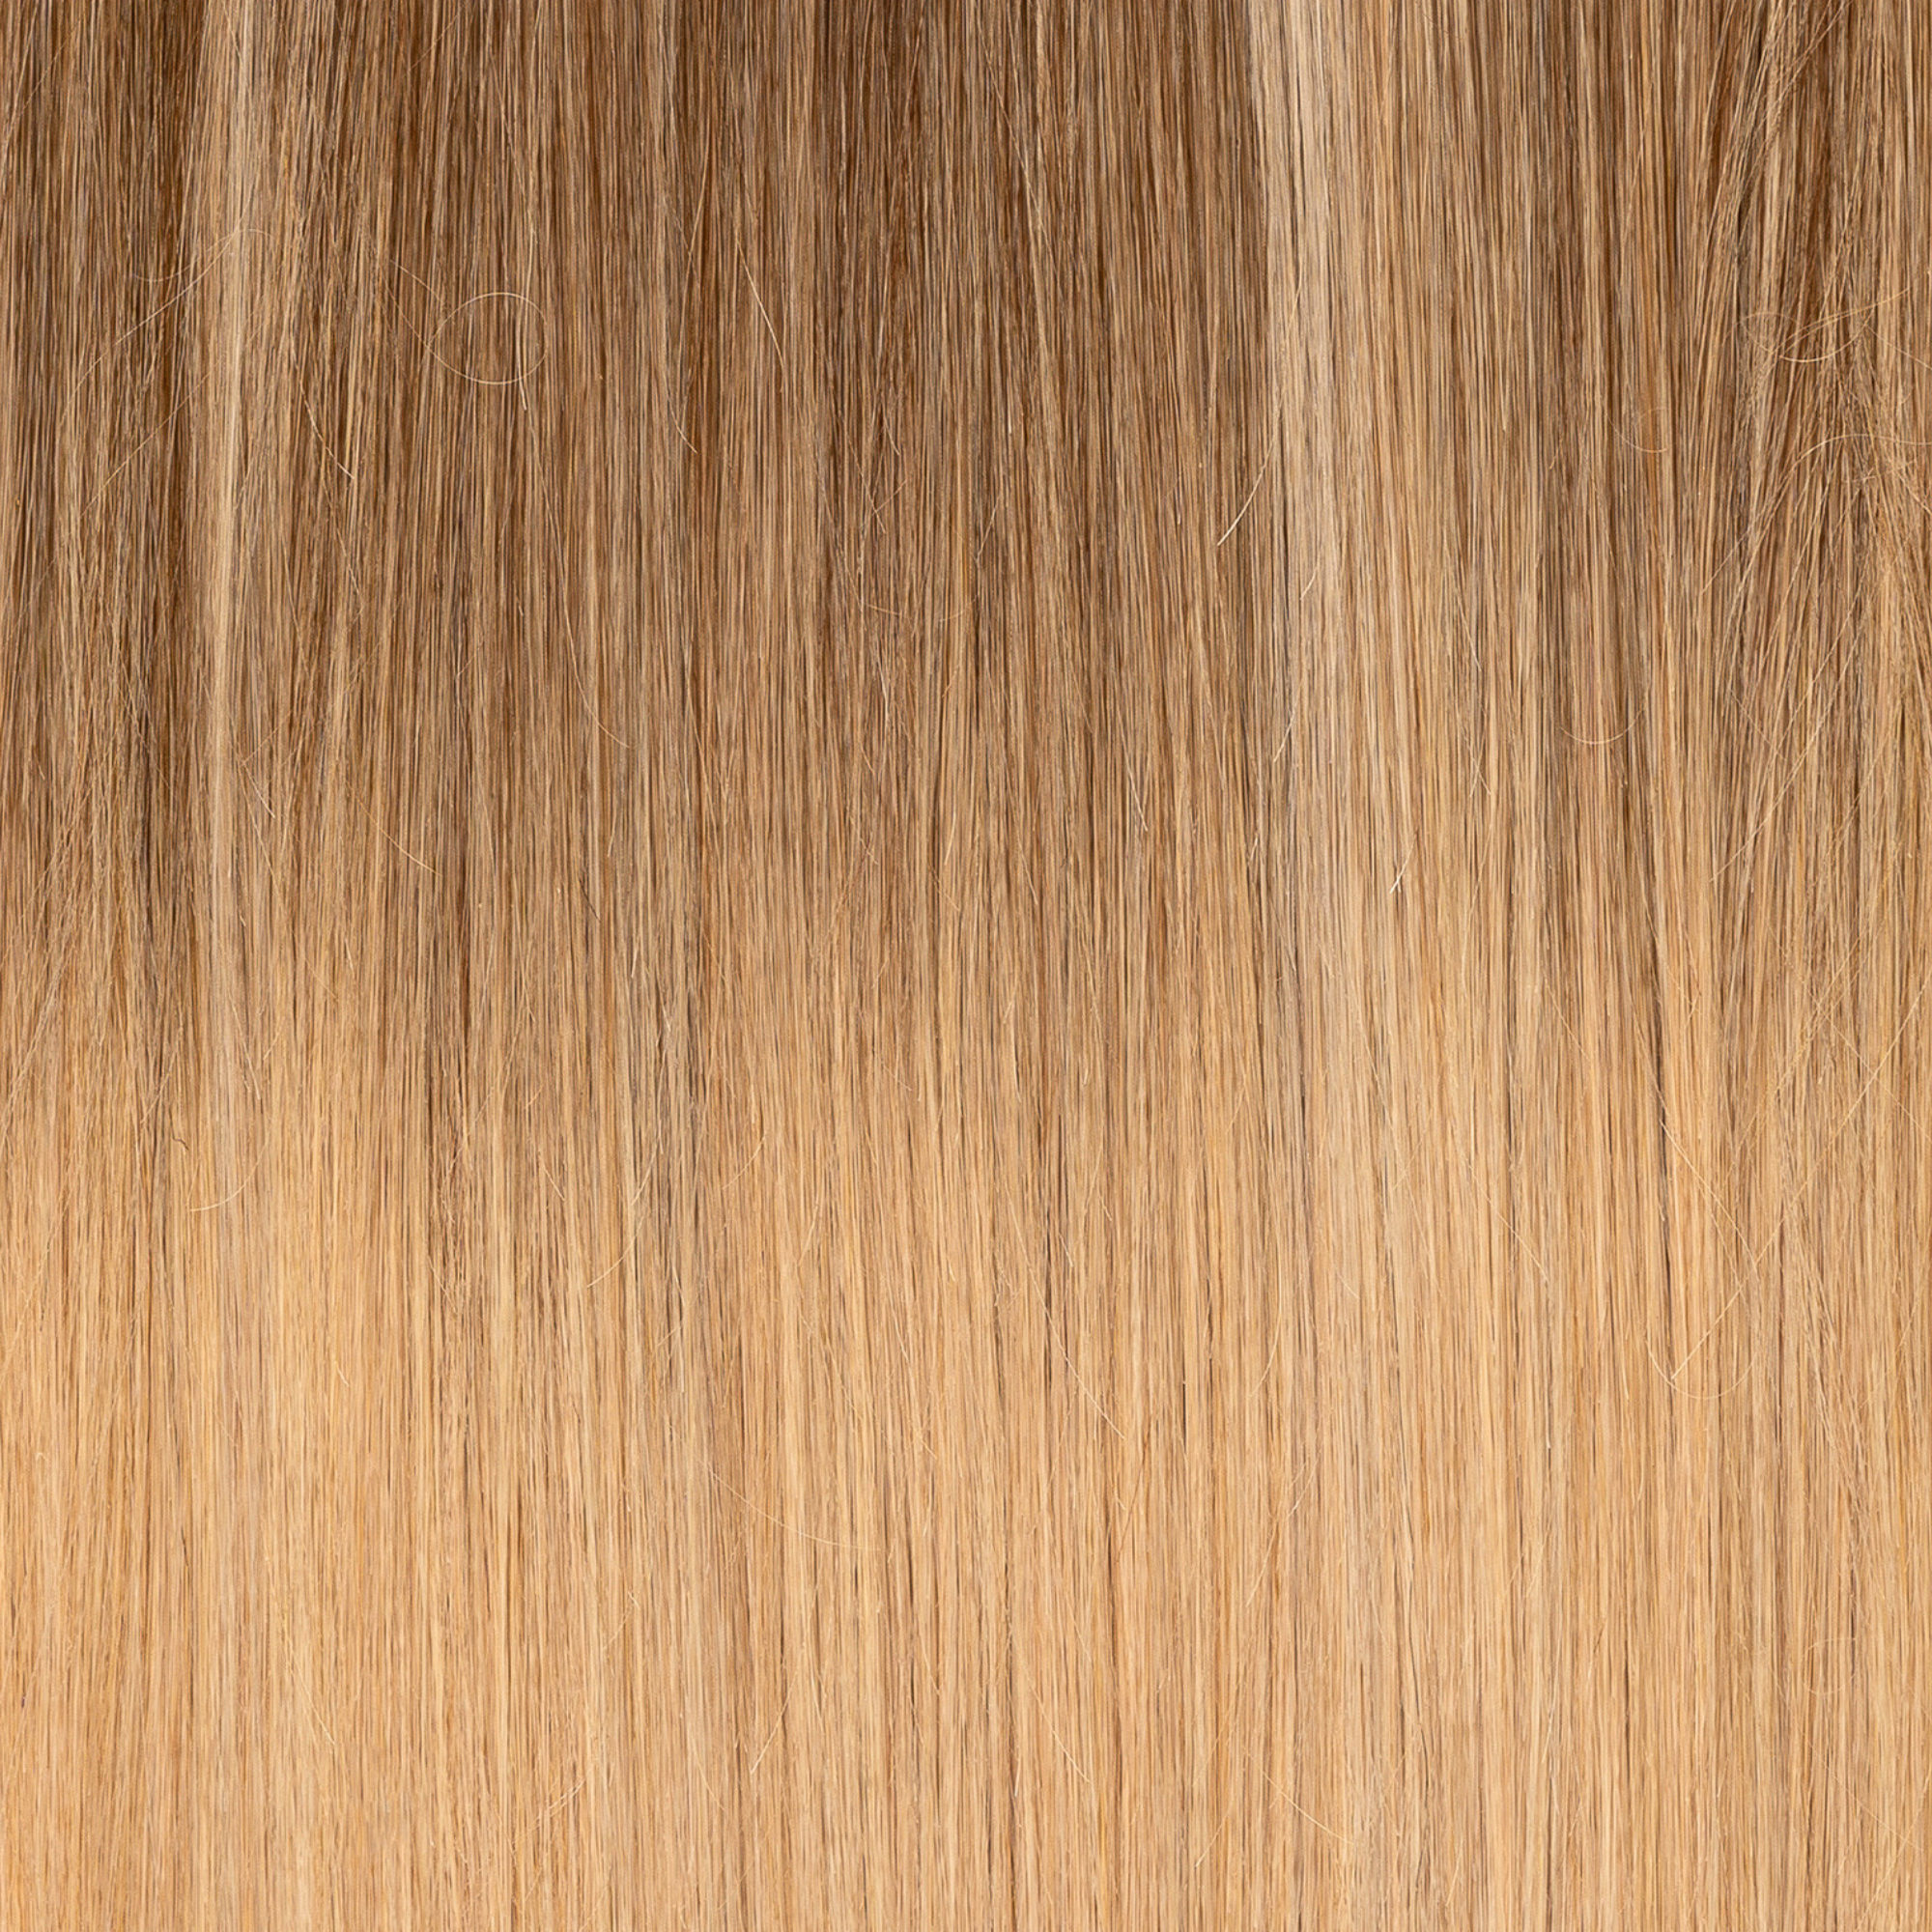
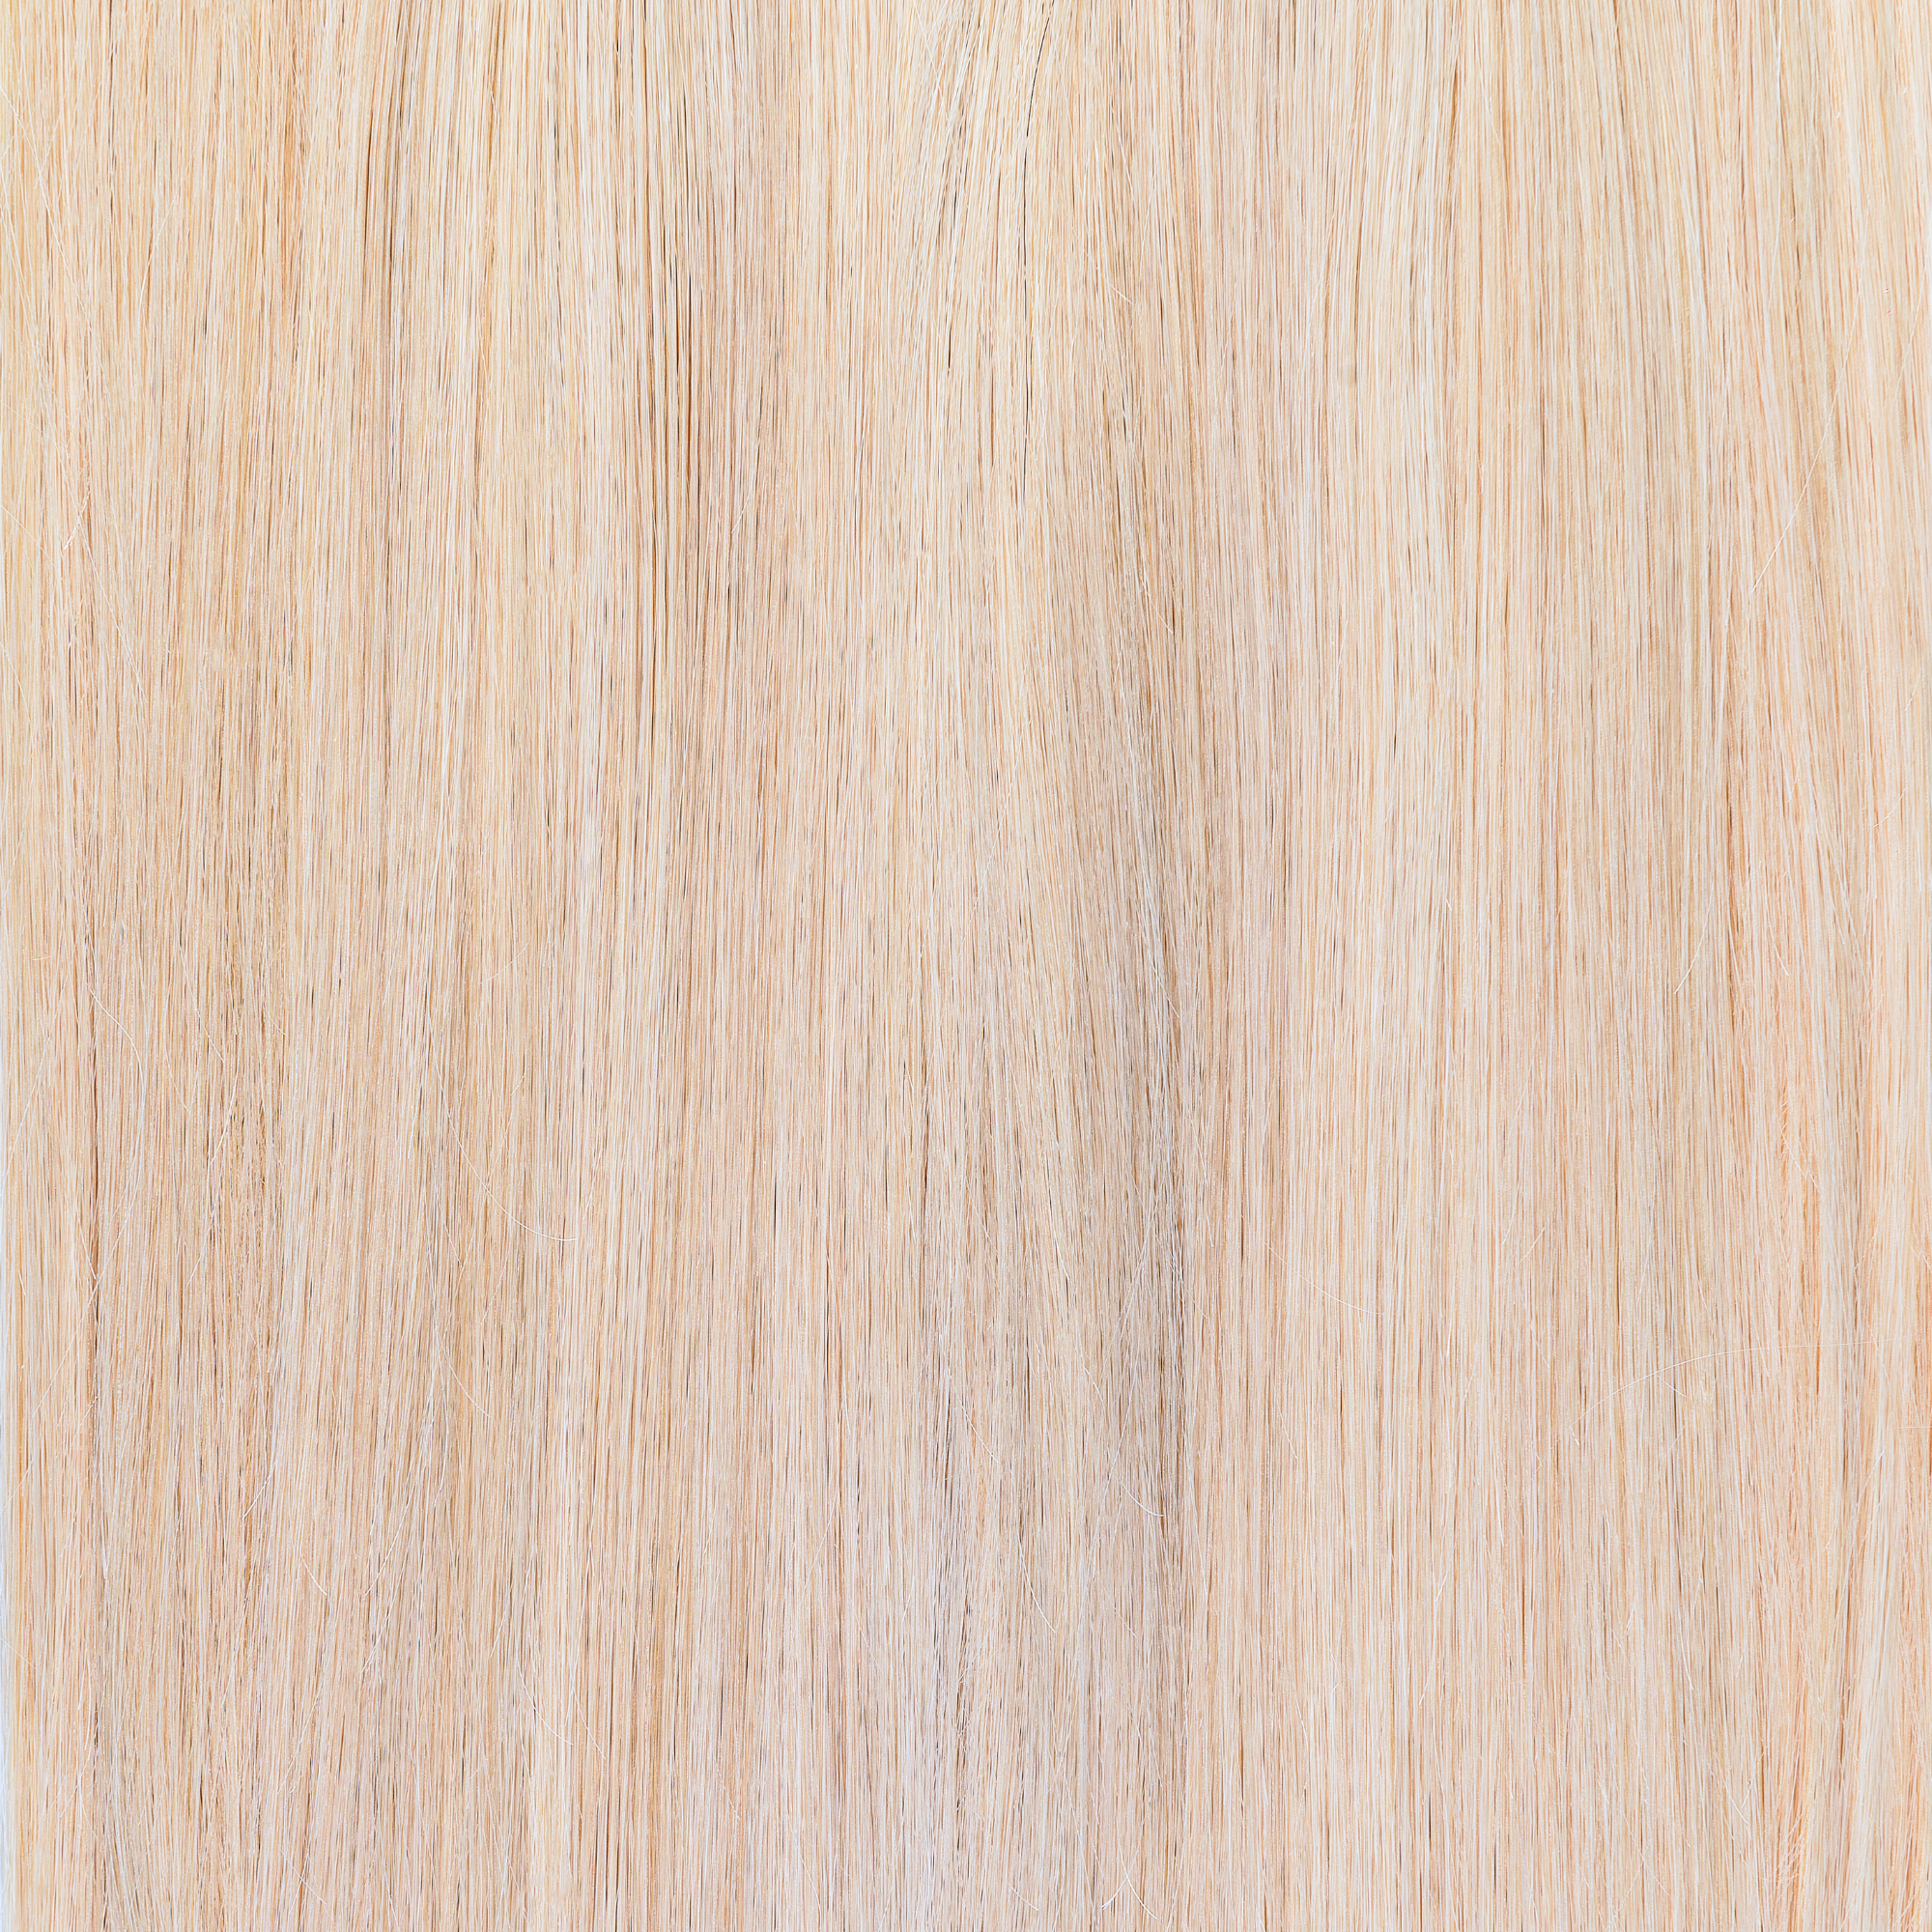
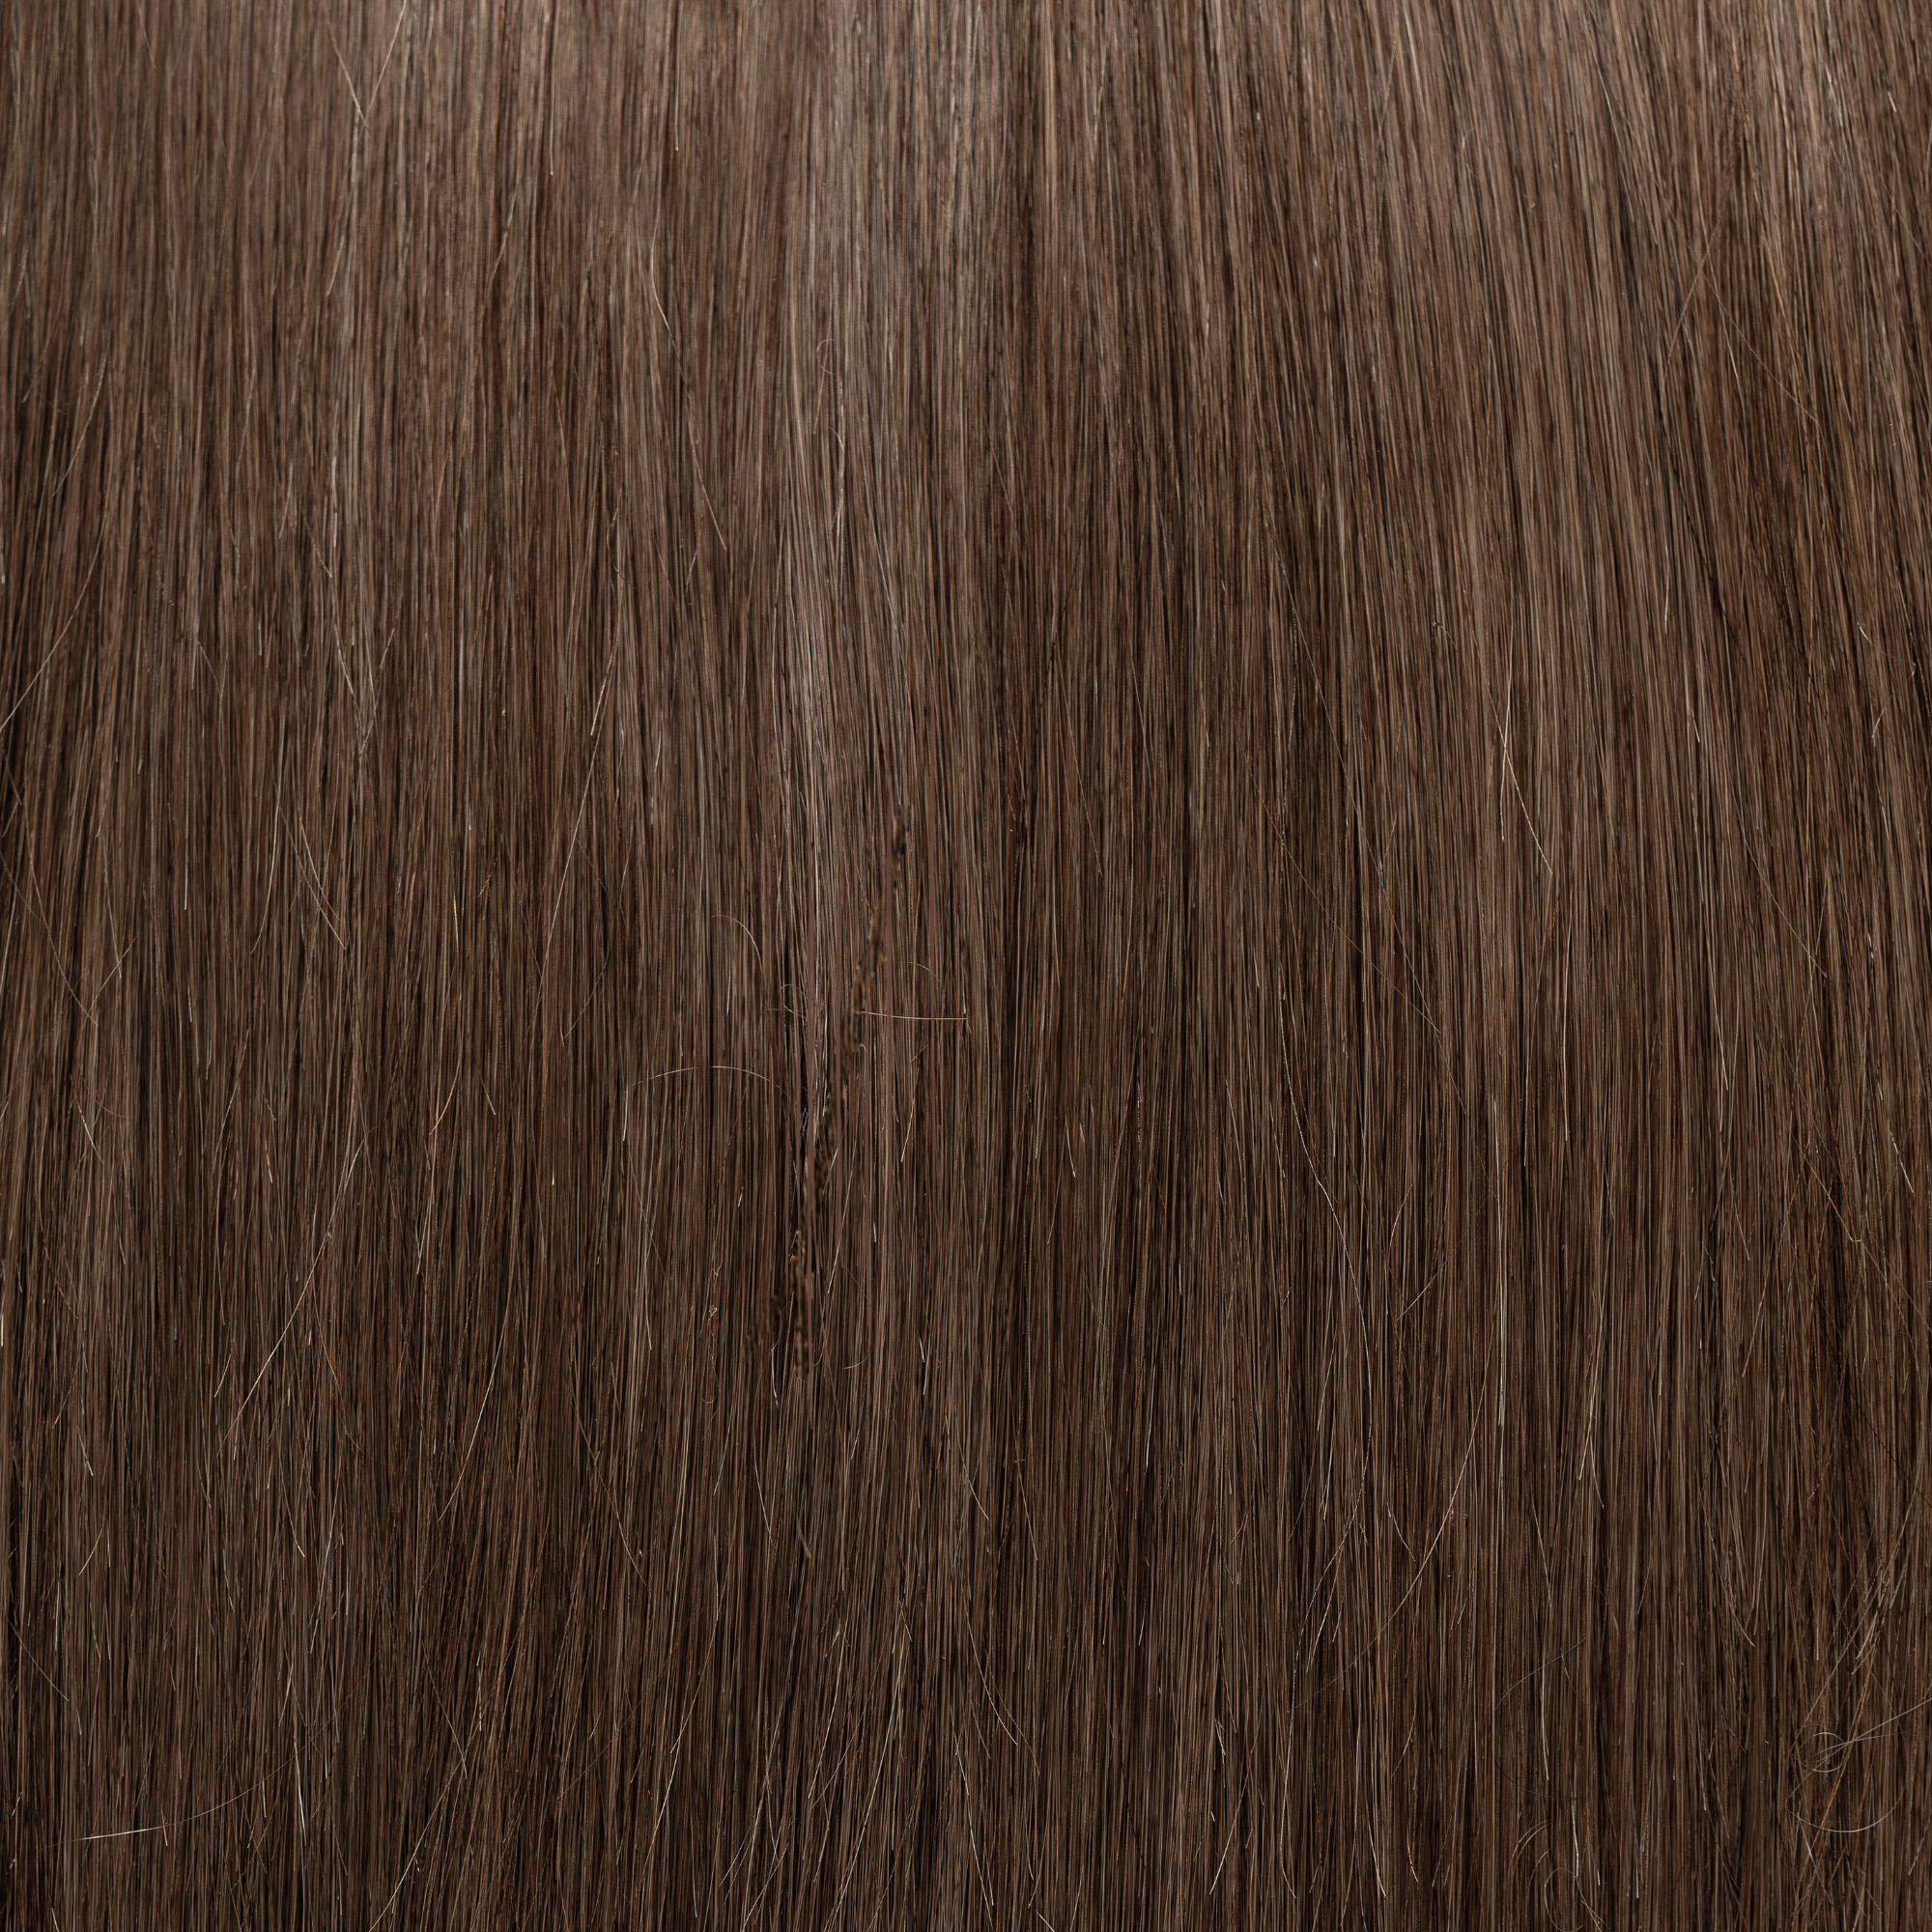
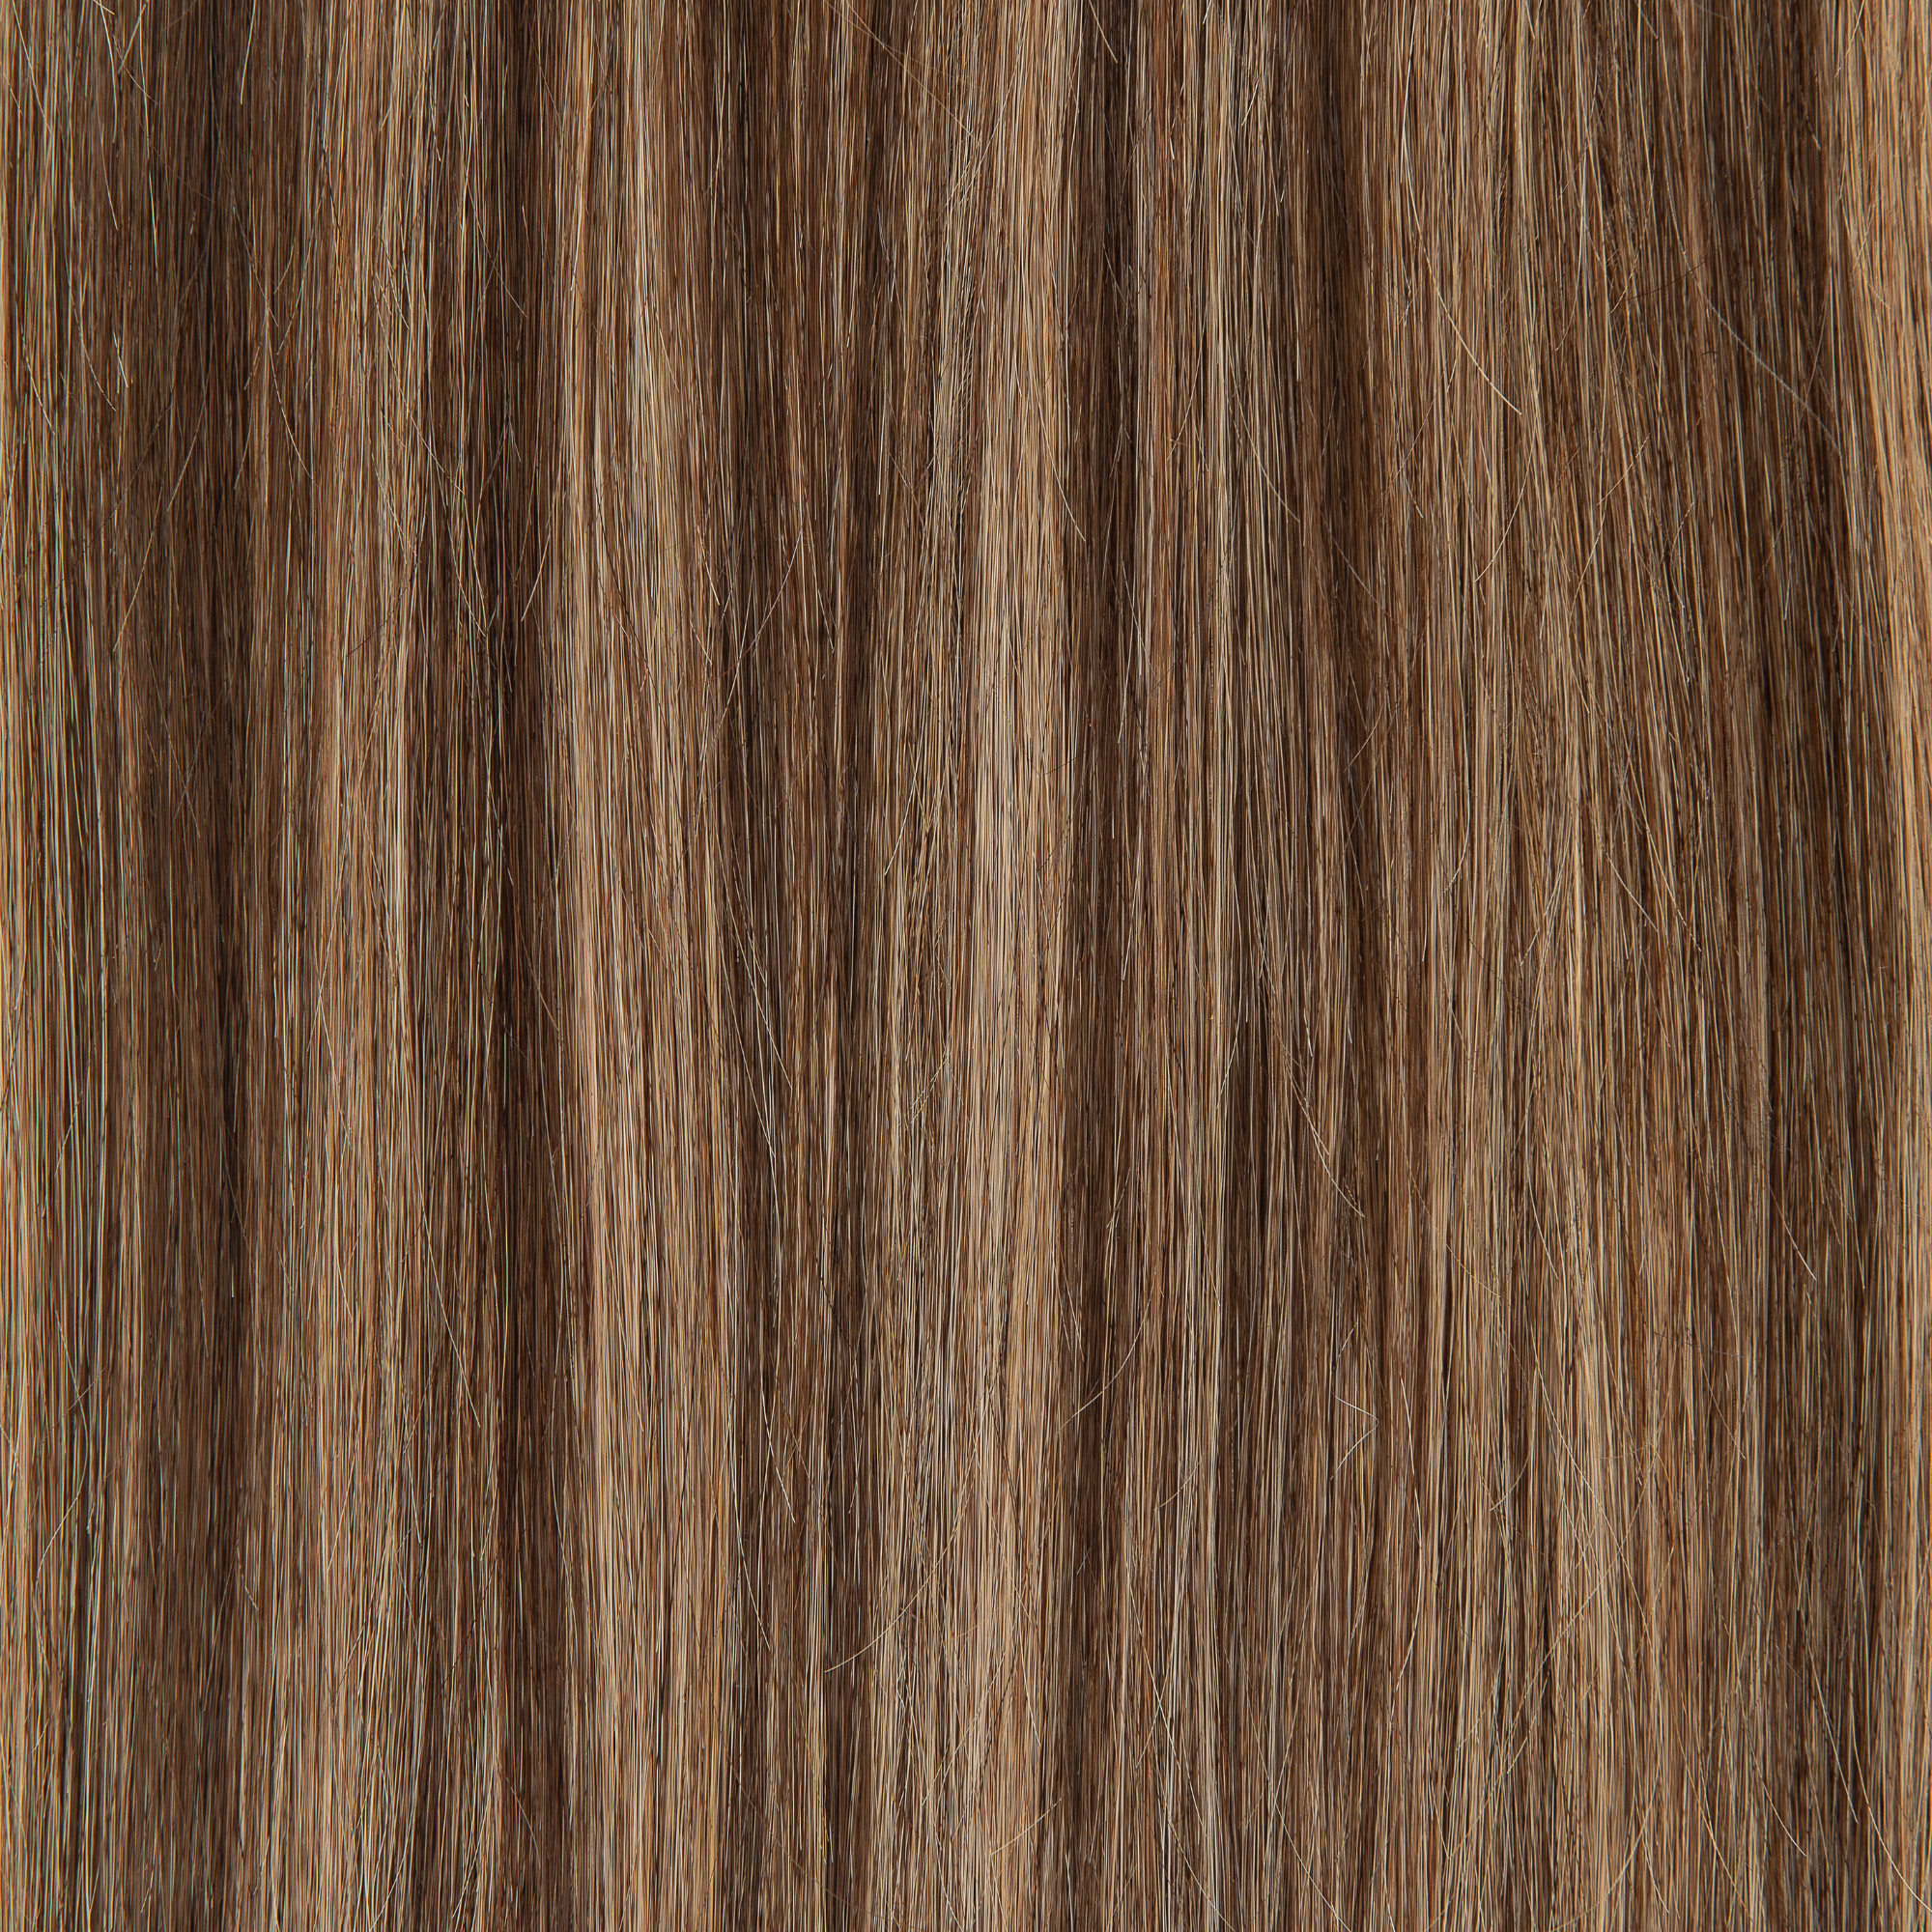
The key to how to attach extensions to hair lies in selecting extensions that complement your natural hair texture and color. Atelier Extensions stands out with its offering of 30 different shades and beach wave extensions, known for their natural texture that blends with all hair types. This variety ensures that you can find a perfect match to enhance your natural beauty

-
Length and Volume: In choosing the length and volume of your extensions, consider your natural hair length. For those with very short hair, you may find it beneficial to select two different lengths to achieve a more natural, layered look. This approach helps in seamlessly integrating the extensions, especially when considering how do hair extensions attach to short hair.

- Human vs. Synthetic Hair: When it comes to how to fix extension hair, the distinction between human and synthetic hair is crucial. While Atelier Extensions offers high-quality, 100% human hair, it's important to note that opting for synthetic extensions can be risky. Synthetic hair cannot withstand heat, leading to damage that's impossible to repair. In contrast, human hair extensions like Atelier's offer durability and the flexibility to style with heat tools.

Prep Work: Laying the Foundations
Before you begin the process of clipping in your extensions, it's essential to prepare your natural hair. This means washing your hair to remove any build-up of oils or products. Dry your hair thoroughly, as attaching extensions to damp hair can lead to discomfort and potential damage to both your hair and the extensions. This preparation is critical for how to secure extensions into hair effectively, ensuring a solid base for the extensions.What you’ll need:
-
Hair Extensions: Choose the appropriate sets based on your earlier selection.
-
Fine-tooth comb and clips: For parting and sectioning your hair.
-
Hair spray for teasing: This will help in creating a textured base at the roots, crucial for how secure hair extensions are. With Atelier Extensions, thanks to their unique silicone pad that offers excellent grip and hair protection.
- Heat styling tools (optional): If you plan to style your extensions or your natural strands for blending.
Step-by-Step: Clipping In Your Extensions
Now, let's address a common question: how do you clip in full hair extensions?
Follow these easy steps on how to put on clip in hair extensions for a seamless finish.
1. Sectioning Your Hair
Start by sectioning your hair. Use the fine-tooth comb to create a horizontal part across your scalp by the nape and clip up the top section of your hair. This part should be as straight as possible for a smooth application.
Thanks to Atelier's silicone pad, teasing for extra grip is optional. If you choose to tease, lightly backcomb the roots where you'll attach the extensions for added security.
3. Attaching the Extensions
- Start with the 3-Clip Wefts: Begin at the nape of your neck, attaching one 3-clip weft. Then, place the second 3-clip weft slightly above the first.
- Add the 5-Clip Weft: Move to the widest part of your head and attach the 5-clip weft. This weft provides significant coverage and volume.
- Place the 4-Clip Weft: Above the 5-clip weft, secure the 4-clip weft. This helps create a layered and natural look.
- Attach the 2-Clip Wefts on the Sides: Use the two 2-clip wefts for the sides of your head to ensure even volume and framing around your face.
- Finish with Single Wefts (Optional): For additional volume at the top, you can add the four single weft clips. This step is optional and depends on the desired fullness and style.
This specific breakdown of weft placement ensures a balanced and natural look, making how to clip in hair extensions an easy and successful process.
5. Blending and Styling
Once all the extensions are in place, let down your hair and blend the extensions with your natural locks. Use a brush or your fingers to gently integrate them. Now, style as desired - straighten, curl, or leave as is for a natural look.
6. Final Adjustments
Make any final adjustments to ensure your extensions are comfortable and the style looks natural. Check for any visible wefts and adjust as needed.
With these steps, you’ll find how to make hair extensions clip in secure is straightforward. With Atelier Extensions, their design ensures a firm hold, blending seamlessly with your strands for a natural and gorgeous look.
Watch Full Video Here:
Blending with Short?
For those with short hair, blending is crucial to ensure a natural look. If your hair is particularly short, consider braiding and pinning your nape hair. Then, attach the 3-clip weft onto this area.
This technique helps prevent short hairs from spiking out under the extensions. For a dramatically long look, using two different lengths of extensions can create a more natural, layered effect. Follow the same weft placement recommendations, using longer wefts at the bottom and shorter lengths towards the top. This method creates a natural layered effect, seamlessly blending the extensions with short hair.
Maintenance and Care:
Proper care is vital to extend the life and maintain the quality of your extensions. Here are some expanded tips to keep them looking their best:
Gentle Washing: Wash your extensions with sulfate-free shampoo to maintain their natural oils. This gentle approach helps prevent drying out and tangling of the hair.
Air Drying: After washing, lay the extensions flat on a clean towel to air dry. Avoid wringing them out, as can cause damage.
Regular Brushing: Use a soft-bristle brush to gently detangle your extensions, starting from the ends and working your way up. Regular brushing keeps them smooth and prevents knots, even when not in use.
Deep Conditioning: Treat your extensions to a deep conditioning treatment every few weeks. This helps to replenish moisture and keep the hair soft and manageable.
Applying Hair Oils: Lightly apply natural hair oils to the ends of the extensions. This helps to keep them hydrated, especially if you frequently use heat styling tools.
Proper Storage: When not wearing your extensions, store them in a silk or satin bag to prevent tangling and protect the hair from environmental damage.
Avoiding Excessive Heat: Use heat protectant sprays and keep heat styling to a minimum. High temperatures can weaken the hair and shorten the lifespan of your extensions.
By following these detailed tips, your Atelier Extensions will stay secure, vibrant, and in excellent condition, enhancing your hairstyle for longer periods.
Ready to elevate your look with the confidence and style of a star?
With this guide, you now know how to use clip in hair extensions and style your Atelier Extensions with the same ease and flair as celebrities like Kim Kardashian and J.Lo. Whether you're after a subtle enhancement or a dramatic celebrity-style makeover, Atelier Extensions offers the perfect solution.
Explore our premium, salon-quality range at Atelier Extensions and begin your transformation to gorgeous, voluminous hair today!
To clip-in hair extensions, you'll need the following tools: a fine-tooth comb or a tail comb for parting your hair, hair clips or ties to section your hair, a brush specifically designed for extensions to detangle them without causing damage, and of course, your set of clip-in hair extensions. Having a mirror handy to view the back of your head can also make the process easier.
Choosing the right color of hair extensions is crucial for a natural look. Try to match the extensions to the ends of your hair rather than the roots, as this is where they will blend in. For length, consider what style you're aiming for. Extensions typically range from 12 inches to 24 inches. If you're looking for volume, select a length close to your natural hair. For length, go longer. Many brands offer color-matching services or color swatches to ensure you find the perfect match.
To achieve a natural look with clip-in hair extensions, start by sectioning your hair from the bottom up. Clip the extensions in at an angle to lie flat against your head and blend better with your natural hair. Ensure the clips are secure but not too tight to avoid discomfort. Layer the extensions so they blend seamlessly, and use a brush to gently combine your natural hair with the extensions. Avoid clipping too close to the hairline or part lines to keep the clips hidden.
Yes, you can style hair extensions with heat tools, especially if they're made of real human hair. However, it's important to apply a heat protectant spray beforehand to prevent damage. Use a lower heat setting than you would with your natural hair, as extensions can be more prone to damage. If your extensions are synthetic, check the manufacturer's guidelines, as not all synthetic extensions can withstand heat.
Proper maintenance and storage are key to extending the lifespan of your clip-in hair extensions. After use, gently brush them to remove any tangles and store them in a dry, flat place. Avoid storing them while damp to prevent mold or mildew. Some people prefer to hang them or store them in a box specifically designed for extensions. Washing should be done sparingly, using sulfate-free shampoo and conditioner. Always allow them to air dry before storing.


2 comments
“I love to read about your articles! Your reviews on Nish Hair Extensions are incredibly informative and detailed. Everyone should read my article to discover the best tips and styles for using these amazing hair extensions!”nish hair
- nish hairYour blog is pretty interesting, so thank you for sharing this with us. Premium clip-in hair extensions available exclusively for women. Purchase from our clip-in sets of 1, 2, 3, and 7 pieces. To view the products, click this link. Clip Ins For Hair Extensions
- Hair 4 All