Braiding with Extensions: Mastering the Trendy Styles
- Irene GilmanAs the coquette charm has dominated the end 2023 and are still going strong in the 2024 trend scene, we're here to ensure you're not just observing the trends—you're owning them. If you're struggling with thin, fine, or hair that just won't grow fast enough? We feel you.

But let's turn that hair frustration into fierce looks with a little help of hair extensions from Atelier Hair Extensions. Learn from us how to master braiding hair with extensions and achieve those playful looks everyone's been double-tapping.
Why Hair Extensions Are a Braid's Best Friend
For those of us with finer hair, the struggle of creating a braid that looks more 'meh' than 'wow' is all too real. Thin strands can turn even the most intricate braid into something that looks lackluster and limp. They can transform a sparse braid into a full, lush one, making how to braid with hair extensions an essential for voluminous, eye-catching styles.
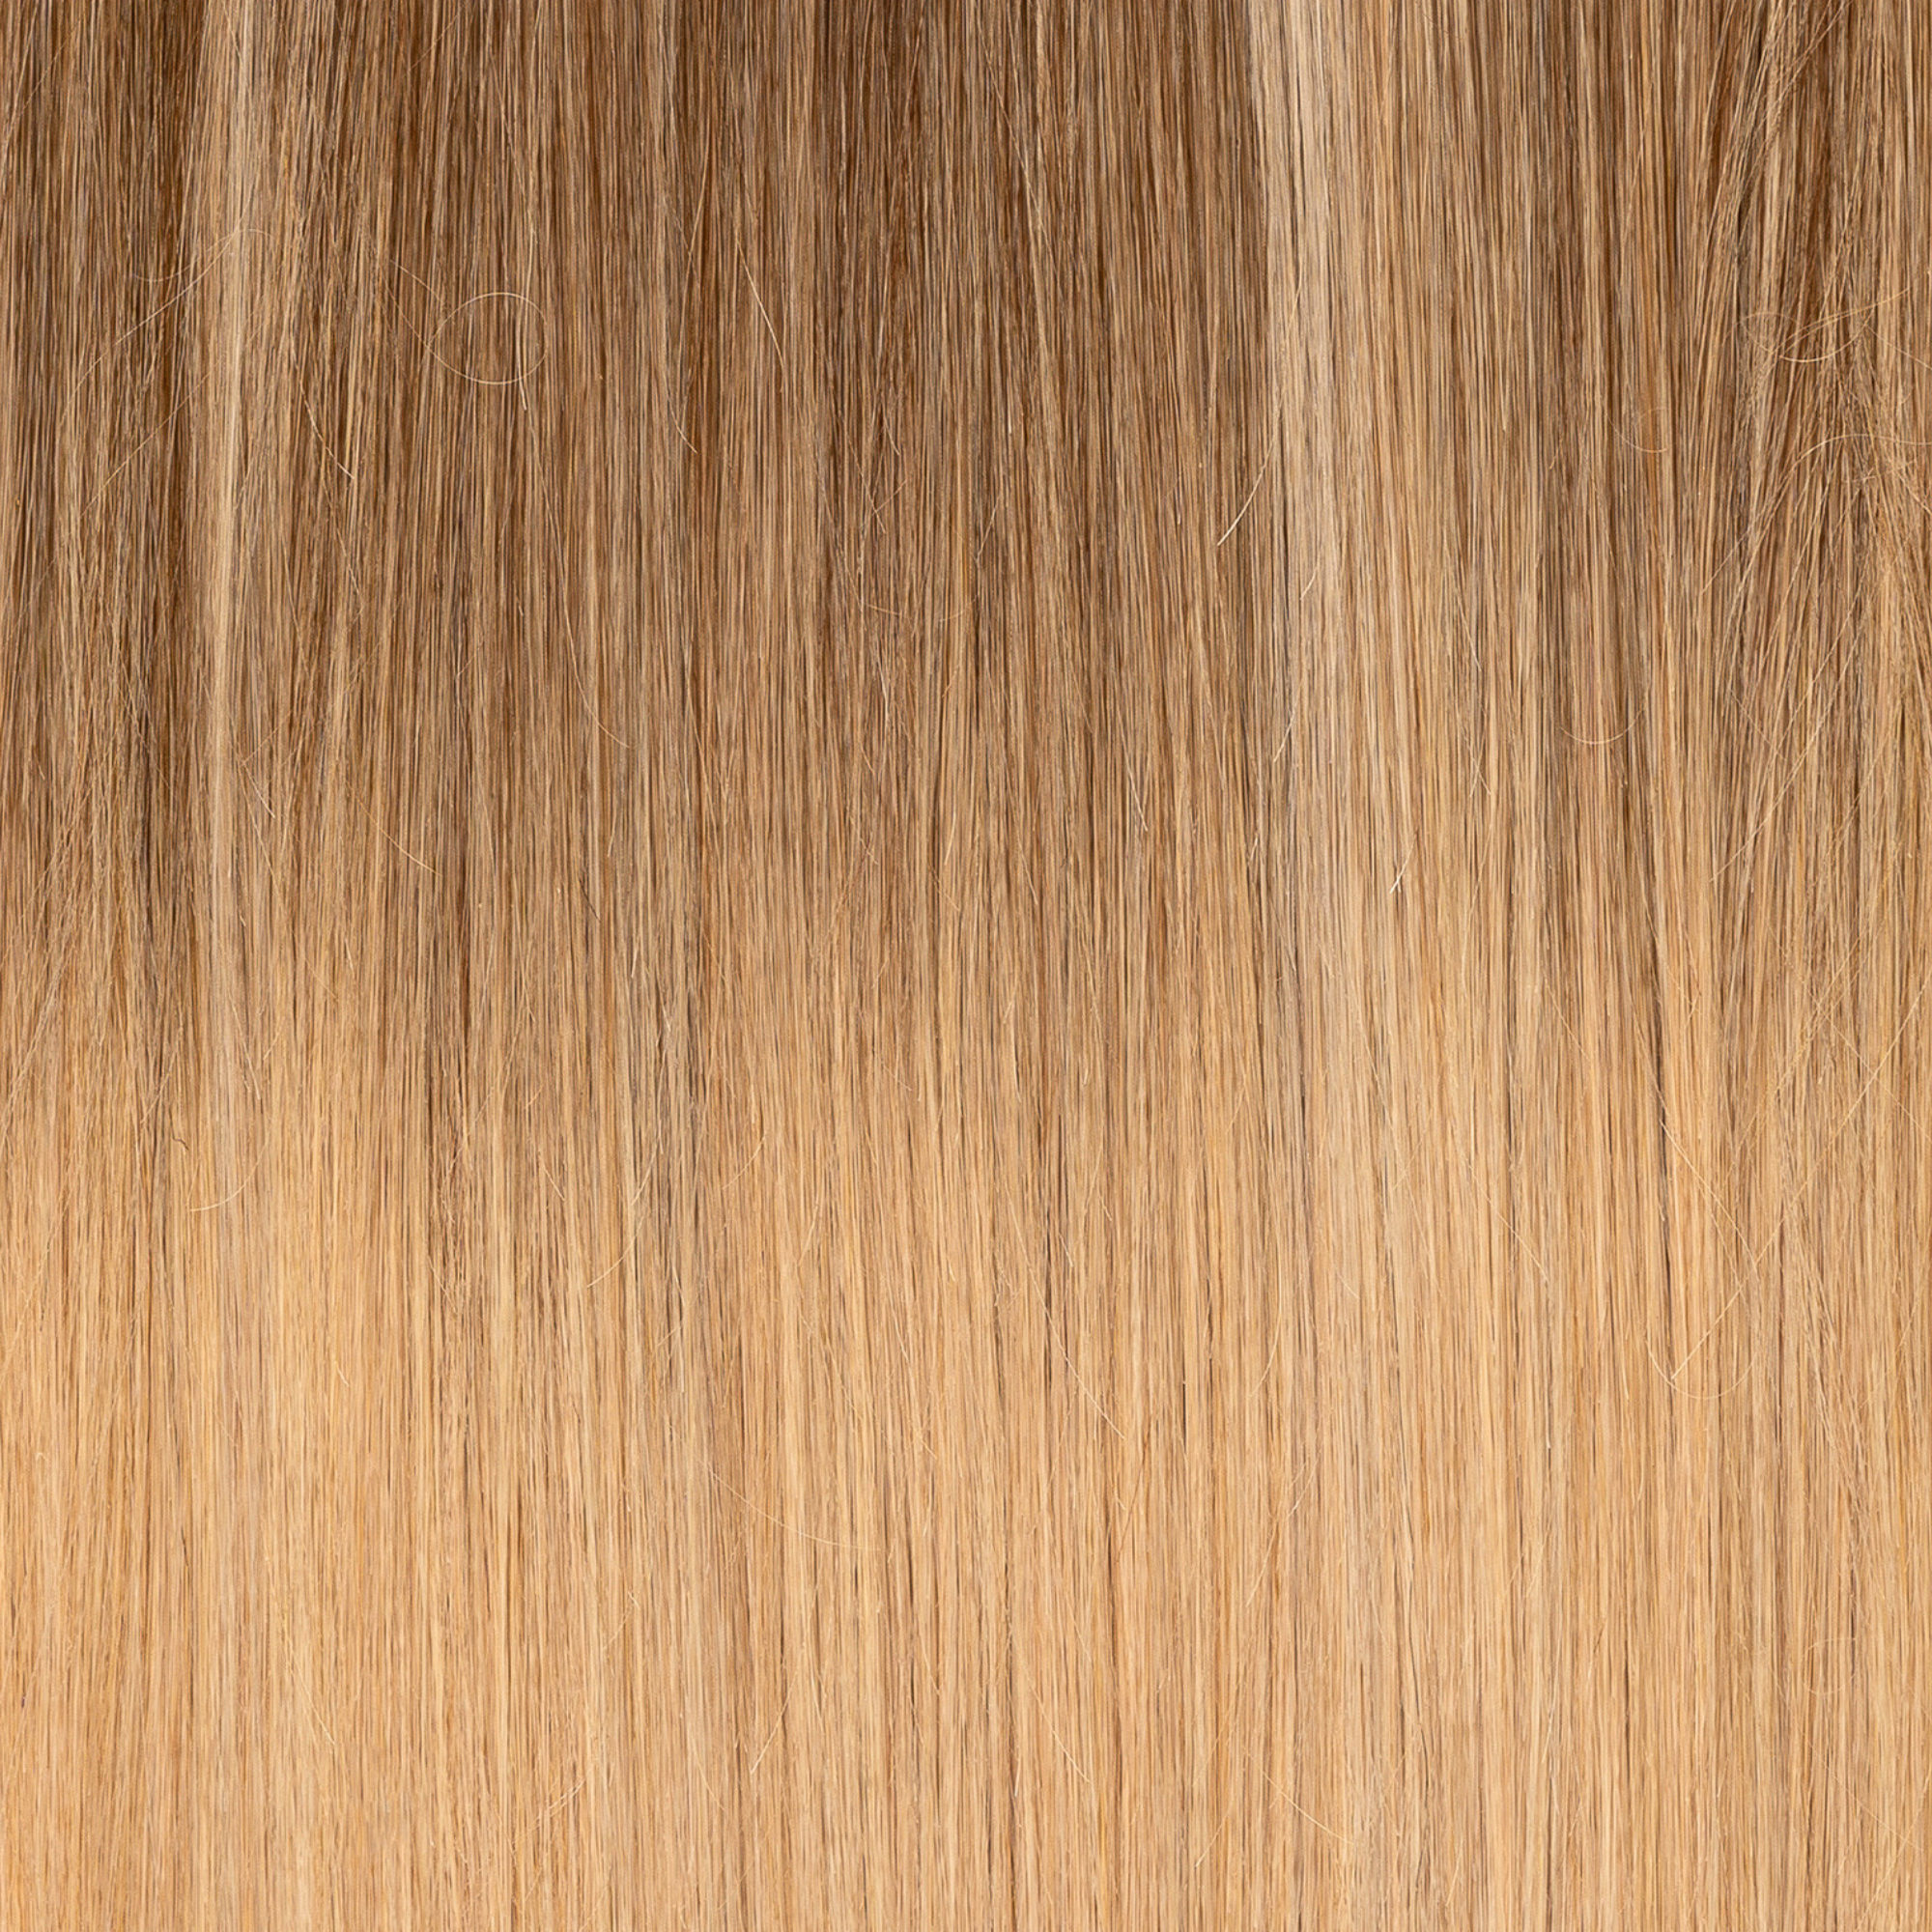
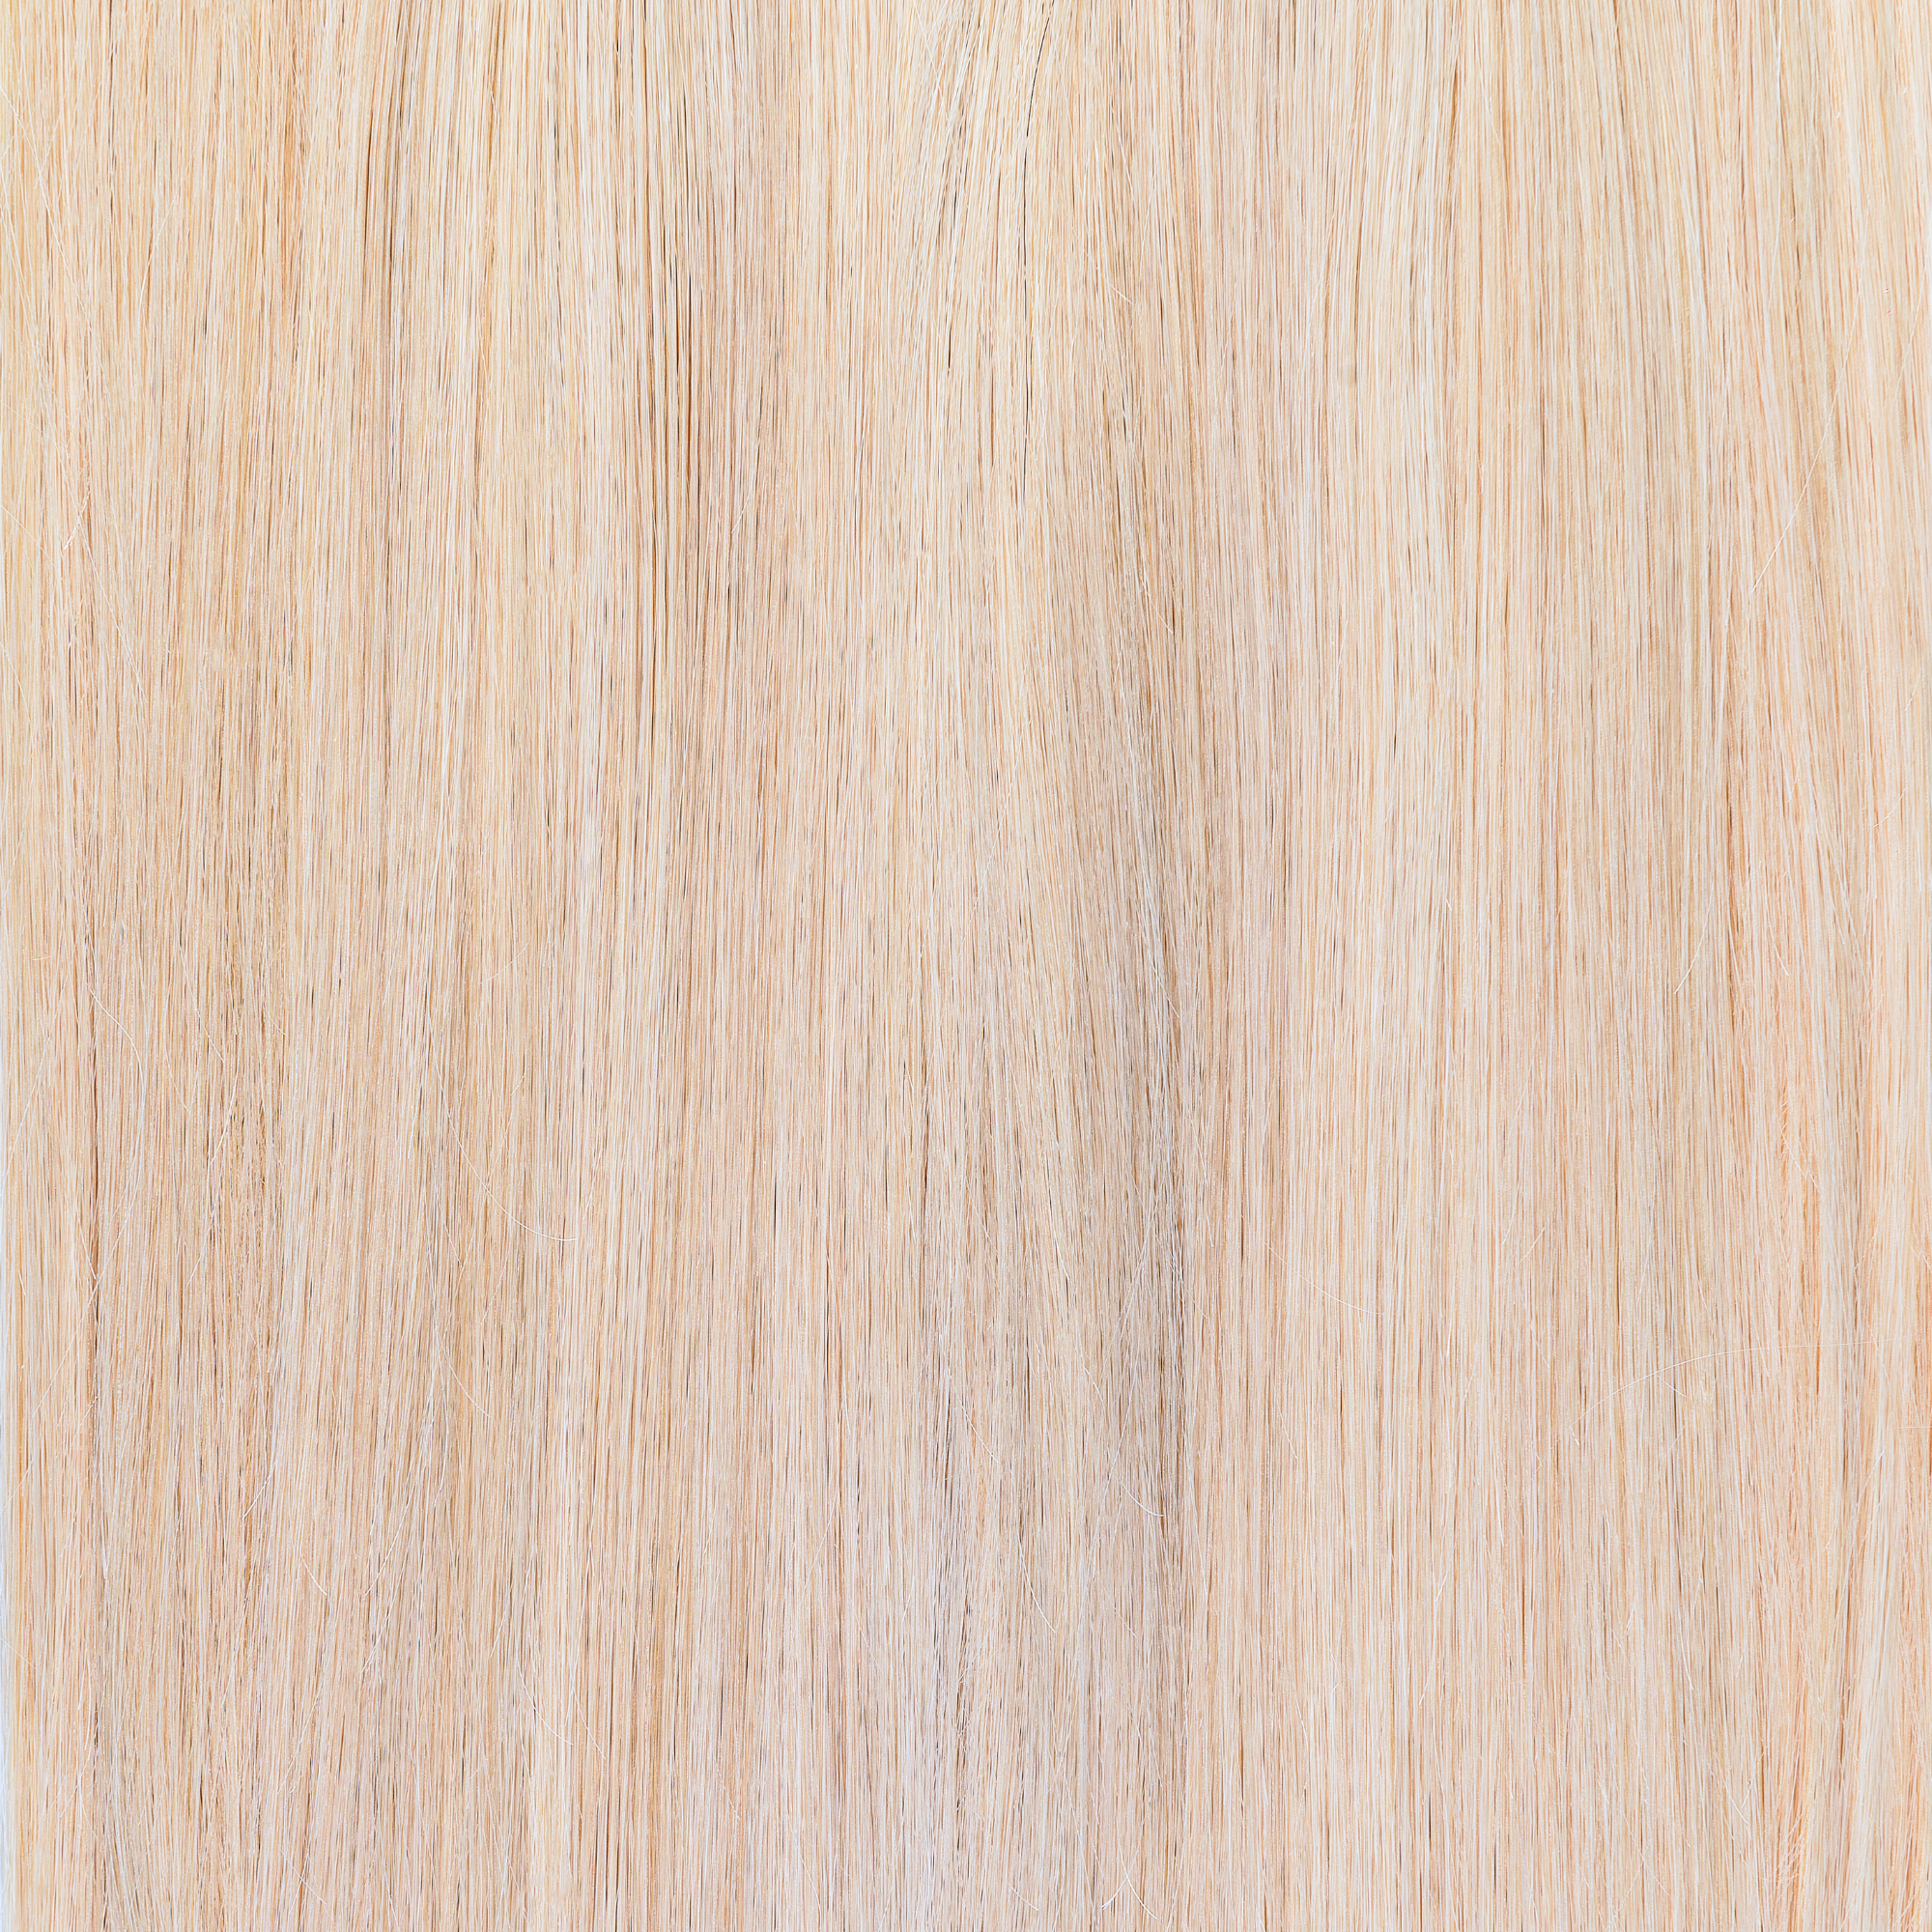
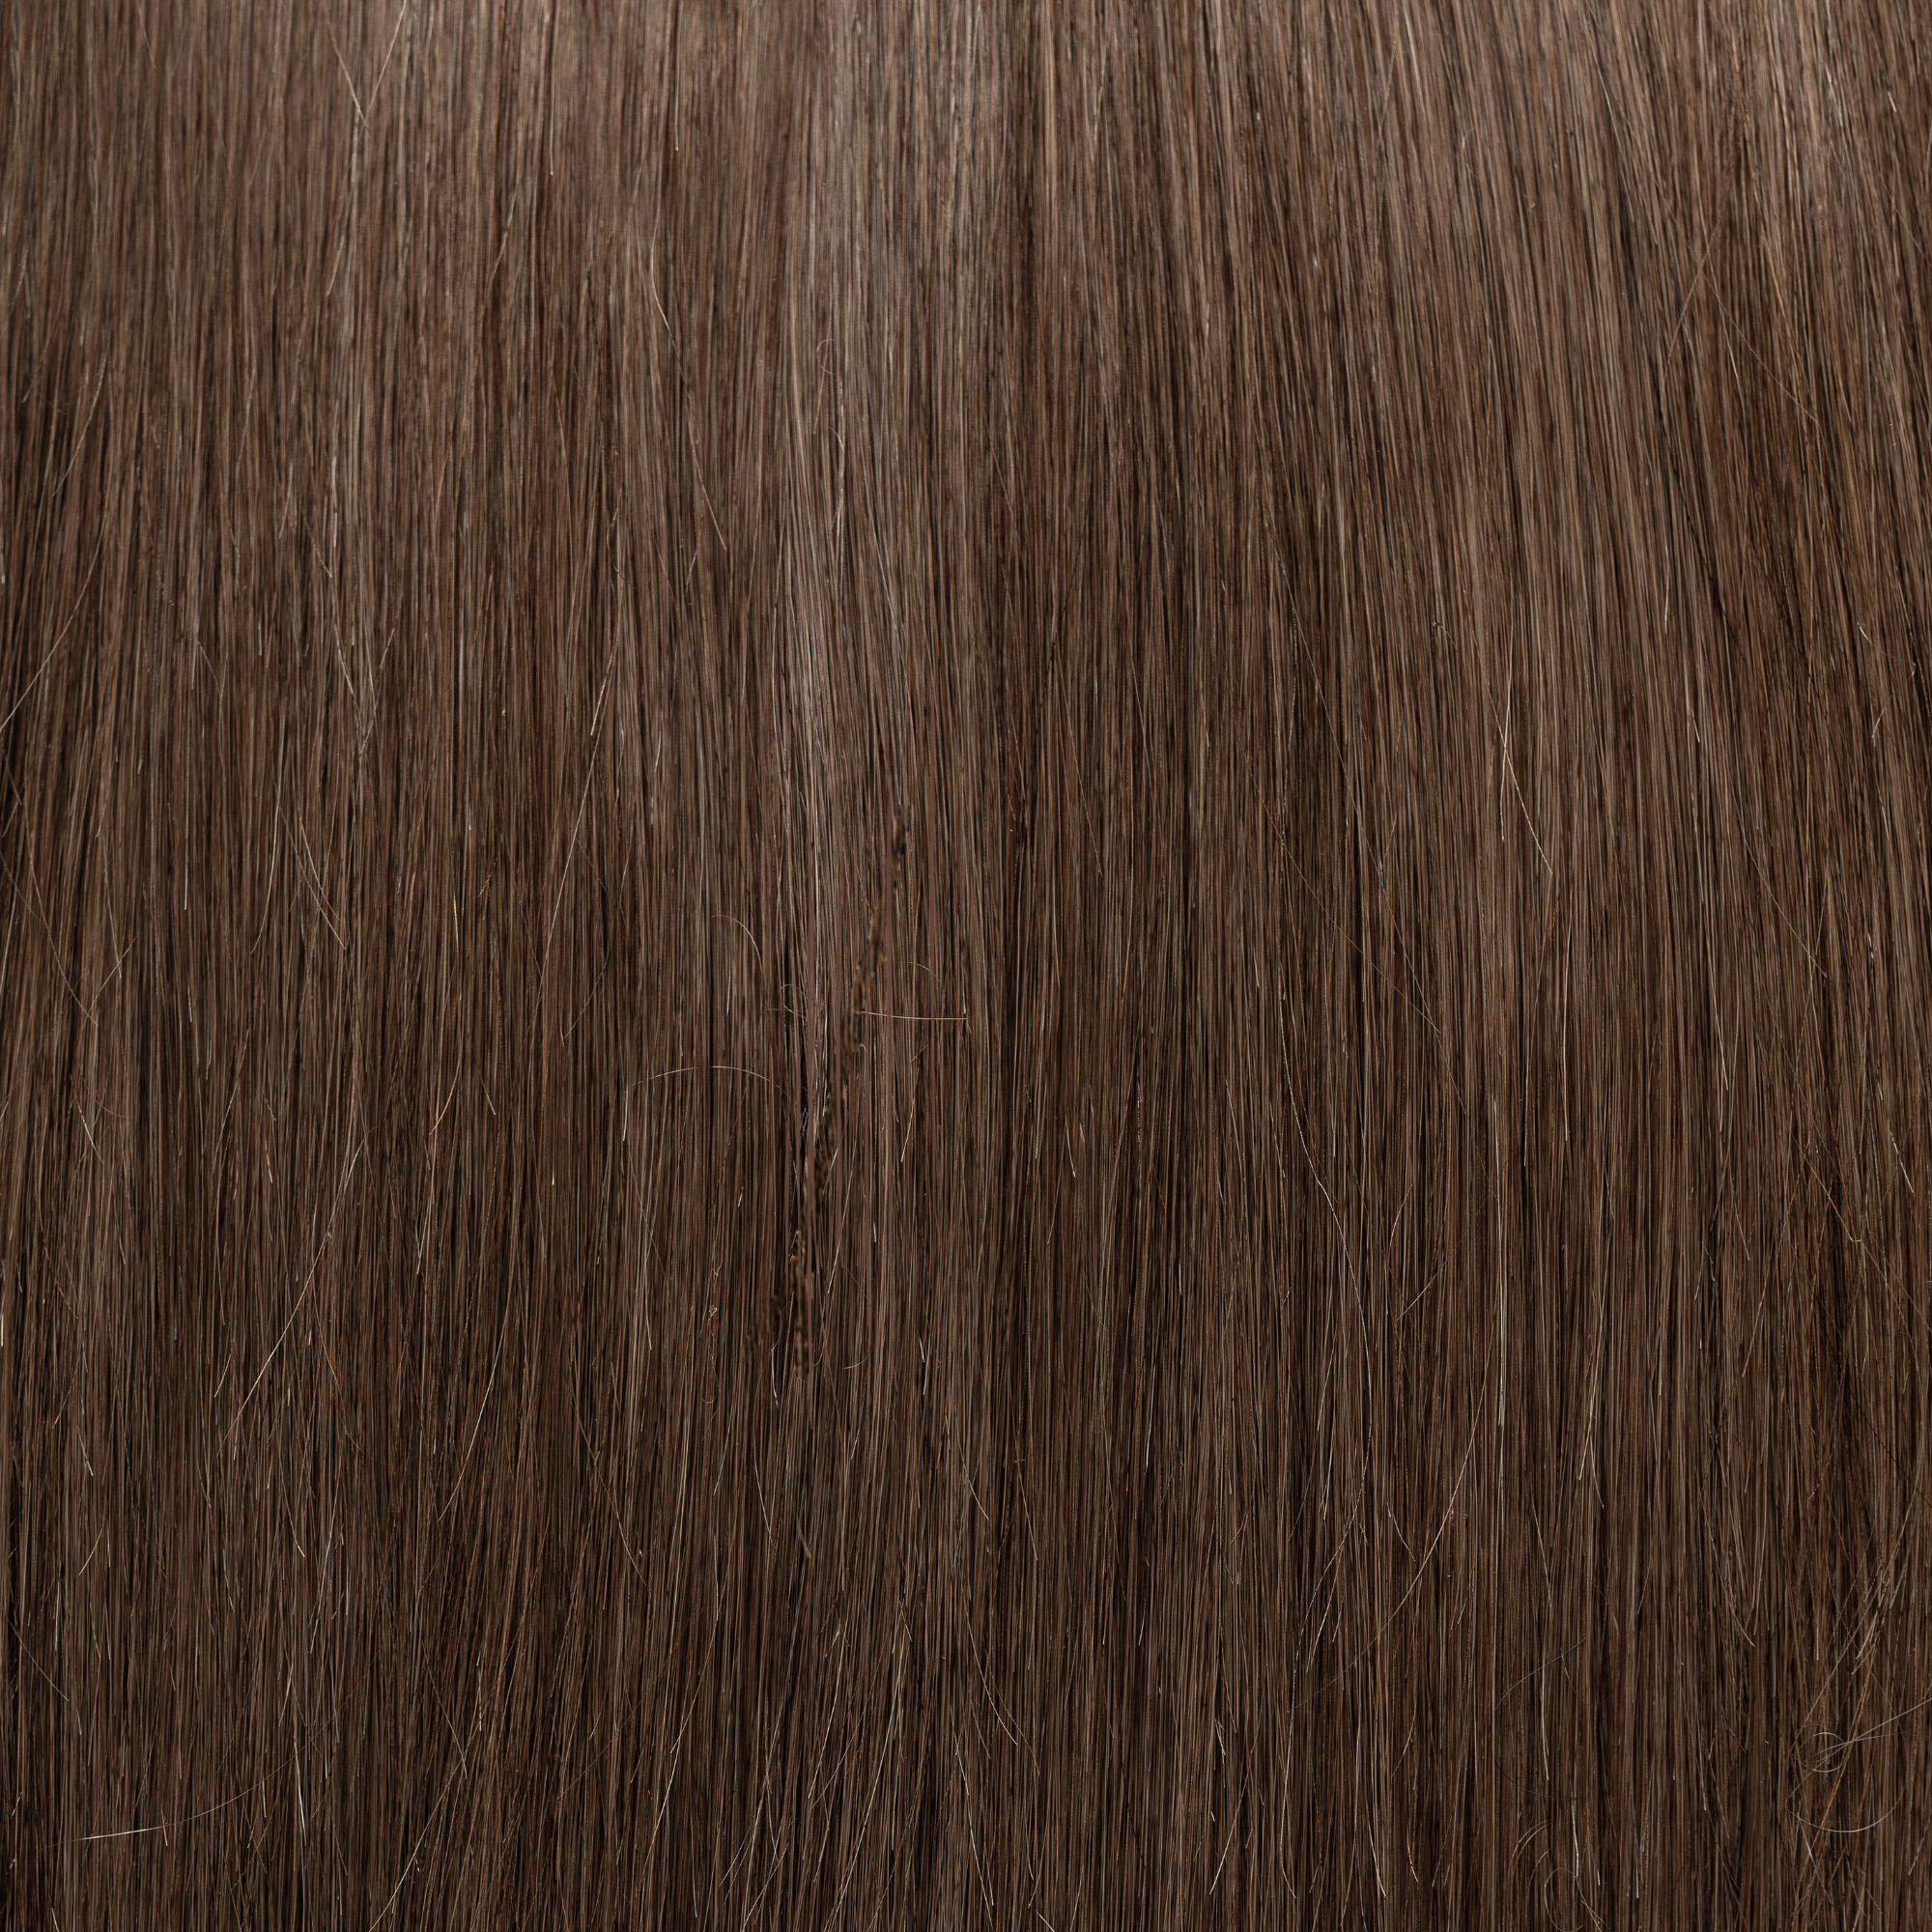
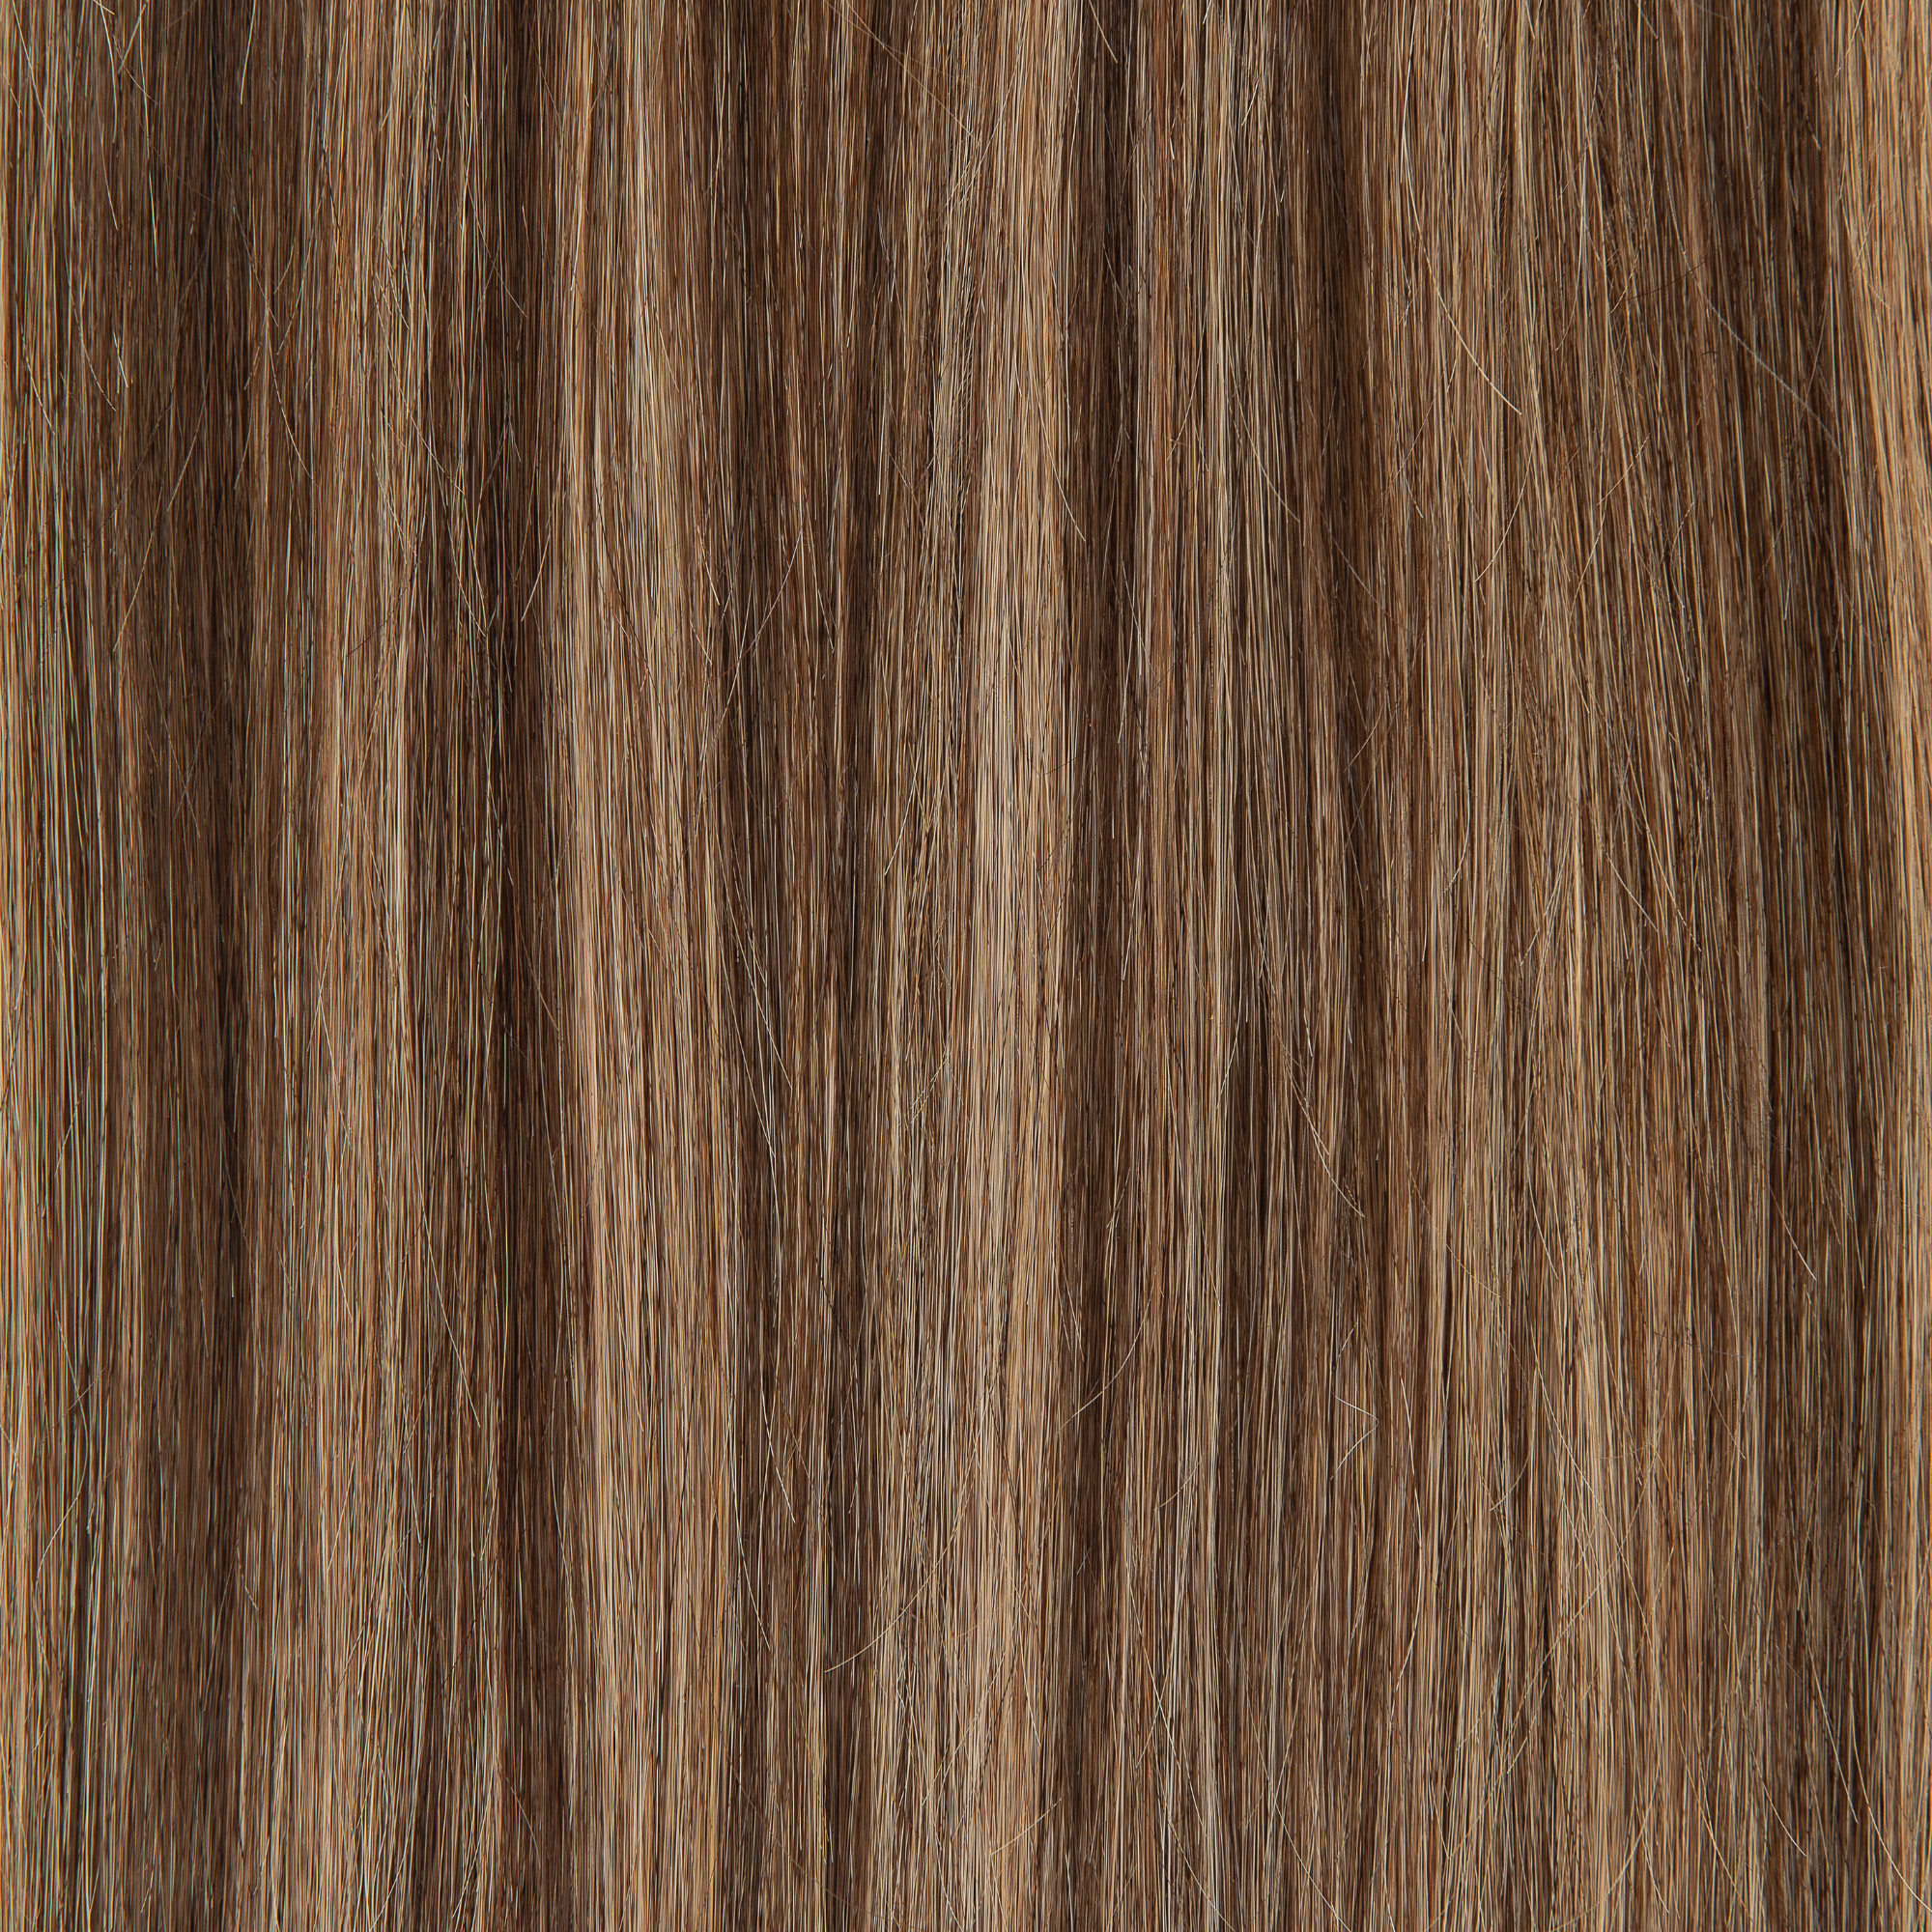
When you're on the hunt for the perfect extensions, especially for fine hair, choose lightweight extensions that won't weigh down your locks or cause damage. They should blend so seamlessly into your natural hair that even you forget they're there. And when it comes to color, it's all about harmony – find a shade that's a near-perfect match to your own, or choose extensions with highlights to craft a dimensional look with depth and contrast.

With the right extensions, not only is your braid transformed, but your entire look is elevated, giving you the confidence to flaunt your hair with pride.
Essentials for Crafting Trend-Setting Braids
Here's a checklist to create those stunning, on-trend braids-
Seamless Extensions: Choose lightweight, seamless clip in extensions that match your hair type and color. These are fundamental in adding volume and length without the bulk.
-
Detangling Brush: A must-have to ensure both your natural hair and the extensions are smooth and tangle-free before you start braiding.
-
Fine-Tooth Comb: Perfect for creating precise sections and smoothing out smaller strands for an impeccable finish.
-
Hair Clips: These will be your best friends in sectioning off hair and keeping extensions in place as you work your magic.
- Elastic Bands: Opt for bands that match your hair color for a seamless look. They're essential for securing the ends of your braids or any sections as you work.
-
Gel: A little gel goes a long way in taming flyaways and ensuring your braids are sleek and stay put.
-
Light Hold Hair Spray: This will help set your style without making it stiff, keeping your braids looking natural and flexible.
-
Heat Protectant Spray: Essential if you plan to use any heat styling tools on your hair or the extensions, ensuring they stay healthy and damage-free.
-
Ribbons or Accessories: Choose ribbons or other accessories to add a personal touch to your braids, whether you're aiming for a playful or elegant vibe.
The Ribbon-Wrapped Braid with a Twist
For this whimsical yet chic hairstyle, we're channeling that coquette spirit with a modern edge—perfect for anyone who loves a playful look with a hint of romance.

- Extension Placement: Begin by clipping in your extensions. For those pieces near your temple, adjust them slightly back from your hairline. This lets you pull your hair back smoothly while keeping the extensions discreetly hidden.
- Creating the Ponytail: Now, gather the hair around your crown, being careful to leave out a few face-framing pieces at the front for a softer look. Secure the gathered hair with an elastic band at the back of your head.
- Ribbon Detailing: Take your chosen ribbon and wrap it around the base of the ponytail, covering the elastic band. Tie it into a bow, letting the tails hang long for a charming effect.
- Braid and Weave: Divide the ponytail into two sections. With one section, start braiding normally and incorporate the ribbon into your braid by weaving it along with one of the strands. This will give your braid a beautiful, intertwined look. Repeat on the other side.
- Secure the End: Once you reach the end of your braid, tie it off. The ribbon should naturally end with the hair, allowing you to tie another knot for extra security and style.
This hairstyle is not only on-trend but also versatile, showing how you can effortlessly braid hair with extensions for added volume and length. It works beautifully for daytime outings, coffee dates, or even virtual meetings where you want to look put together with a touch of personality
Sleek High Ponytail with Ribbon Detail
This look is all about the sleek, upscale ponytail braid, accented with a ribbon for an added touch of elegance.

- Extension Application: For a ponytail that’s as full at the top as it is at the bottom, apply your extensions upside down against the direction your hair will go when pulled up. This might sound a bit odd, but it ensures that when you sweep your hair up into a ponytail, the extensions lay flat and give you that seamless, voluminous look. You may not need many—weave in just enough to give your ponytail that extra boost.
- Sleek it Back: Use a gel to sleek back your hair for that polished high ponytail effect. Brush it back smoothly and gather all your hair, including the extensions, into a high ponytail. Secure it with a sturdy elastic band that’s tight enough to hold but comfortable on the scalp.
- Braid the Length: Now, braid the ponytail in your preferred style, whether it's a simple three-strand or something more intricate like a fishtail. Braid right down to the ends and then secure with another elastic.
-
Ribbon Ties: Choose a ribbon that speaks to your style—be it a satin black for elegance or something bright for a pop of fun. Tie one ribbon neatly around the base of the ponytail to conceal the elastic. Then, take the other ribbon and tie it at the bottom of the braid for a cohesive look that adds a touch of whimsy.
This braid is all about that smooth transition from sleek ponytail to textured braid, accented by the chic touch of ribbons. It’s perfect for when you want your hair to be the statement accessory to your look.
Getting the Hang of It
Let's be real: nailing the perfect braid with extensions might take a few tries. If your first attempt isn't exactly Instagram-worthy, don't sweat it. Every twist, every clip, gets you closer to becoming a braid boss. Think of it as a fun experiment – with each braid, you're leveling up your skills. So, keep at it, and you'll be surprised at how quickly you improve.
Beyond the Braid: Find Your Perfect Match with Atelier Extensions

Atelier Extensions was created with you in mind, especially if you're navigating the challenges of fine or thin hair. Our mission? To offer seamless, lightweight extensions that deliver a natural, voluminous look straight out of your dreams. Learning how to braid hair extensions has never been easier, with our beach-waved texture that looks stunning air-dried and the premium quality of 100% human hair. Whether you're looking to enhance your braids or simply longing for fuller, more luxurious hair, Atelier Extensions is here to transform your styling experience.
F.A.Q's
Braiding with extensions can enhance the thickness and length of your braids, allowing for more intricate and voluminous styles. Here’s how to do it:
- Prepare your hair and extensions: Ensure your hair and the extensions are detangled. Match the extension texture to your natural hair for a seamless look.
- Section your hair: Divide your hair into sections based on the braid style you are aiming for. Smaller sections are ideal for intricate styles, while larger sections suit styles like box braids or chunky cornrows.
- Attach the extensions: Start braiding your natural hair and gradually incorporate the extension by folding it into the braid. Secure the extension close to the scalp but ensure it's not too tight.
- Continue the braid: Keep braiding down to the desired length, ensuring the extensions are evenly distributed and secure within the braid.
- Seal the ends: Use methods like boiling water (for synthetic hair), burning, or using elastic bands to seal the ends of the braids.
Big cornrows, also known as goddess braids, are thicker and raised, providing a bold statement look. Here’s how to achieve them:
- Prep your hair: Start with clean, detangled hair. Apply a leave-in conditioner or braid spray to moisturize.
- Choose your extension: Select thick hair extensions that can add significant volume to your cornrows.
- Part your hair: Use a tail comb to create neat and even sections. The size of the section dictates the braid's thickness.
- Install the extensions: Anchor the extension at the beginning of the cornrow. You can use the feed-in technique, starting with a small amount of extension and gradually adding more for a natural taper.
- Braid tightly but comfortably: Ensure the braid is snug to avoid slippage but not so tight that it causes discomfort.
- Secure the ends: You can curl the ends, tuck them under, or use hair bands to secure them, depending on your style preference.
When choosing hair extensions for braiding, consider the texture and durability:
- Synthetic hair: Cost-effective and available in various colors and textures; ideal for styles like box braids and cornrows.
- Human hair: More natural-looking and versatile; can be washed, colored, and restyled, making it perfect for repeated use and styles requiring a natural appearance.
- Kanekalon hair: A popular type of synthetic hair known for its lightweight and flame-retardant properties; great for box braids and Senegalese twists.
Proper care is crucial to maintaining both your natural hair and the extensions:
- Keep your scalp clean: Use a gentle cleansing shampoo to wash your scalp and the braids. Avoid vigorous rubbing; instead, gently massage the scalp and squeeze the braids to let the lather run down.
- Moisturize regularly: Apply a braid spray or natural oils like coconut or jojoba oil to keep your hair and scalp hydrated.
- Protect your braids at night: Wear a silk or satin scarf or bonnet to minimize frizz and reduce tension on the hairline.
Removing braids with extensions requires patience to prevent damaging your natural hair:
- Cut the ends: Carefully cut off the extensions below where your natural hair ends. Be cautious not to cut your own hair.
- Unravel each braid: Gently loosen each braid from the bottom up. Use a rat-tail comb or your fingers to help untangle.
- Detangle and condition: Once all the braids are out, detangle your hair with a wide-tooth comb and apply a deep conditioner to replenish moisture.
Braids with extensions can last anywhere from 4 to 8 weeks, depending on the type of braids, the quality of the extensions, and how well you maintain them. Regular moisturizing, gentle washing, and avoiding excessive tension can help prolong their lifespan.
